Quickstart
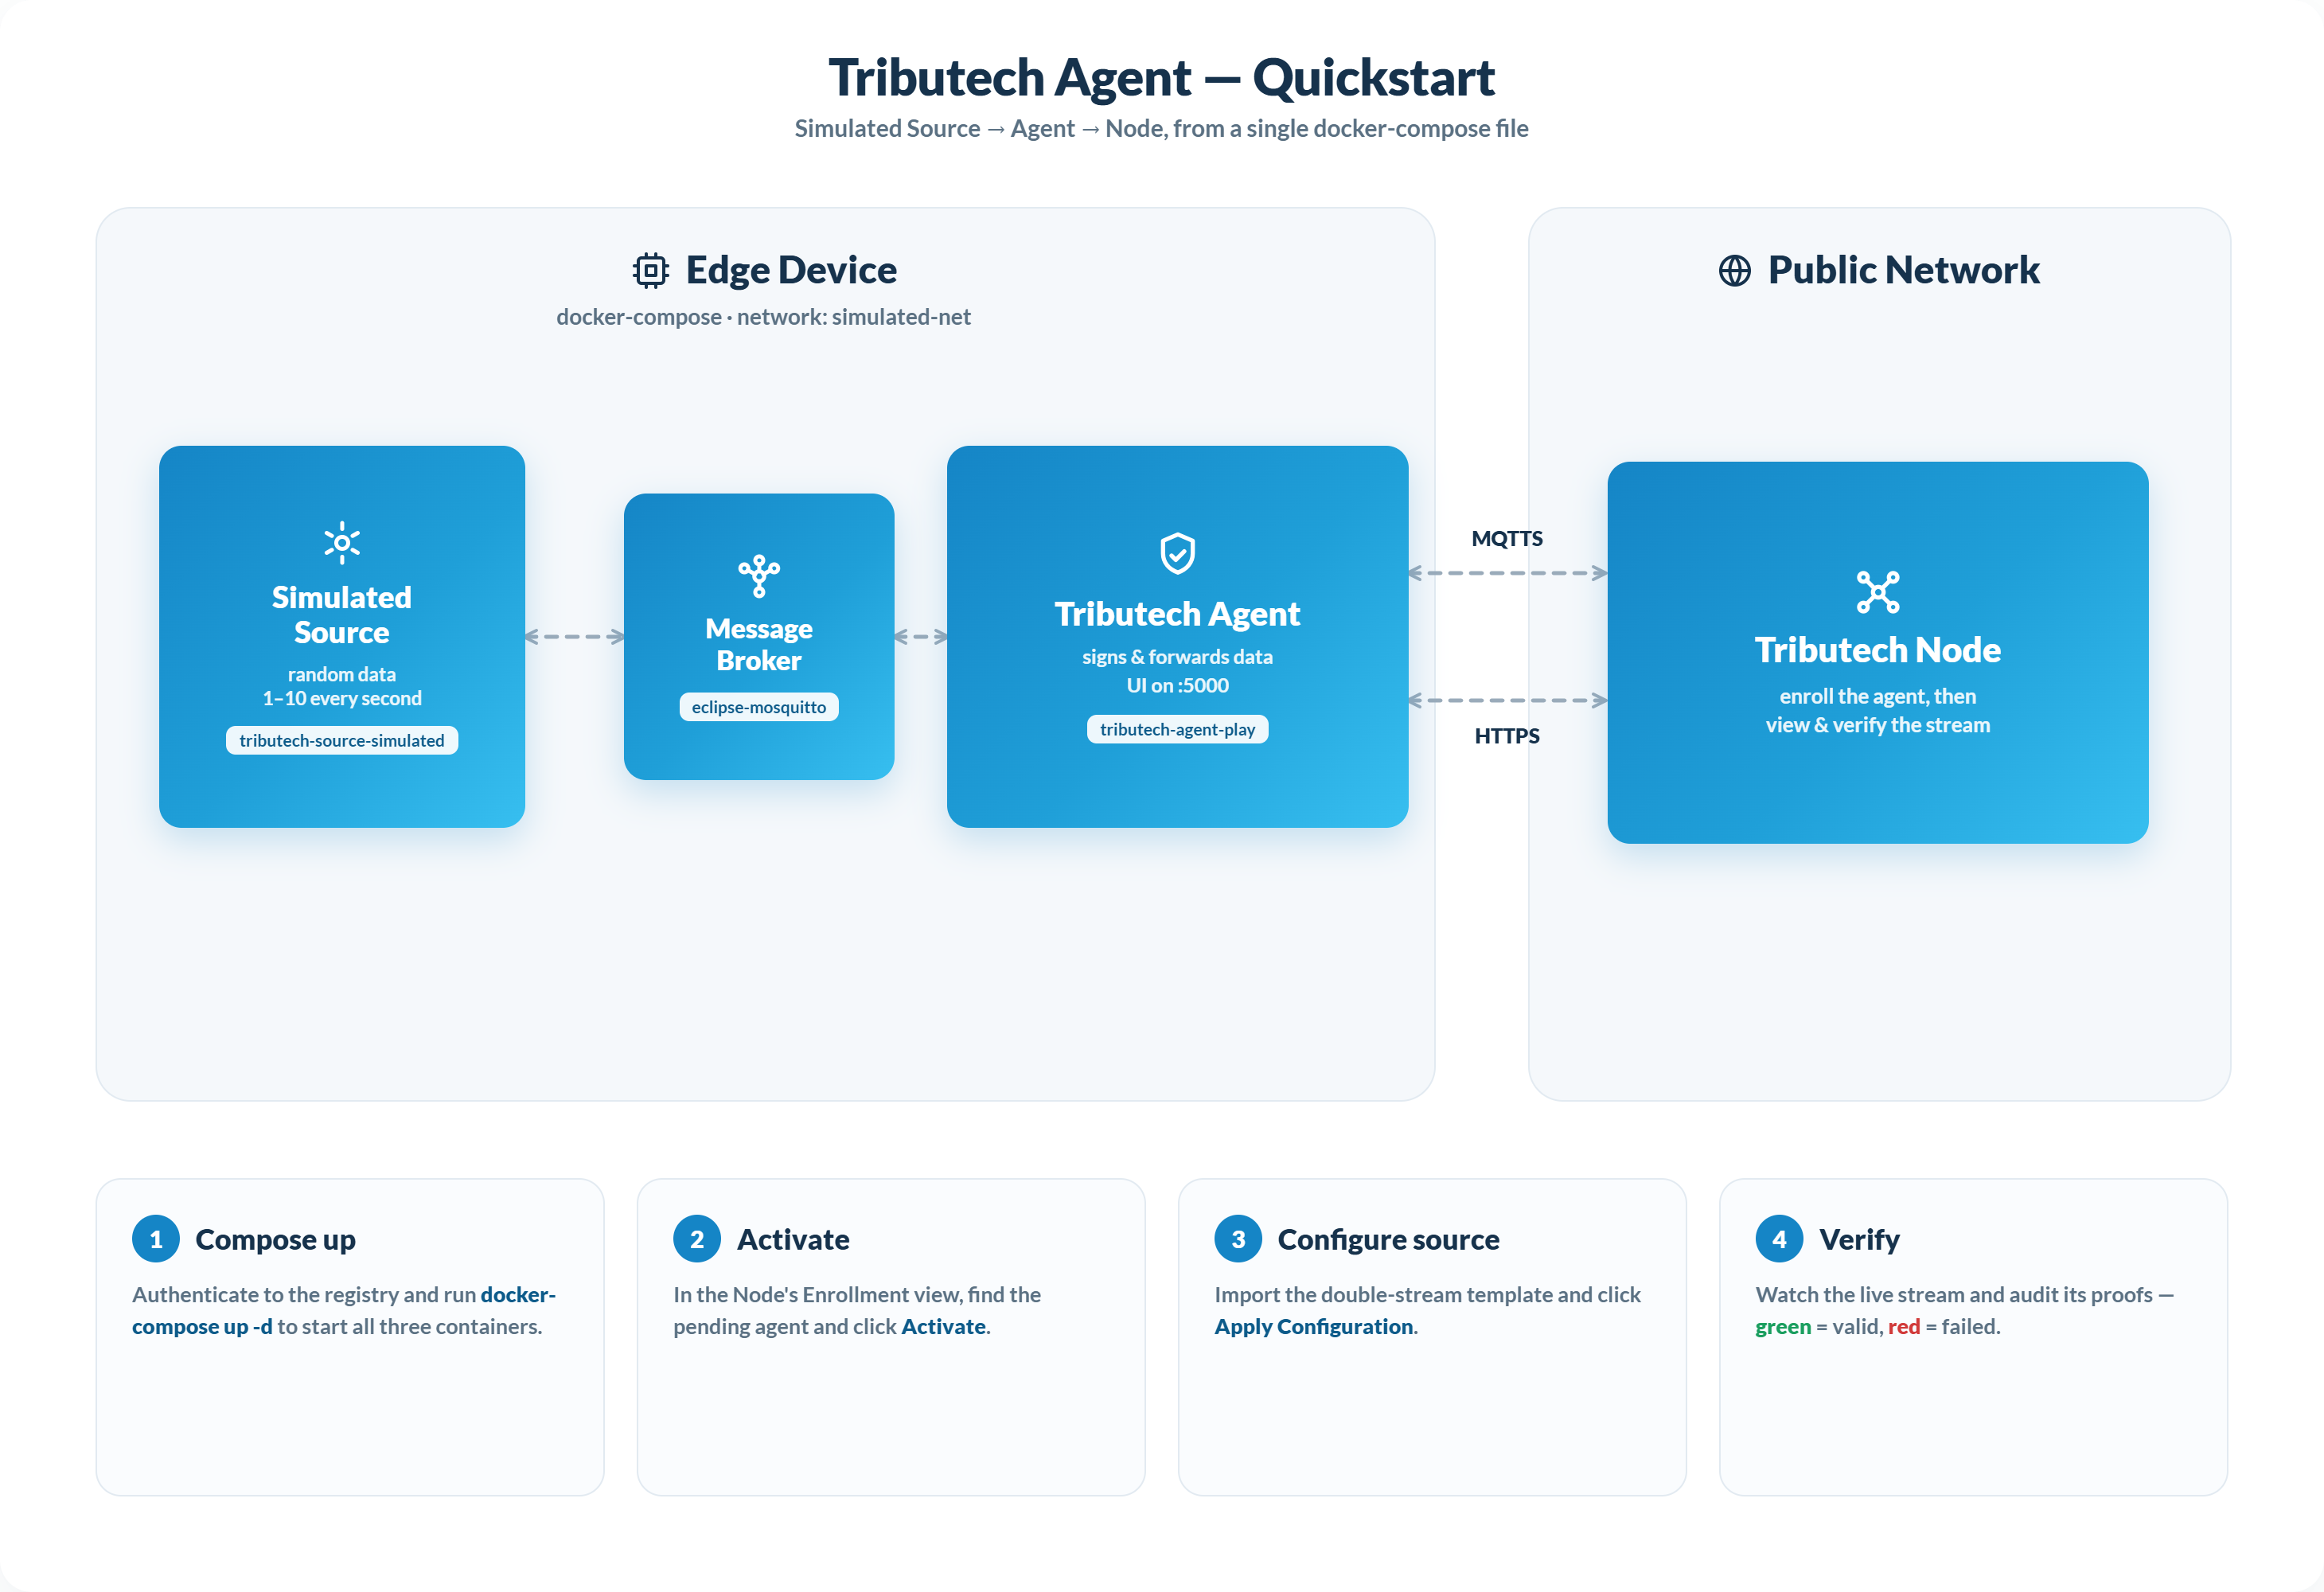
In this QuickStart Guide we give a shortened overview on how to setup a Tributech Agent with a Simulated Source and connect it to a Tributech Node to display the random generated data. For a more detailed description on how to setup the Tributech Agent visit Setup.
Requirements
In Order to link a Tributech Agent to a Tributech node we need the following:
- Access to an existing Tributech Node
- Access to an environment with Docker Compose, which meets the Tributech Agent Requirements
⚠️ We will use different Container Images and configurations in our examples for the quick start compared to the Setup documentation. Please use a new empty folder for the files to prevent any configuration mix up.
Docker-Compose Up
We start by setting up the docker-compose environment for the Tributech Agent and Tributech Simulated Source as follows:
-
Authenticate docker to retrieve the relevant docker images from the private Tributech Docker Registry.
terminalecho <Client Secret> | docker login --username <Client ID> --password-stdin <Endpoint> -
Create a
docker-compose.ymlfile with the following content (adjustments required):docker-compose.ymlversion: "3.6"
services:
# Prepares the bind-mounted folders for the Tributech Agent, which runs as the
# non-root user 1654 and ships without the tooling to change ownership itself.
# This replaces a manual `sudo chown -R 1654:1654 enrollment volumes` on the host.
init-permissions:
image: busybox:1.36
user: "0:0"
command: sh -c "chown -R 1654:1654 /mnt/volumes"
volumes:
- ./volumes:/mnt/volumes
source-simulated:
image: ${DOCKER_REGISTRY-tributech.azurecr.io/}tributech-source-simulated:${SOURCE_TAG:-5.3.0}
depends_on:
- mosquitto-server-simulated
- tributech-agent
environment:
- MqttOptions__MQTTHost=mosquitto-server-simulated
- Logging__LogLevel__Default=Information
networks:
- simulated-net
restart: unless-stopped
logging:
driver: "json-file"
options:
max-size: "2m"
max-file: "5"
tributech-agent:
image: ${DOCKER_REGISTRY-tributech.azurecr.io/}tributech-agent-play:${AGENT_TAG:-5.6.0}
depends_on:
mosquitto-server-simulated:
condition: service_started
init-permissions:
condition: service_completed_successfully
environment:
- Logging__LogLevel__Default=Information
- Logging__Console__FormatterName=simple
- MqttOptions__MQTTHost=mosquitto-server-simulated
- EdgeDeviceOptions__NodeUrl=${NODE_URL:?"The Tributech Node Url is required"}
ports:
- "5001:8080"
networks:
- simulated-net
volumes:
- ./volumes:/app/data # volume mapping for permanent storage of keys and datatwin file
restart: unless-stopped
logging:
driver: "json-file"
options:
max-size: "2m"
max-file: "5"
mosquitto-server-simulated:
image: eclipse-mosquitto:${MQTT_TAG:-1.6}
networks:
- simulated-net
# ports:
# - '1883:1883' # MQTT
# - "127.0.0.1:9001:9001" # web-socket
restart: unless-stopped
networks:
simulated-net:Replace the placeholder value for
EdgeDeviceOptions__NodeUrlso that it points to the Tributech Node Url, for exampleenv specific settingstributech-agent:
...
environment:
...
- EdgeDeviceOptions__NodeUrl=https://my-environment.tributech-node.comThis QuickStart uses the special
tributech-agent-playimage, which already has the enrollment certificates for the Tributech Play instances built in. Because of this, no enrollment certificates orenrollmentfolder are required in this setup — but this only works when connecting to a Tributech Play instance. To connect a Tributech Agent to any other Tributech Node, use the standardtributech-agentimage instead and complete the enrollment process described in the Setup guide. If no Agent ID is configured, the agent generates a random one on first start. -
Startup the environment
docker compose up -d
-
Validate that all containers are running. The output should return that every container is in the state
Updocker compose ps
Activate Agent
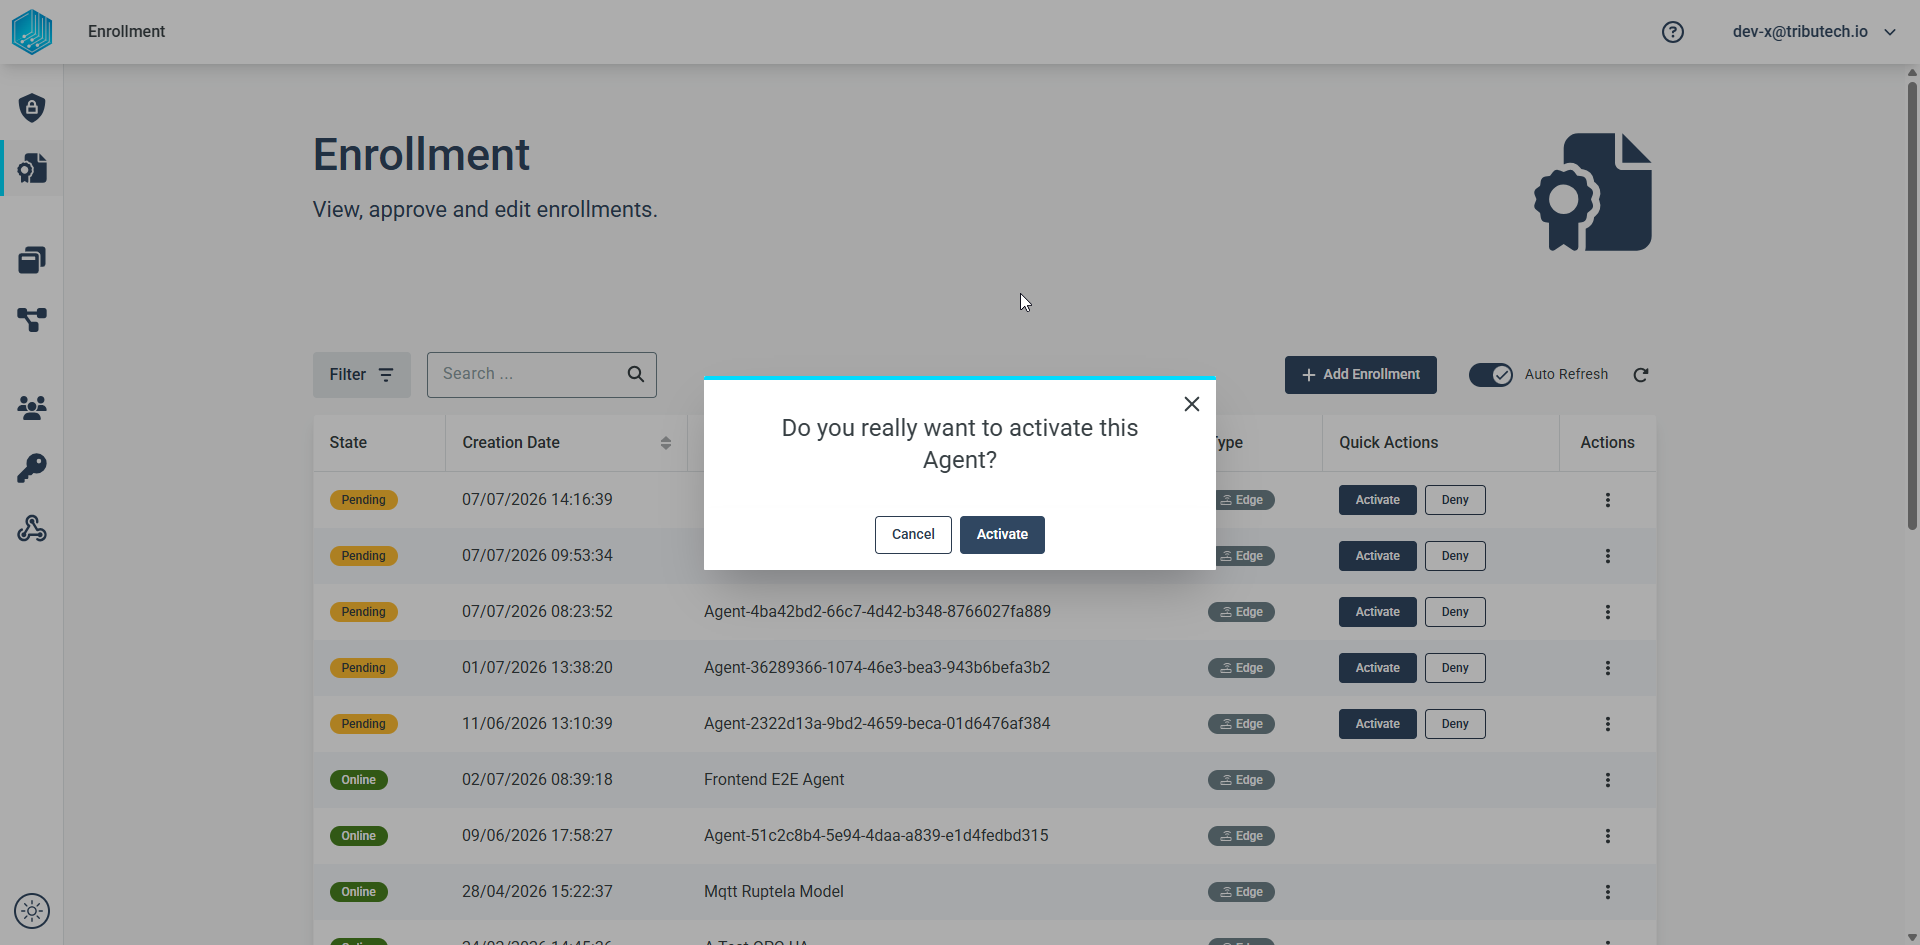
After starting the Tributech Agent we need to accept the Agent in the Tributech Node in order to receive data. For this we need to go to the Enrollment section of the Tributech Node and search for our agent.
The Agent should be in the top most entries of the list and should be in the Pending state. You can also identify it by the Creation Date column, which reflects when the enrollment started — sorting the list by Creation Date brings the most recently enrolled agent to the top. Clicking on the Activate button is enough to enroll the agent on the Tributech Node.
Source Configuration
The previous steps established the communication between a Tributech Agent and a Tributech Node. Next we will setup a Tributech Source to provide data for the Tributech Agent. The Tributech Agent will then be used to send the data to the Tributech Node. In the following section we complete our Tributech Agent QuickStart Setup by configuring a simple double stream for the Tributech Simulated Source.
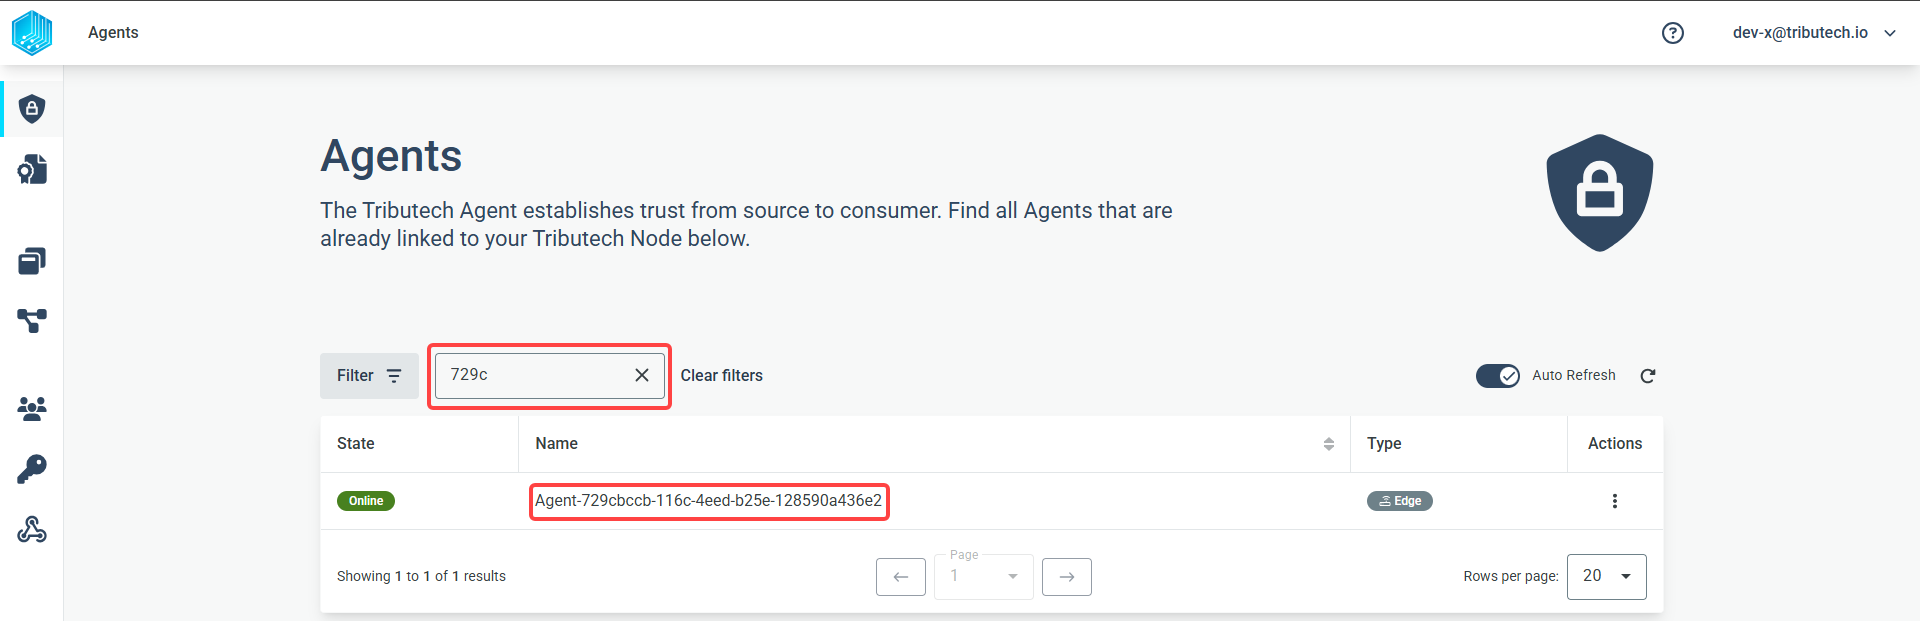
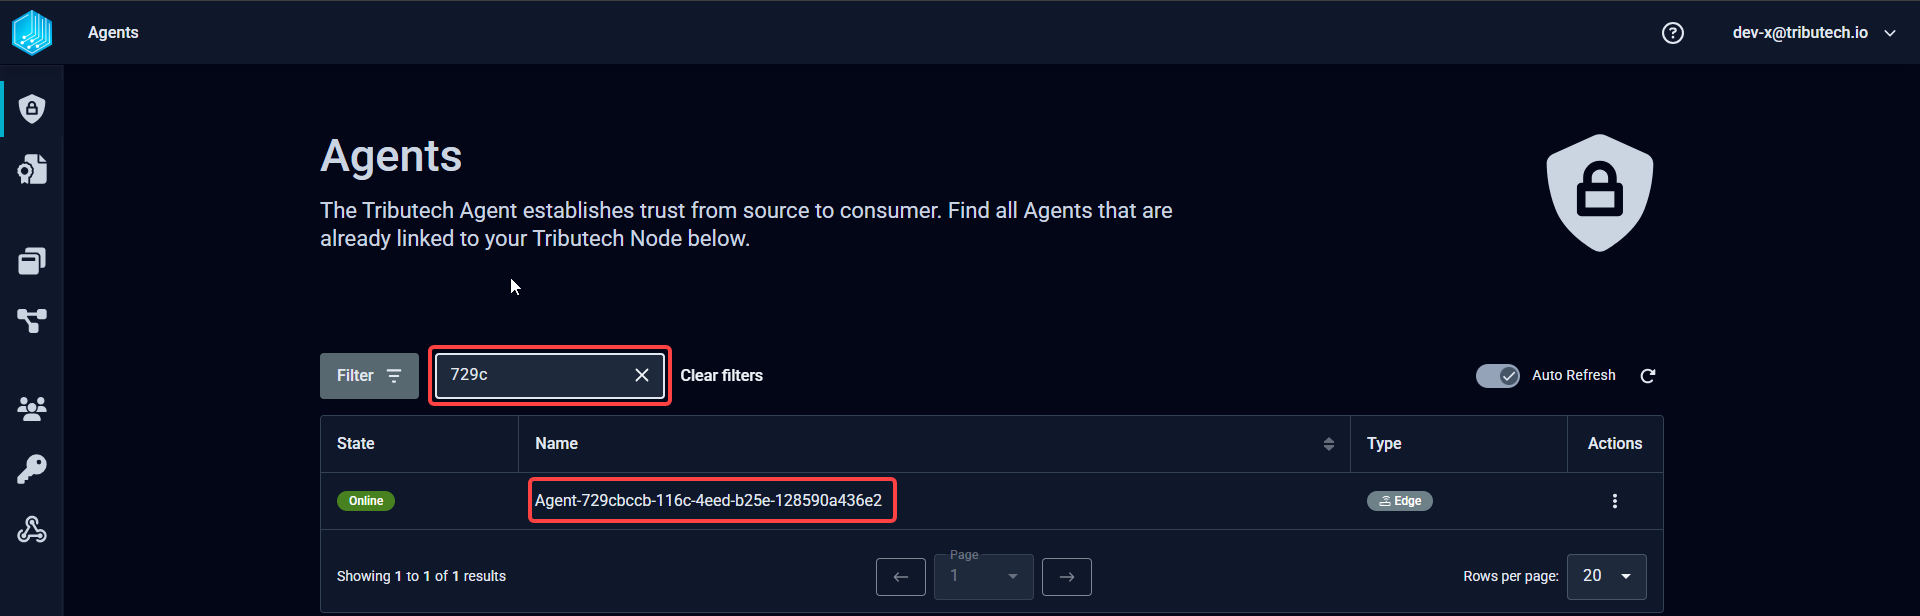
Next we need to configure the Agent to receive data for the Tributech Simulated Source we defined in the docker-compose setup:
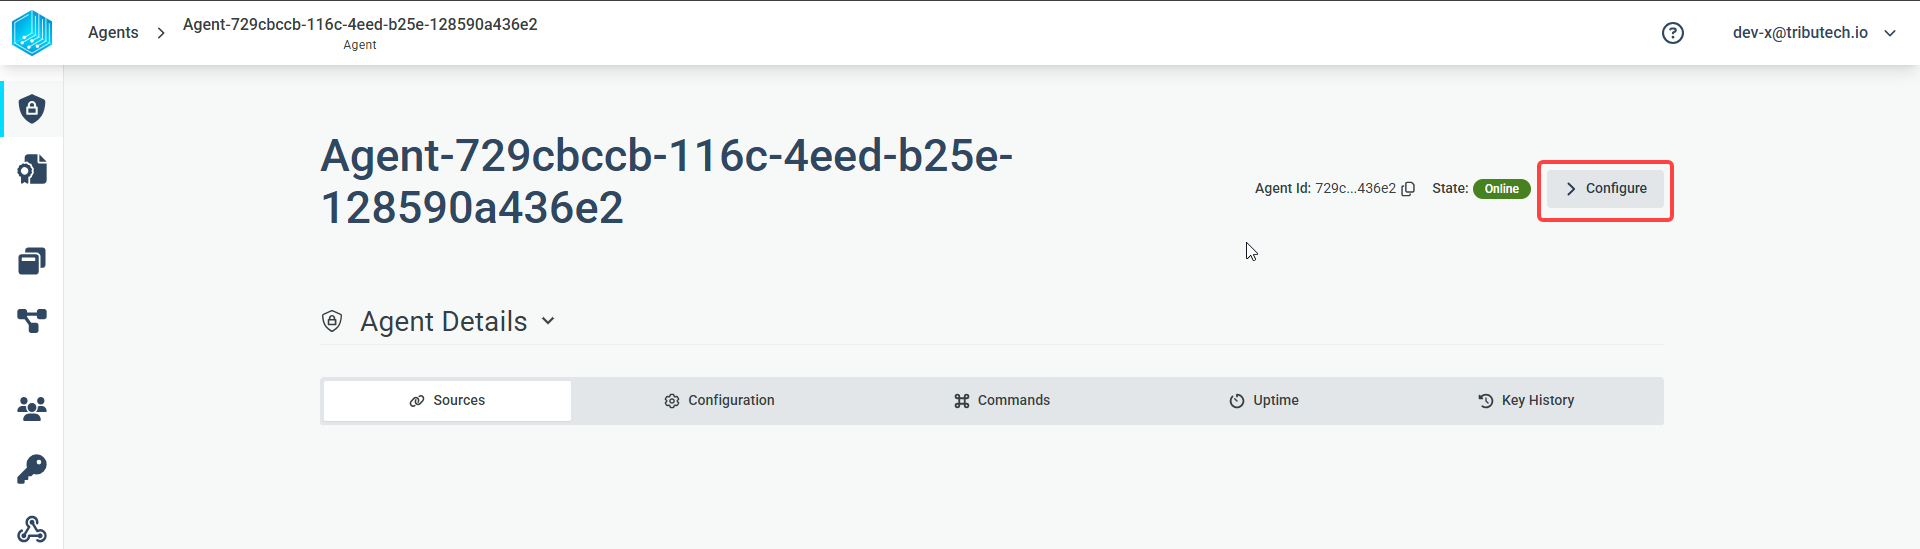
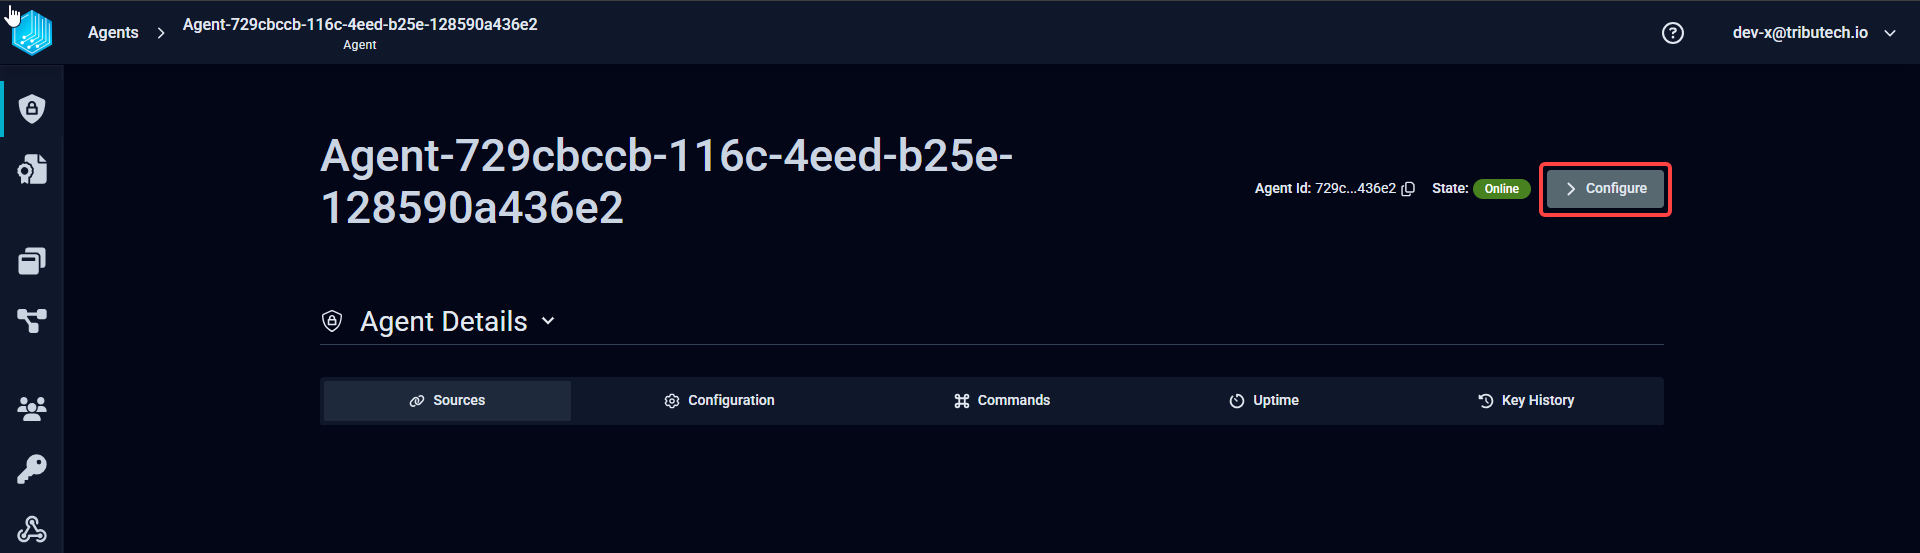
We have prepared a Simulated Source configuration containing a double data stream, save the following TwinConfiguration Template File locally and import it in the Agent Configuration:
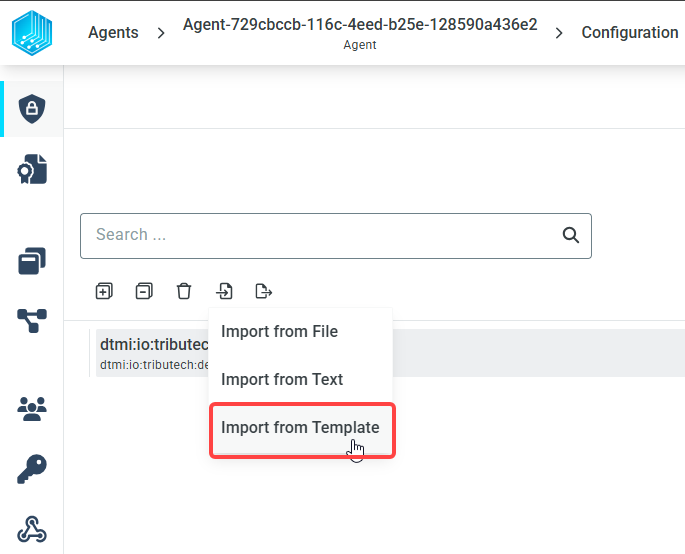
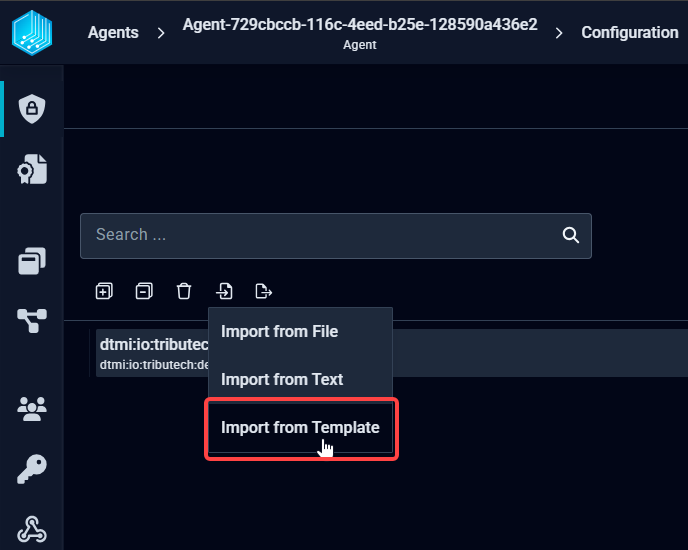
After successfully importing the TwinConfiguration Template File click the APPLY CONFIGURATION Button in the top right corner to persist the changes.
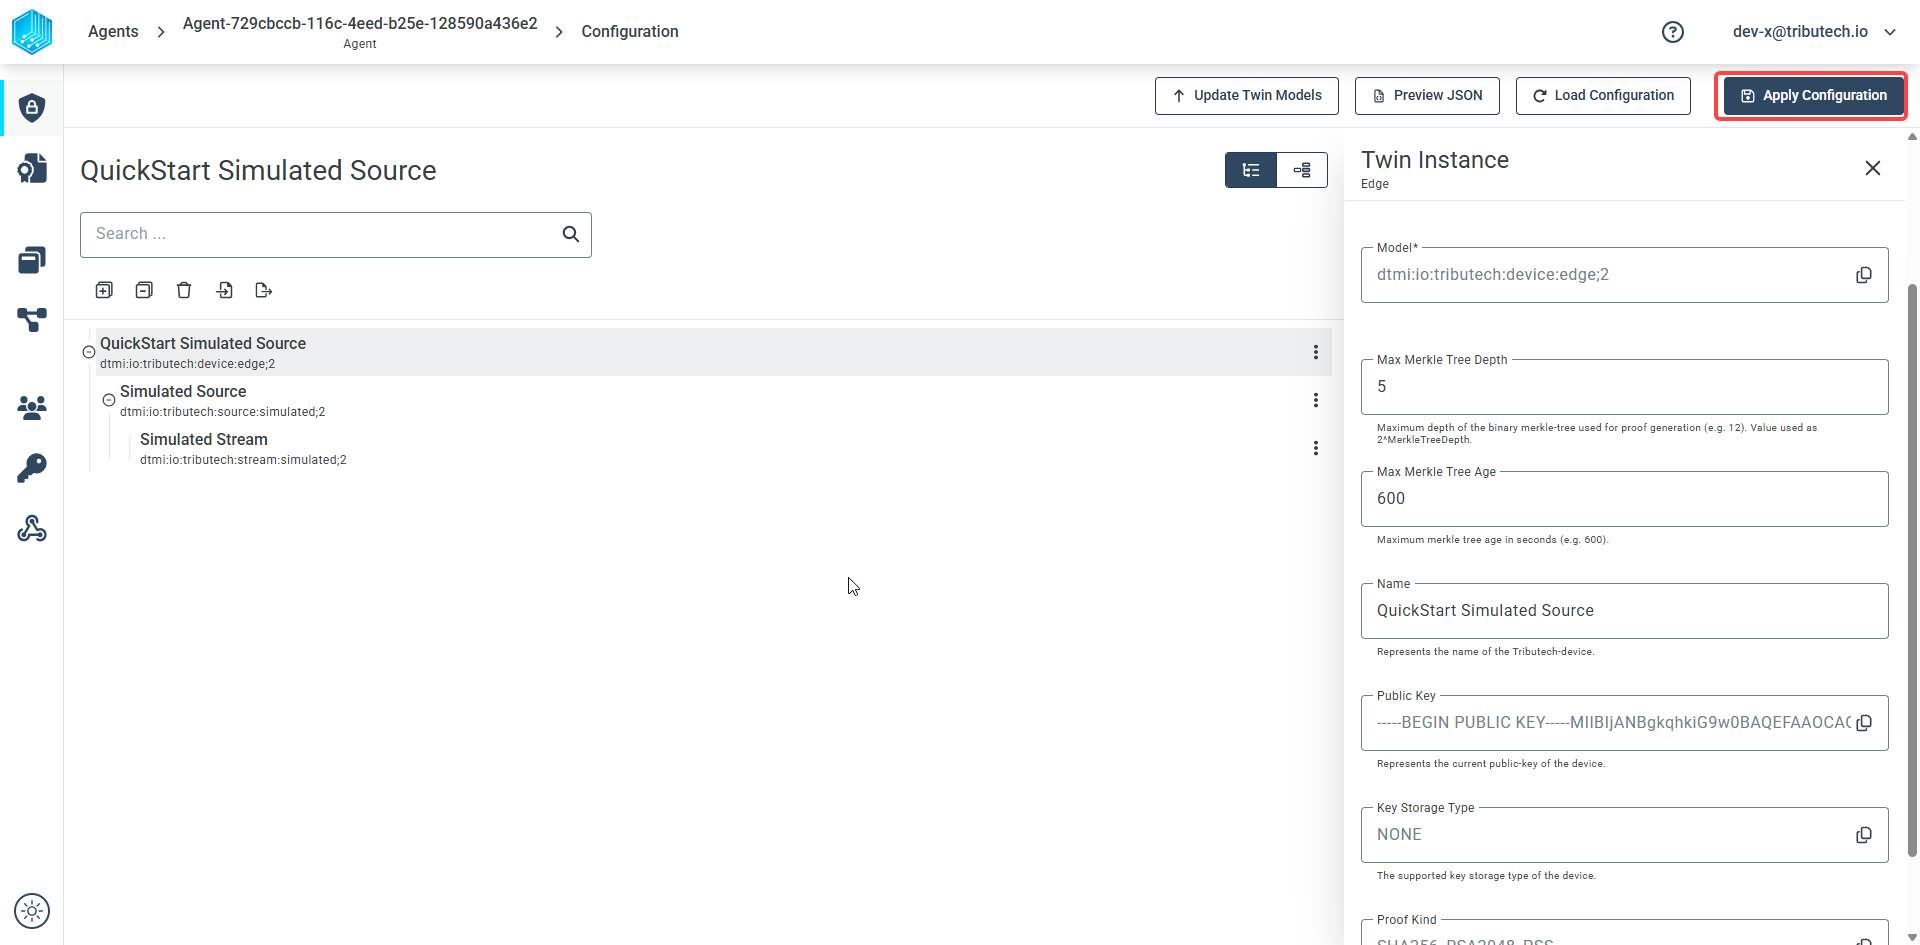
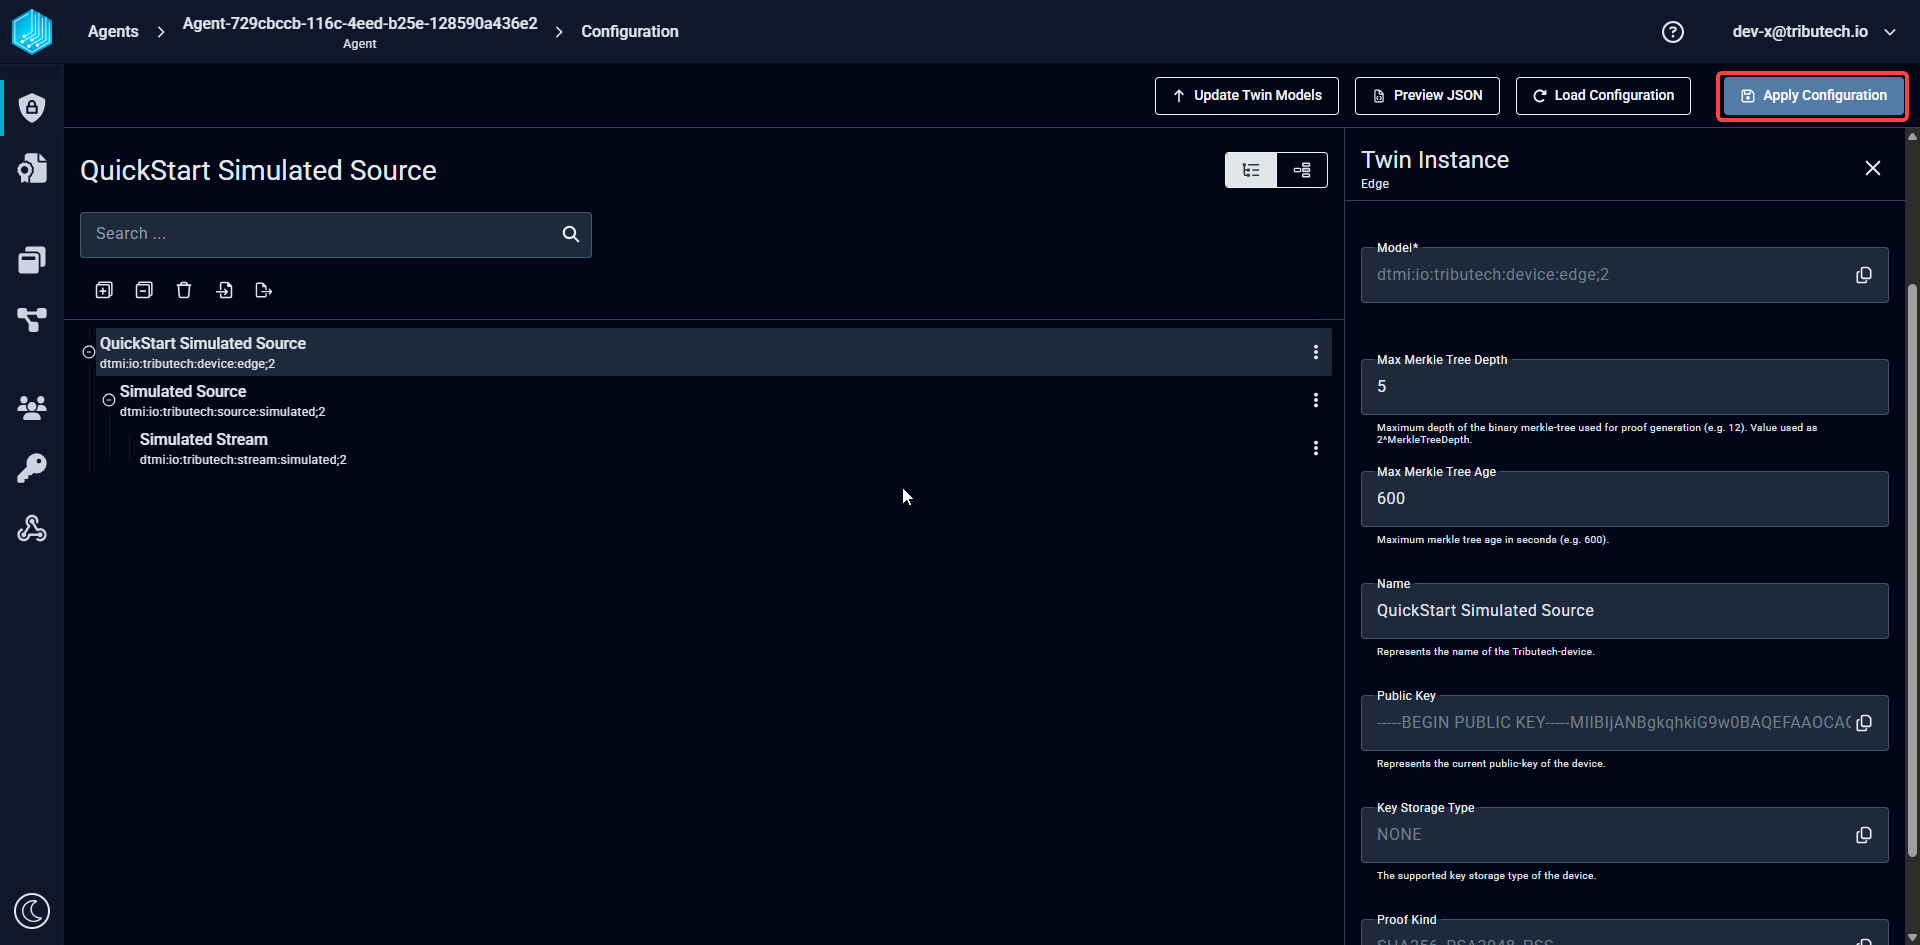
We can now select the Simulated Stream of our newly configured QuickStart Simulated Source Agent
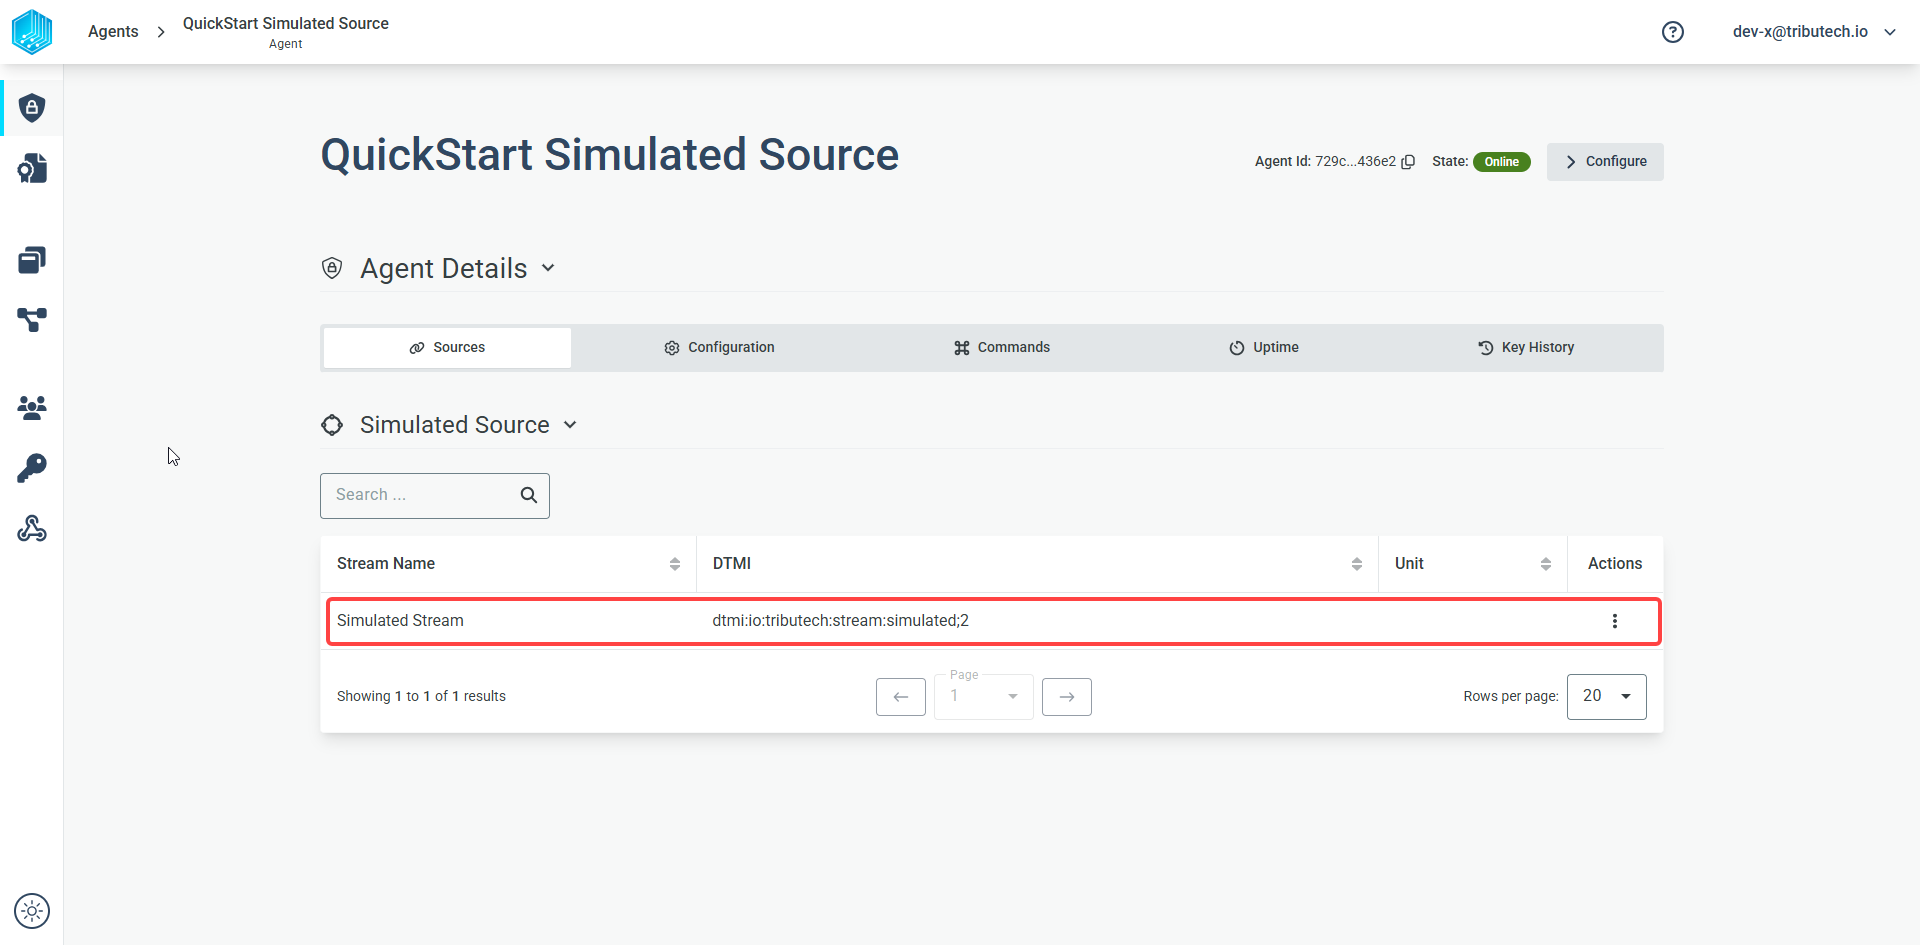
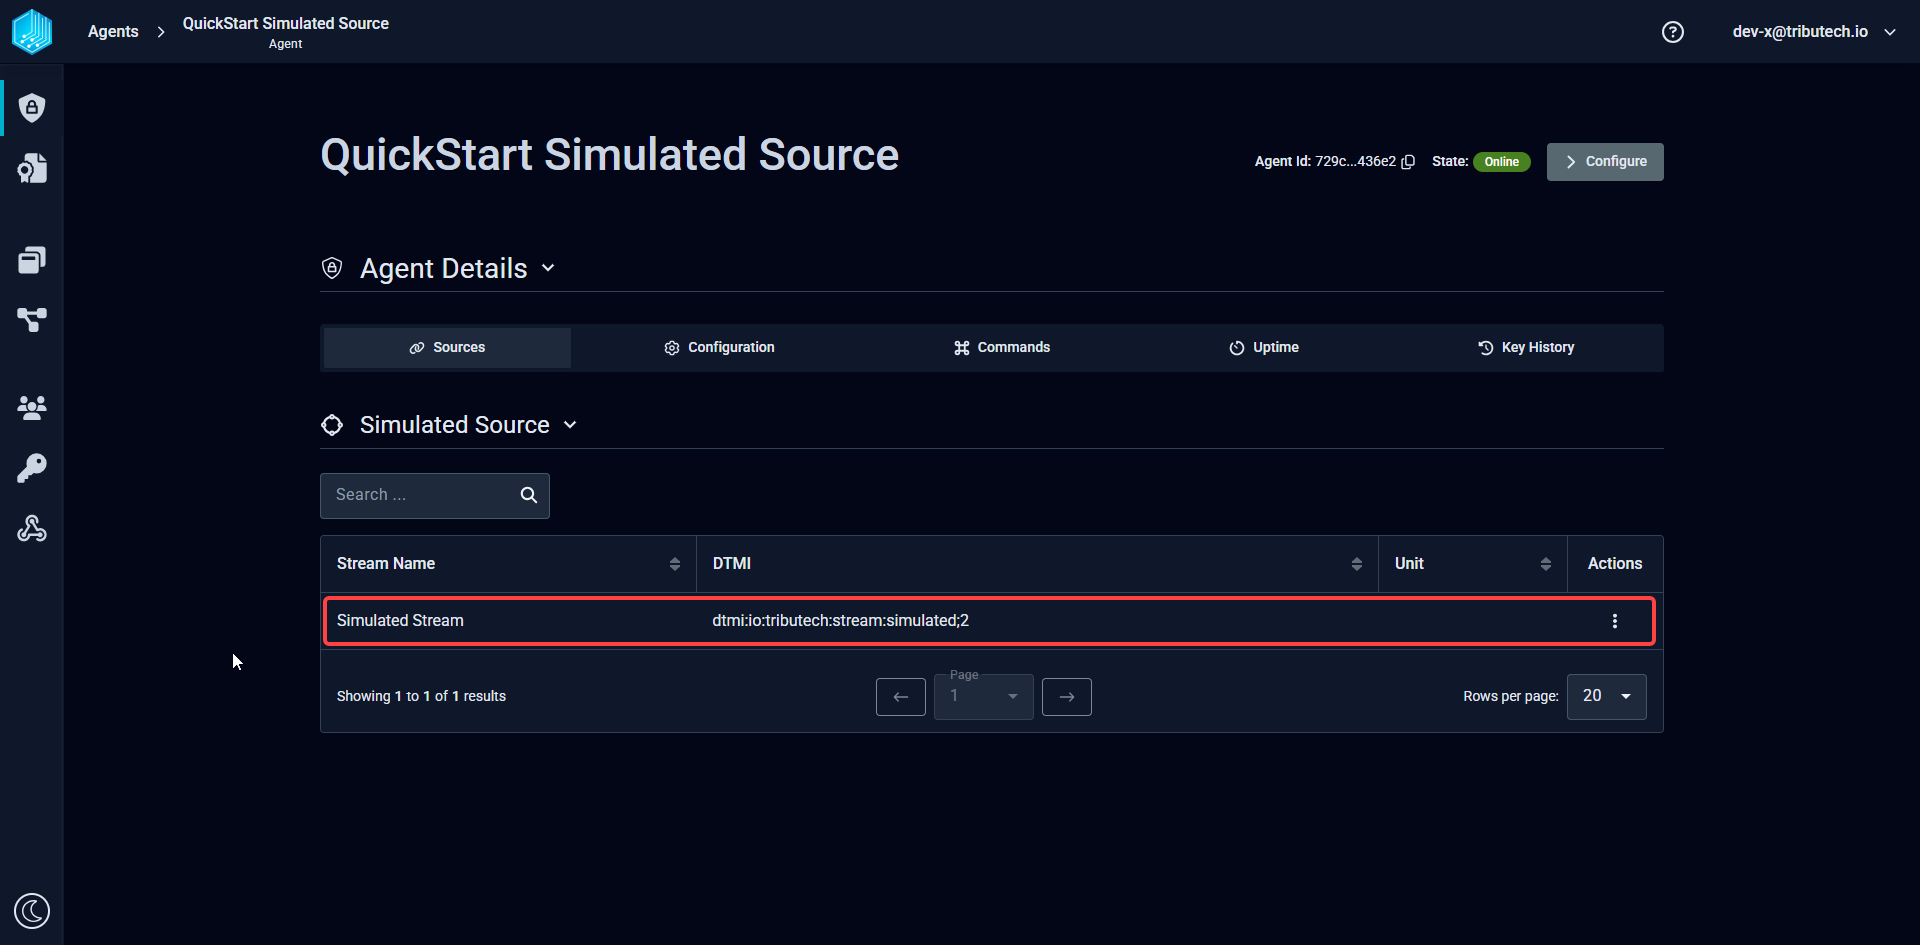
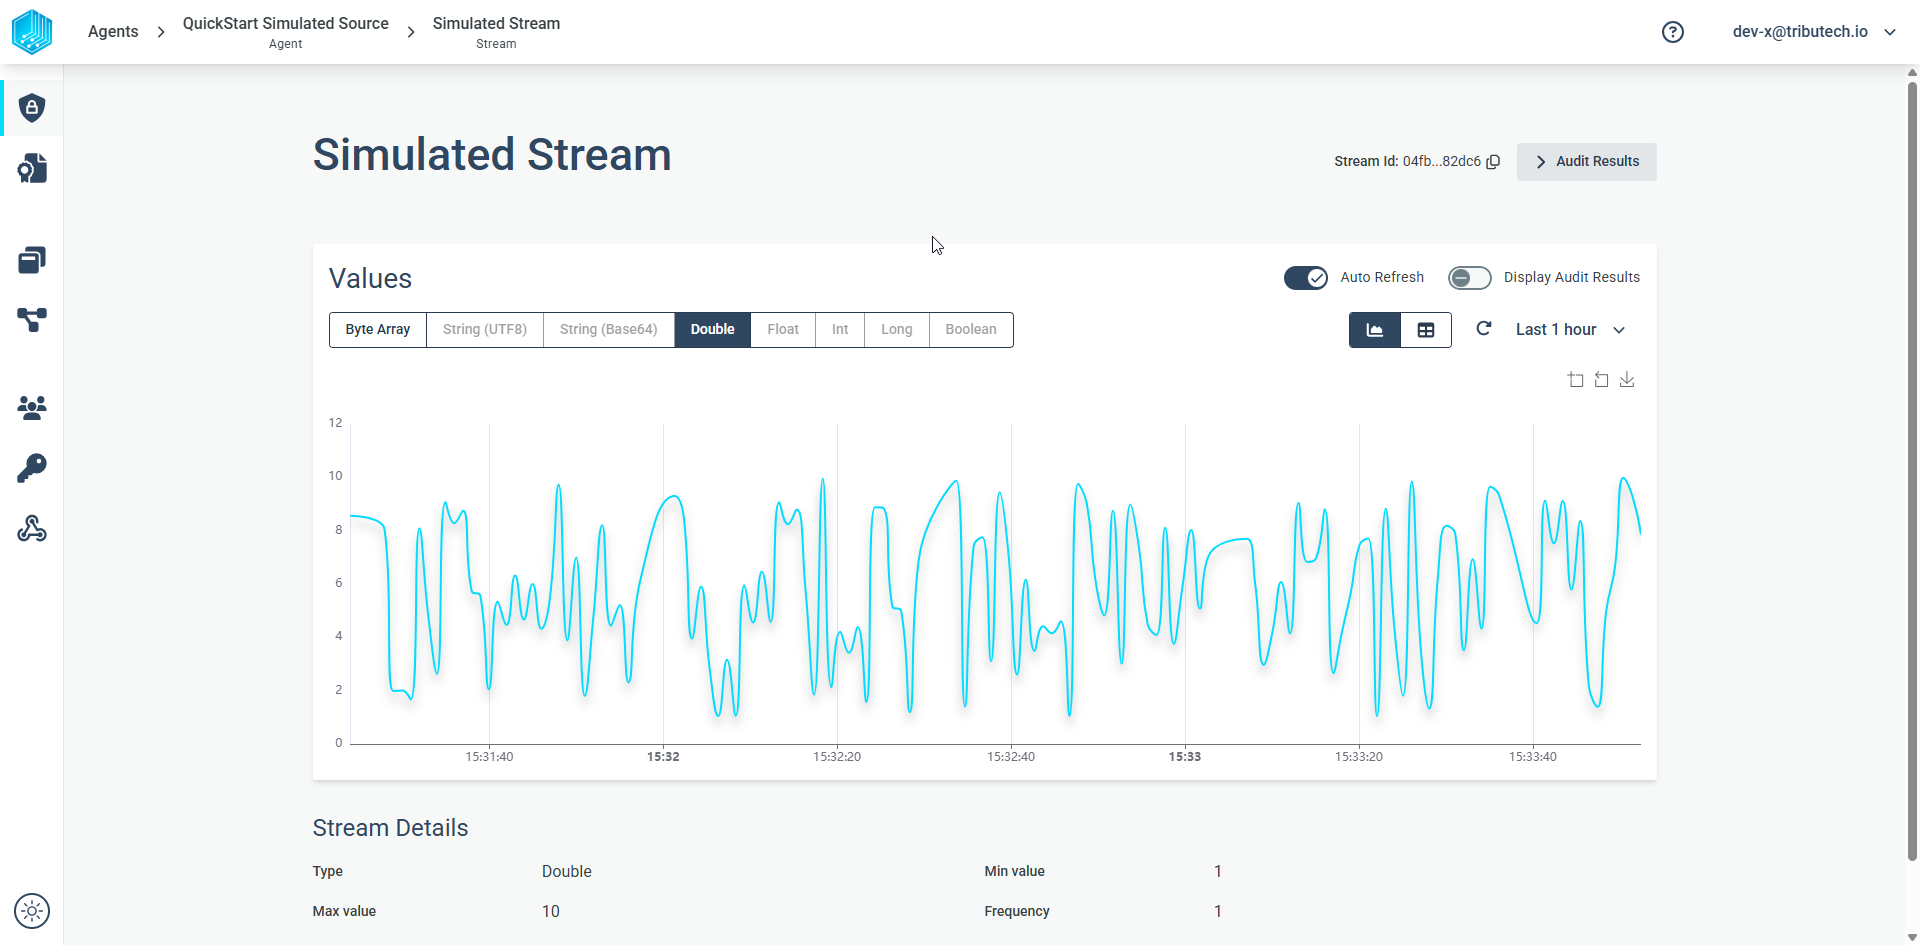
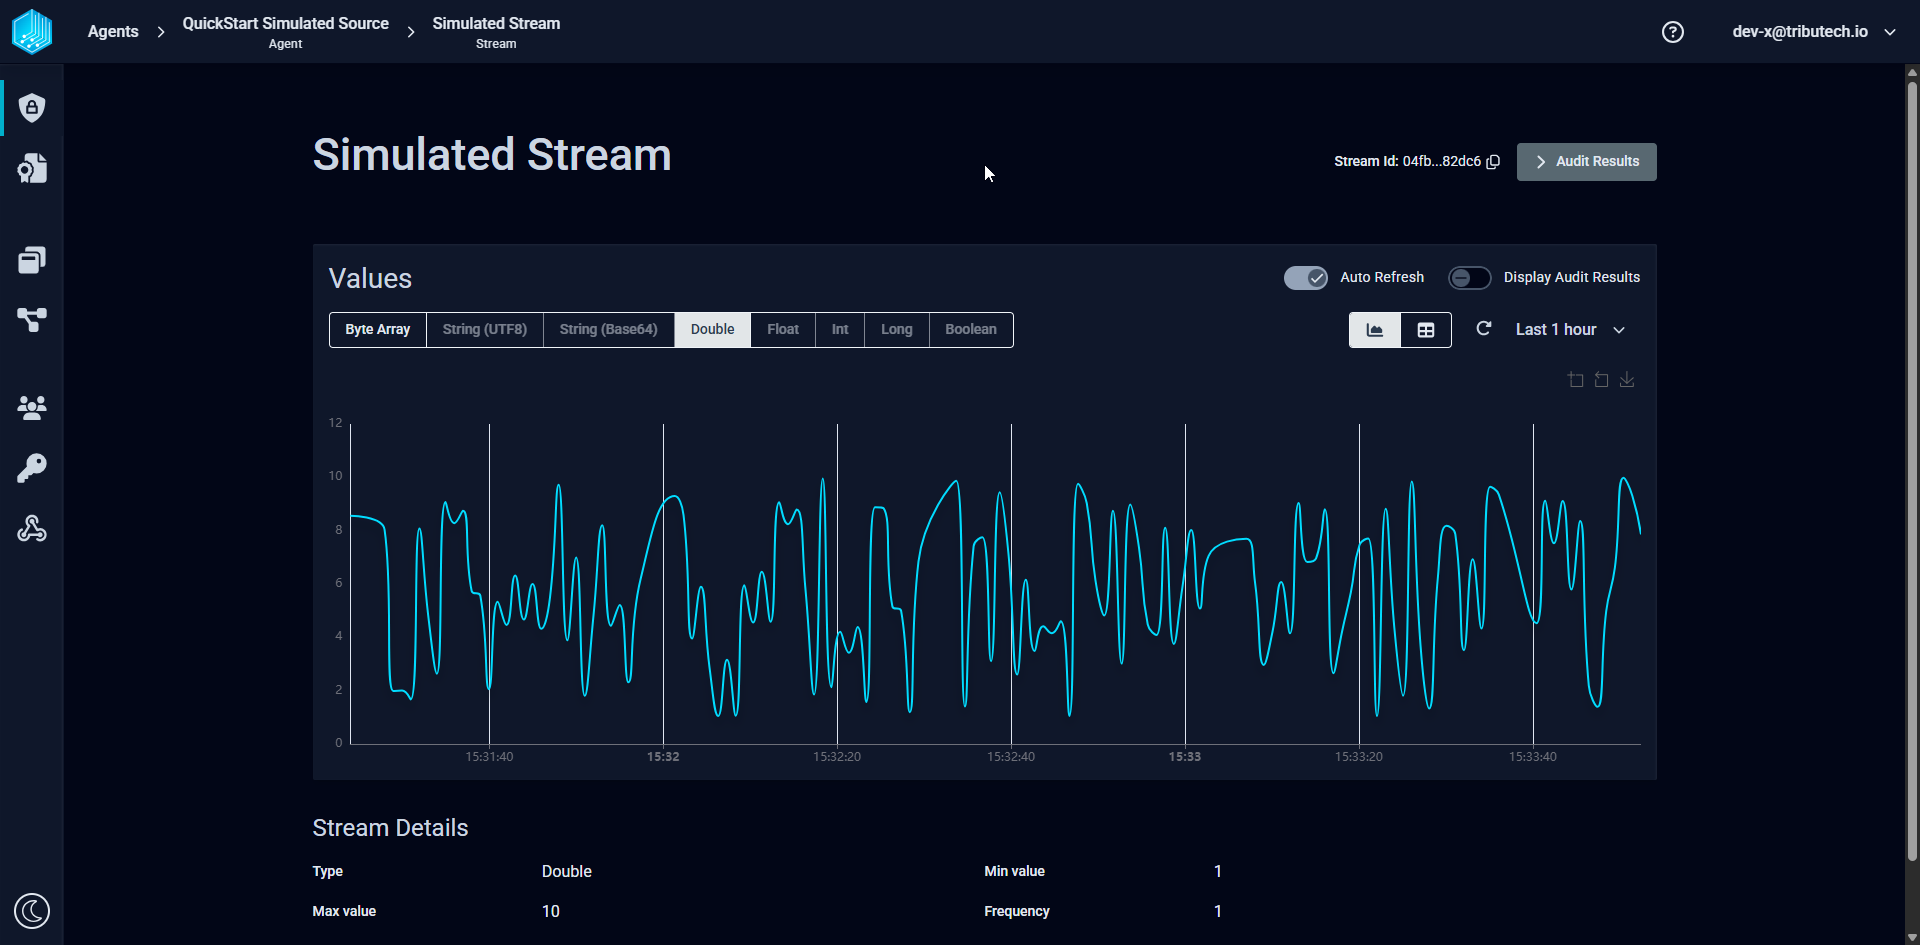
The Stream generates a new data point between 1 and 10 every second.
Verify
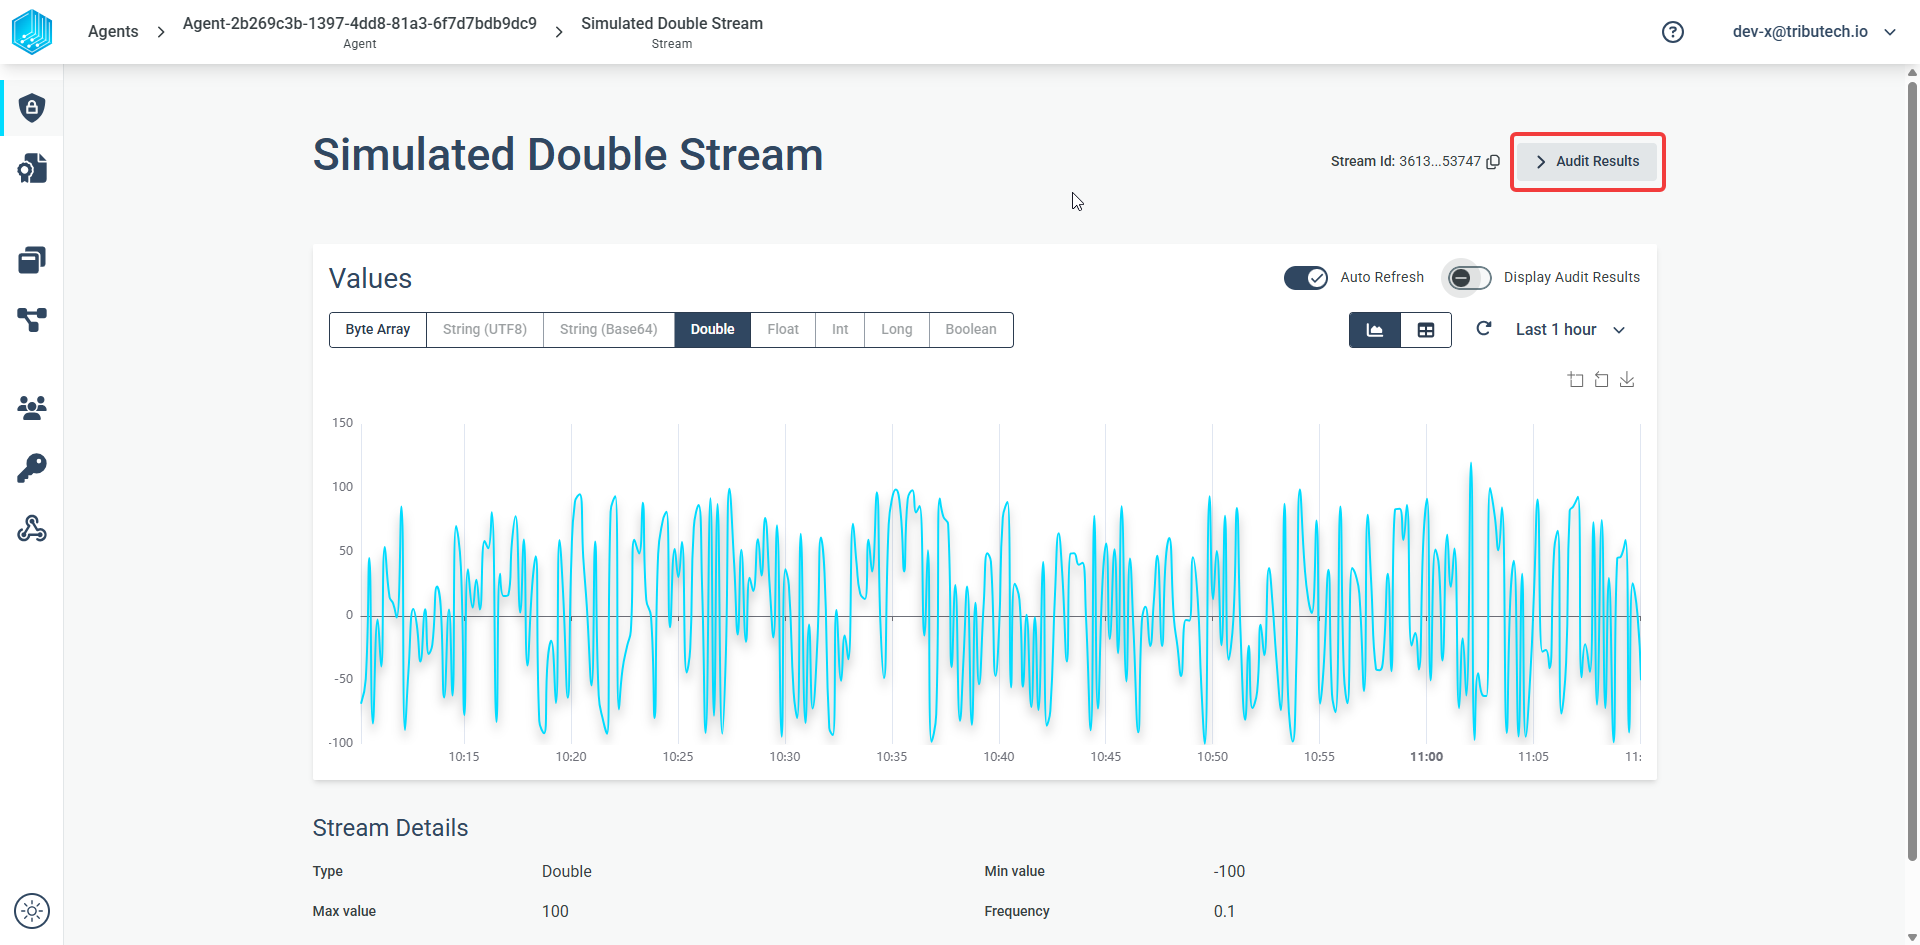
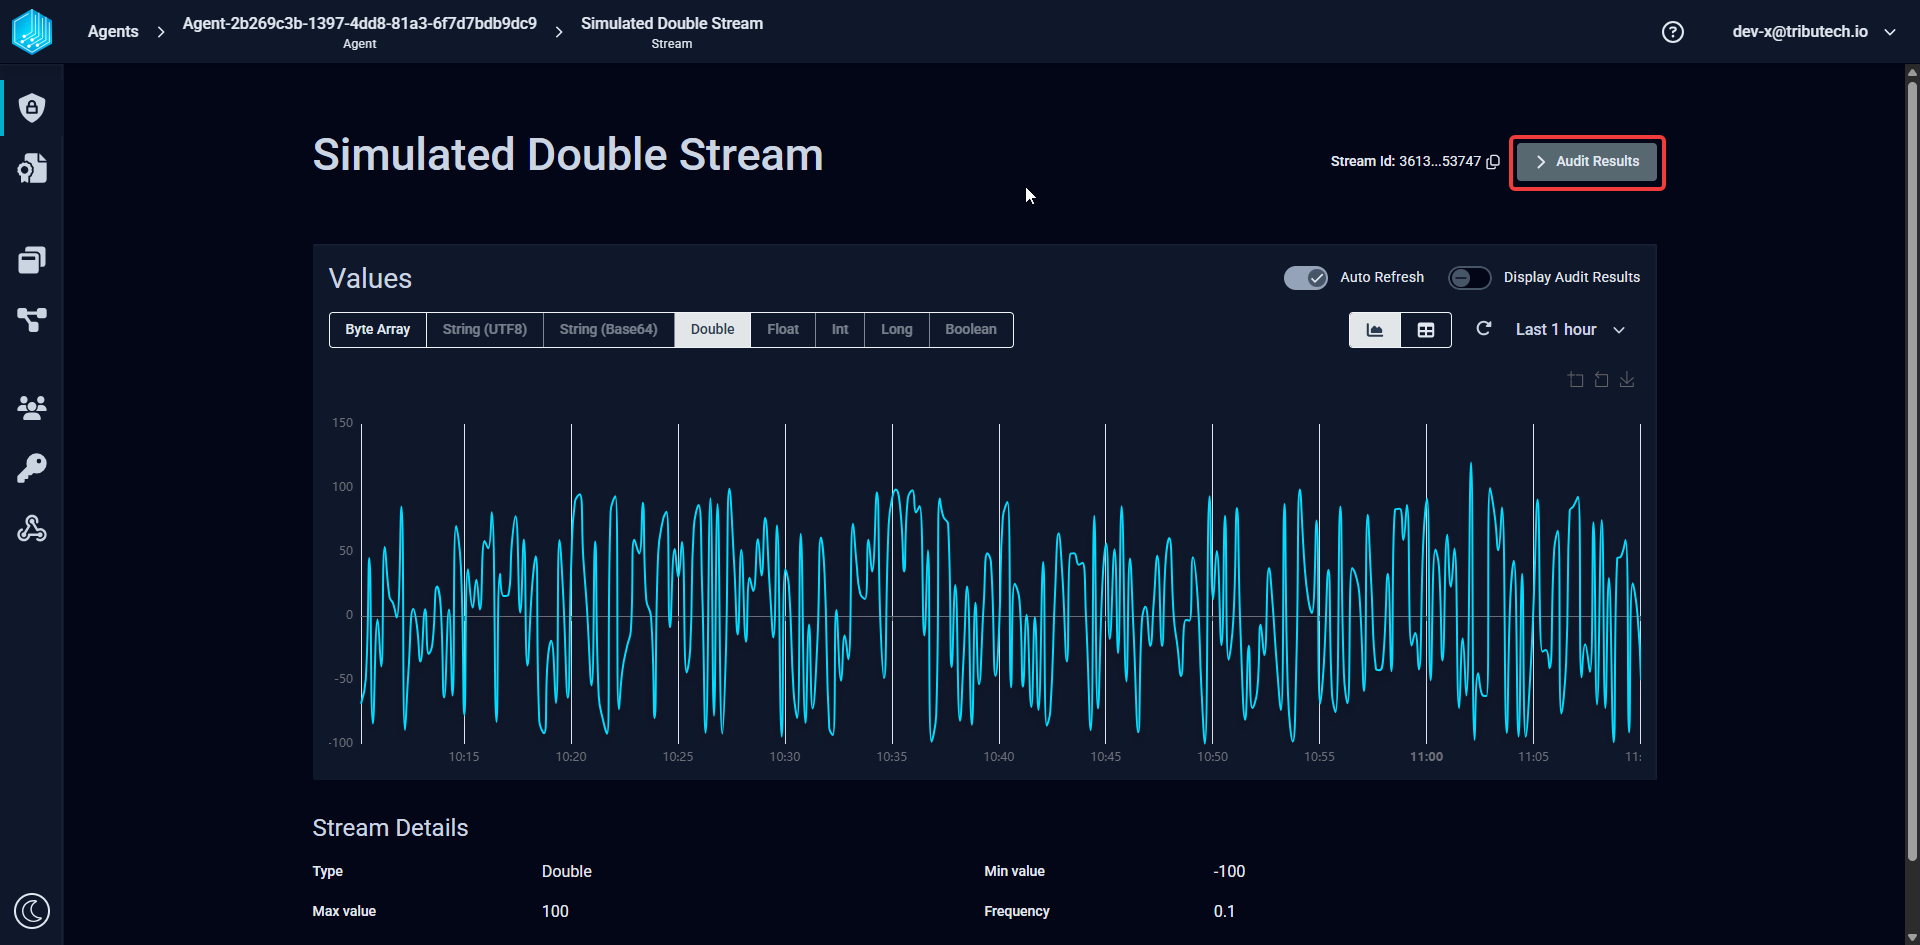
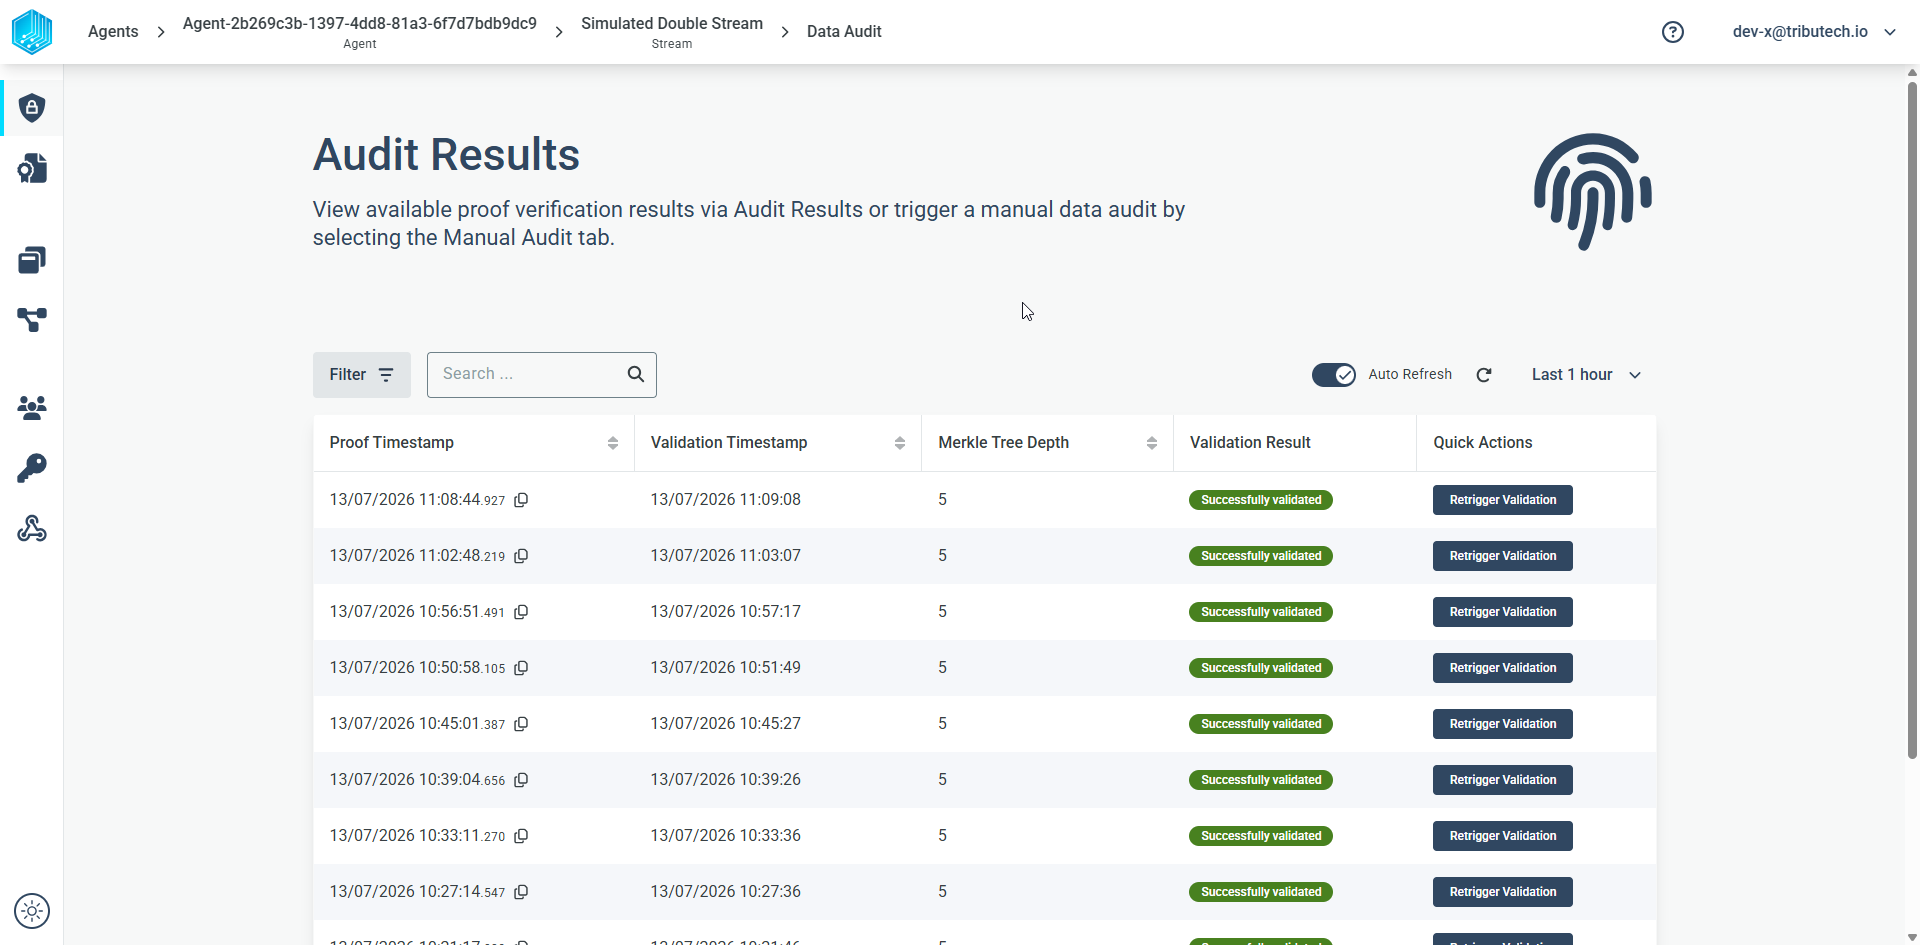
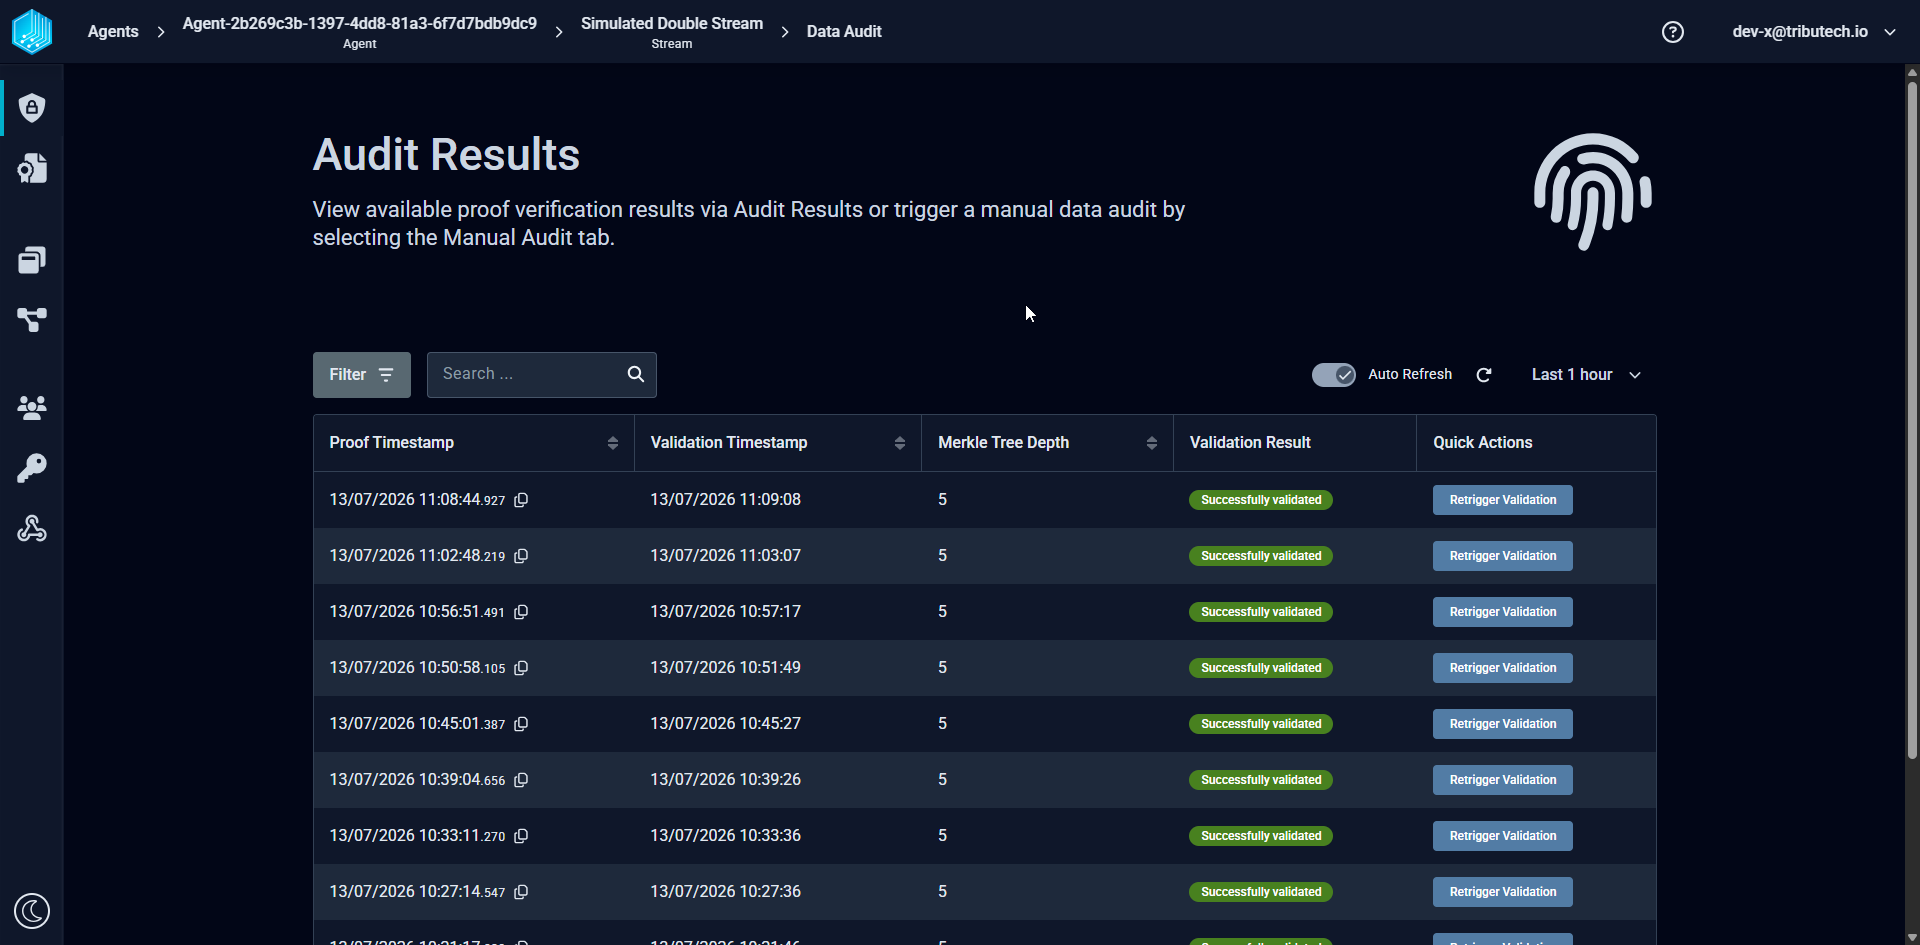
In order to detect data tampering we provide the possibility to audit each stream proofs individually. We provide the two possibilities to view the audit results:
A Graph view, which displays pending validation in grey, successful validations in green and failed in red.
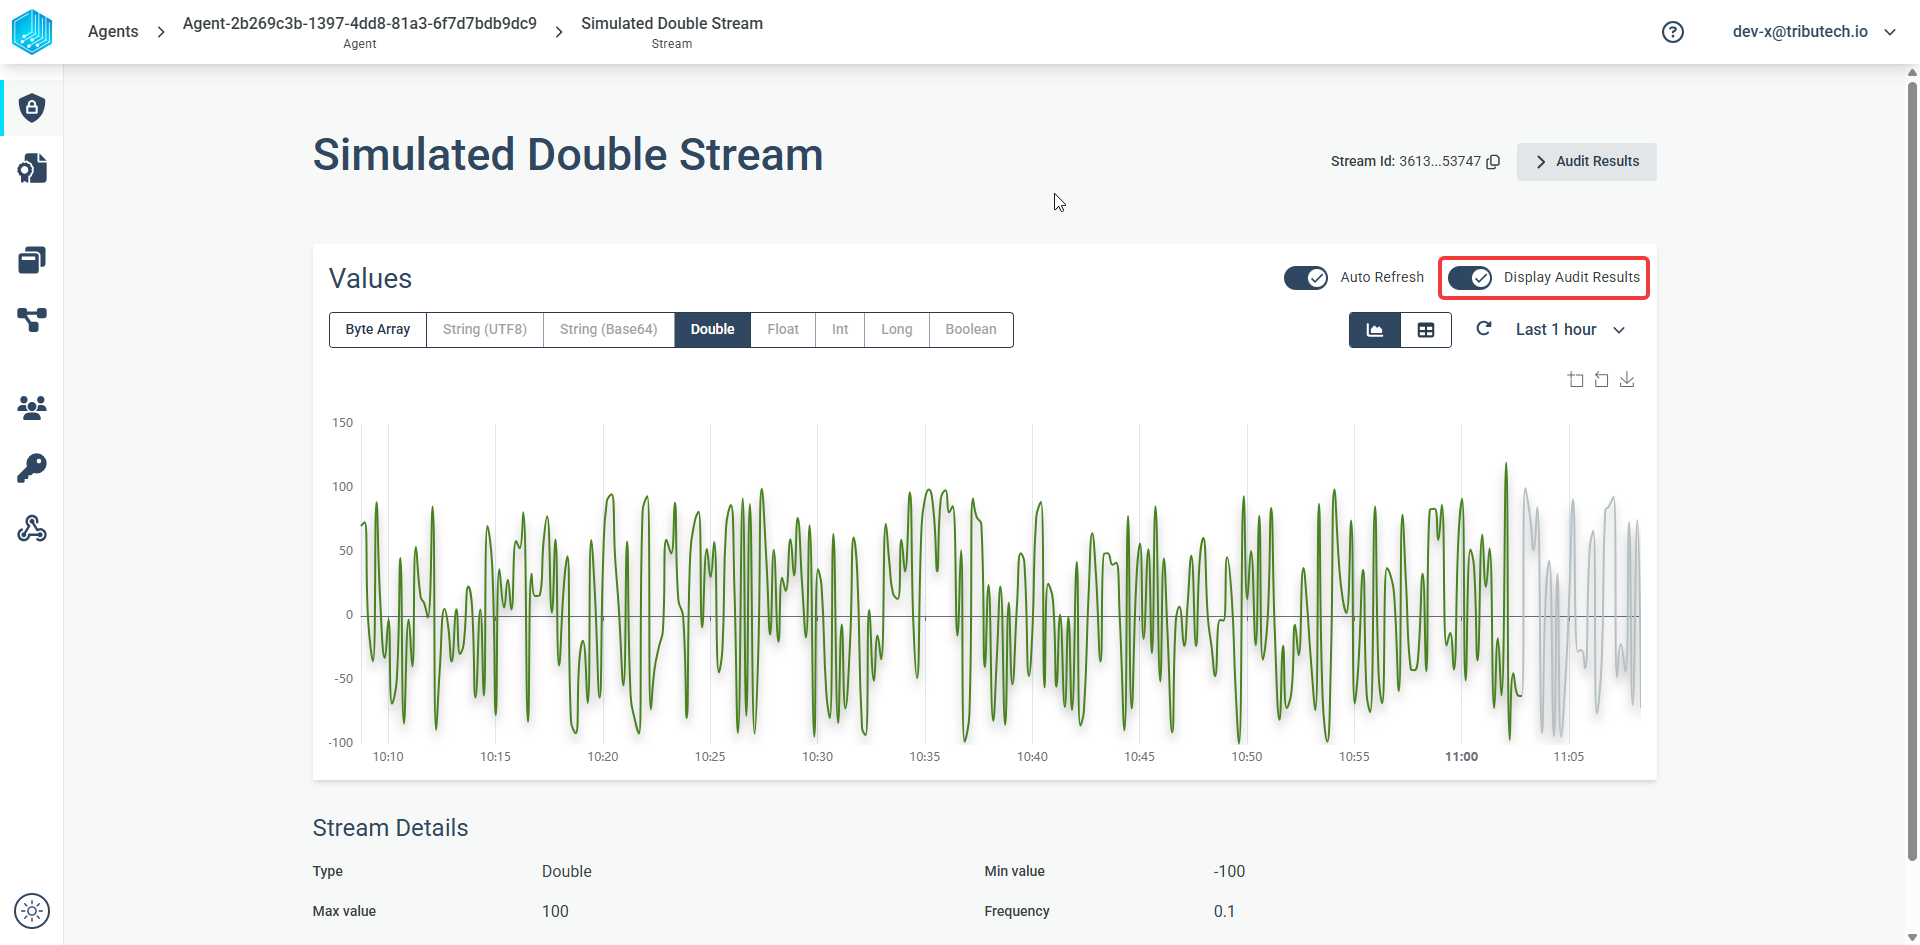
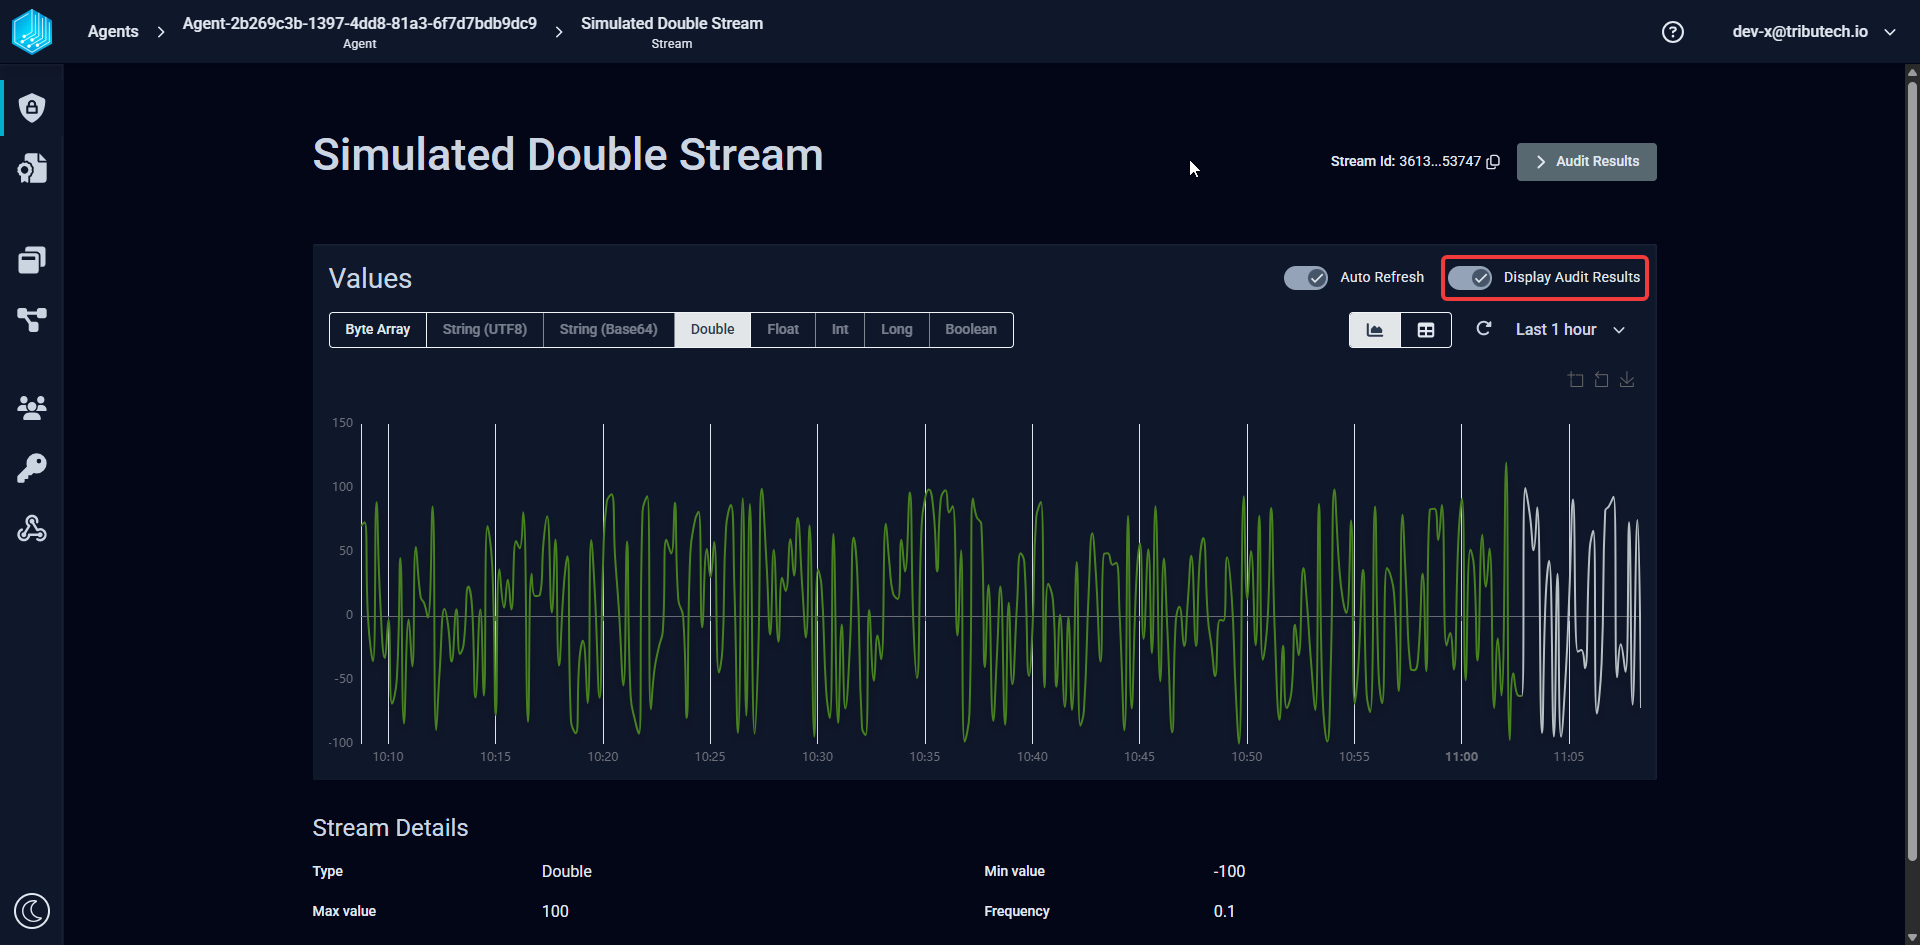
A Table view, which includes a list of all proofs. For each proof the validation can be retriggered with a button click or display the history of validations by selecting a table entry.
This completes the QuickStart, for a more detailed guide and information about the audit process visit Stream Verification. For more information on how to add other types of Tributech Sources visit Source Integration.