Agent Configuration
In the following section we describe how configure and navigate the Tributech Agent via the Tributech Node UI. This requires an successful Setup (or QuickStart) and a completed activation with a Tributech Node.
Searching for an Agent
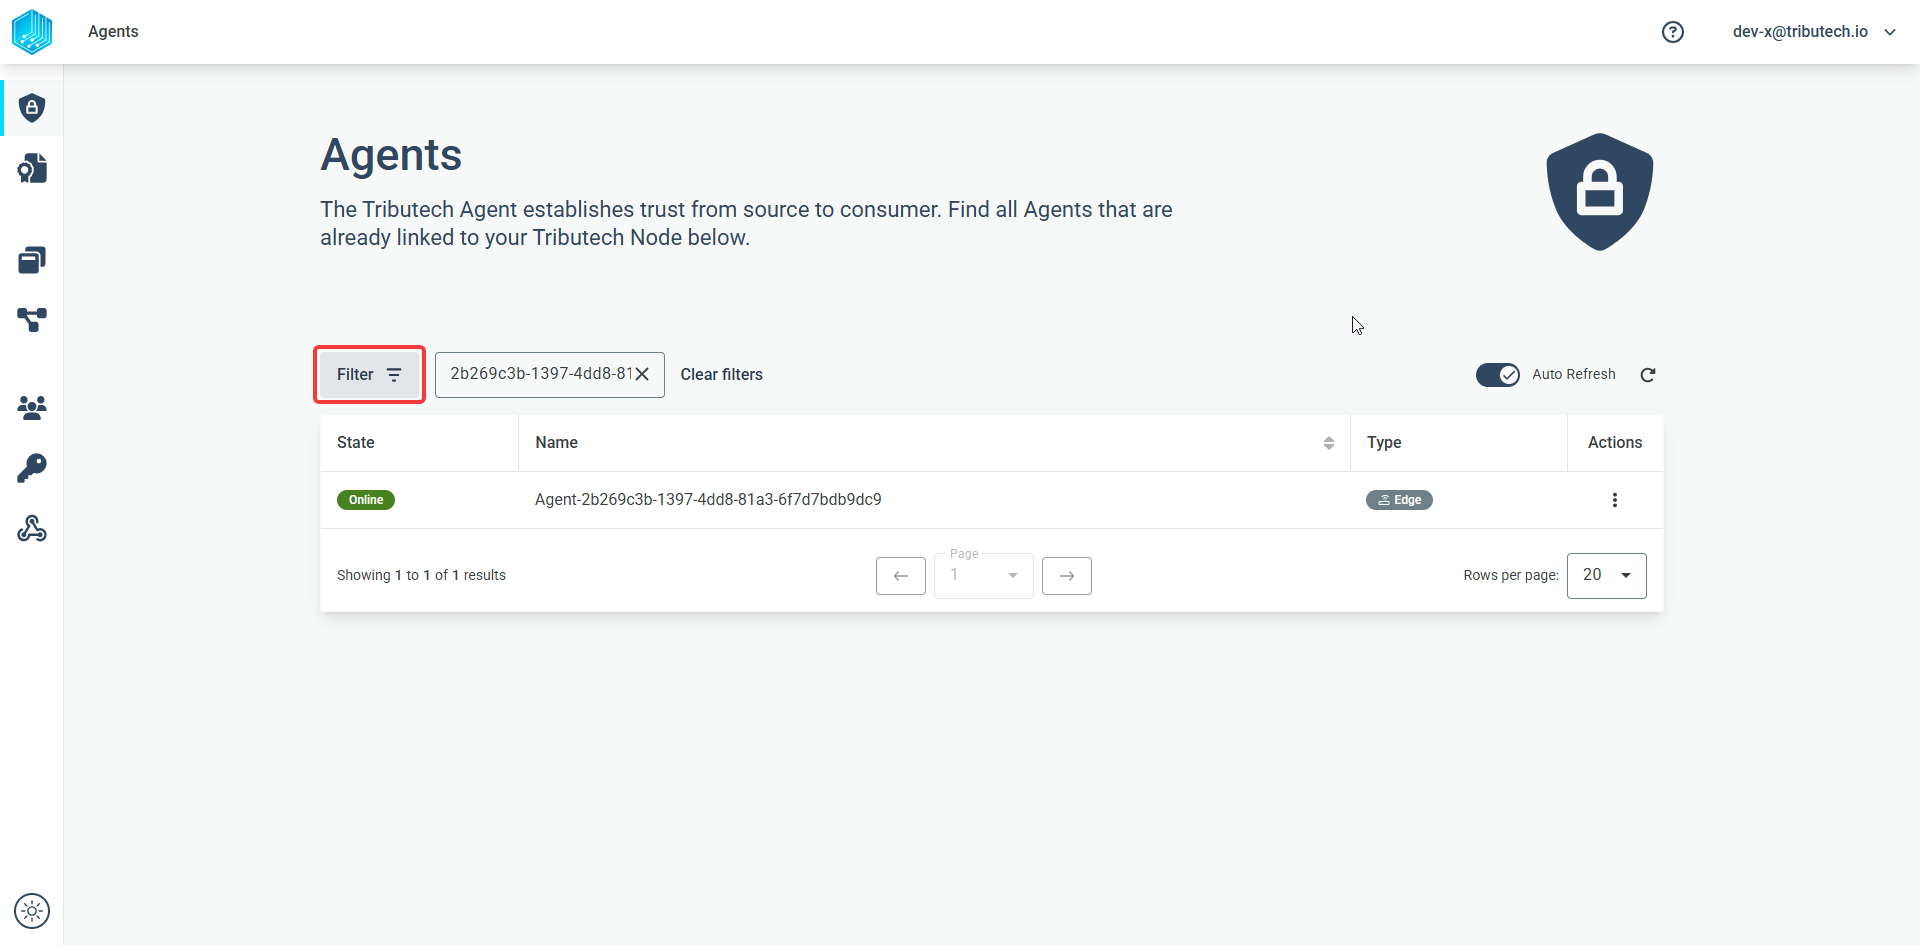
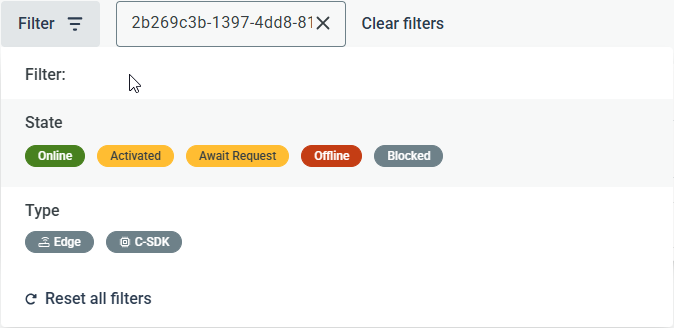
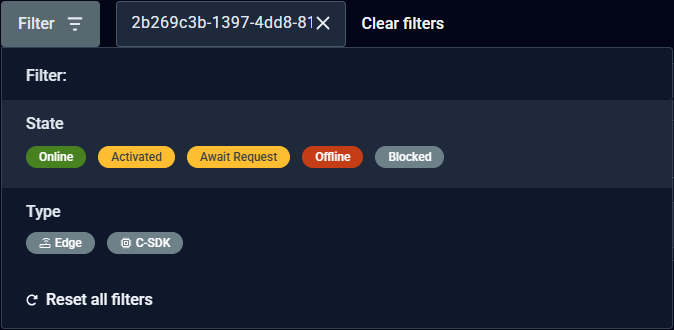
The first step is to find the correct Tributech Agent in the Agent Section. In this overview we can filter agents either by their Agent ID (from the Setup) or by a (partial) name.
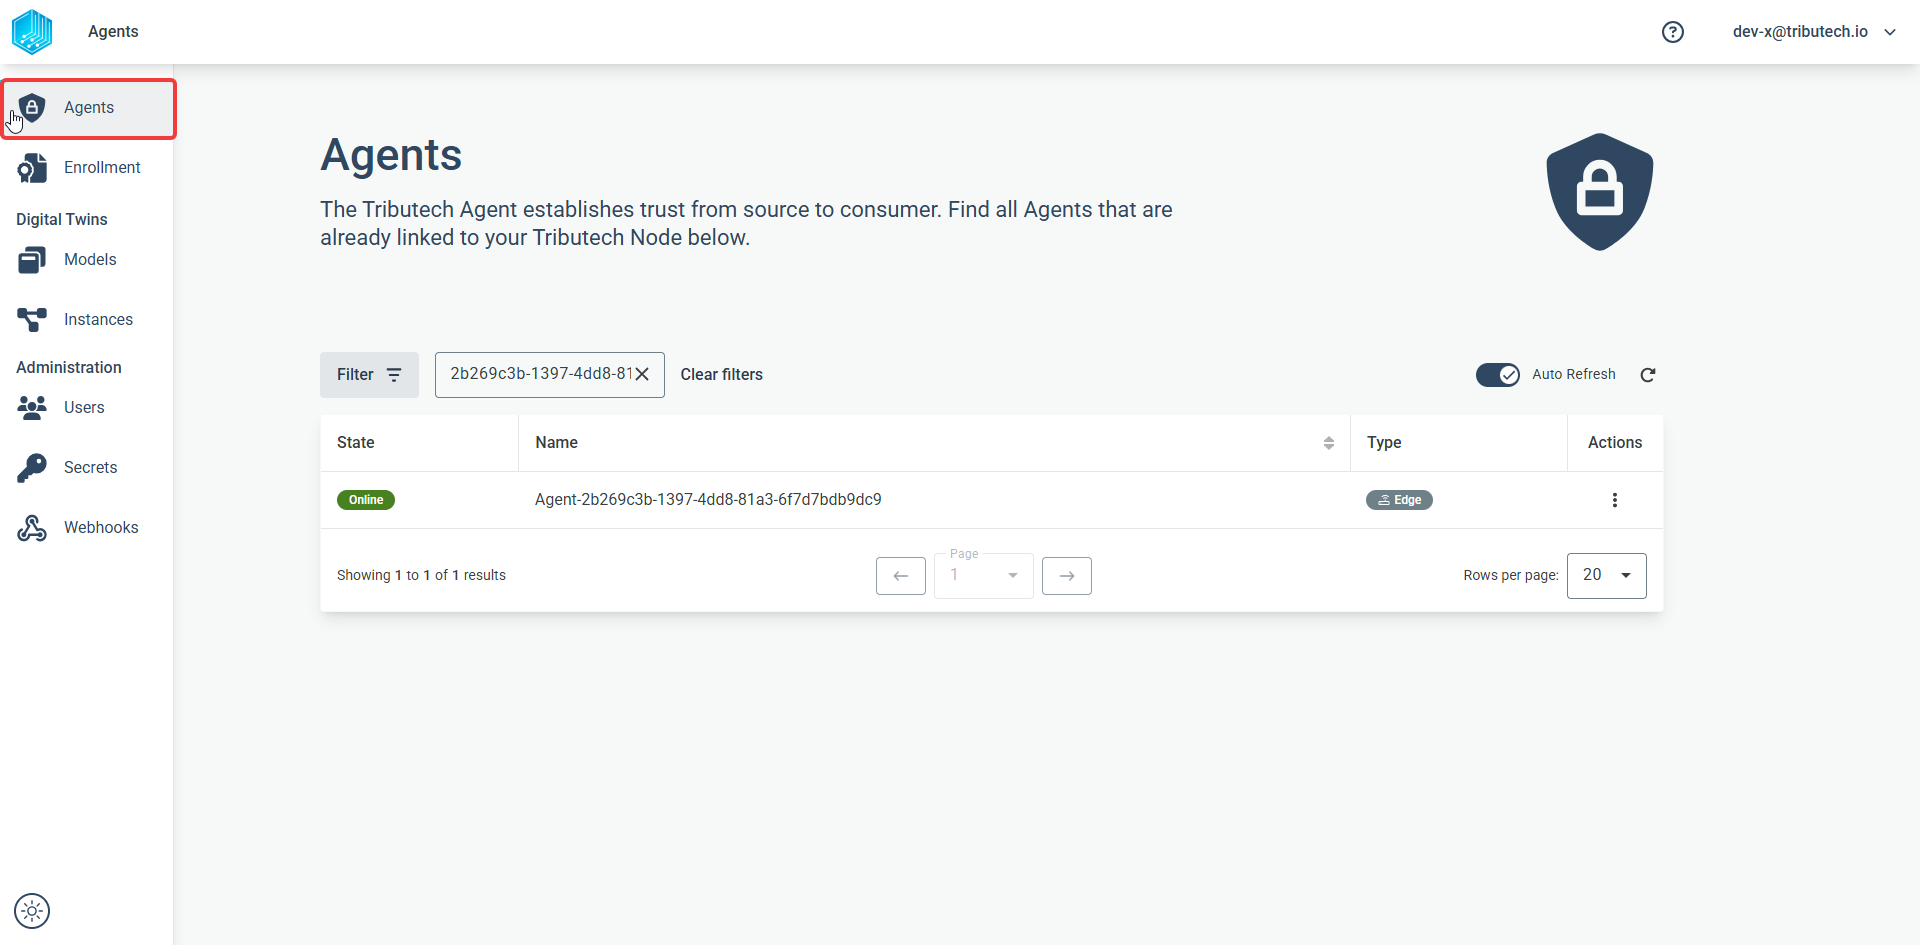
Its also possible to filter agent via states or types:
Searching for a Stream
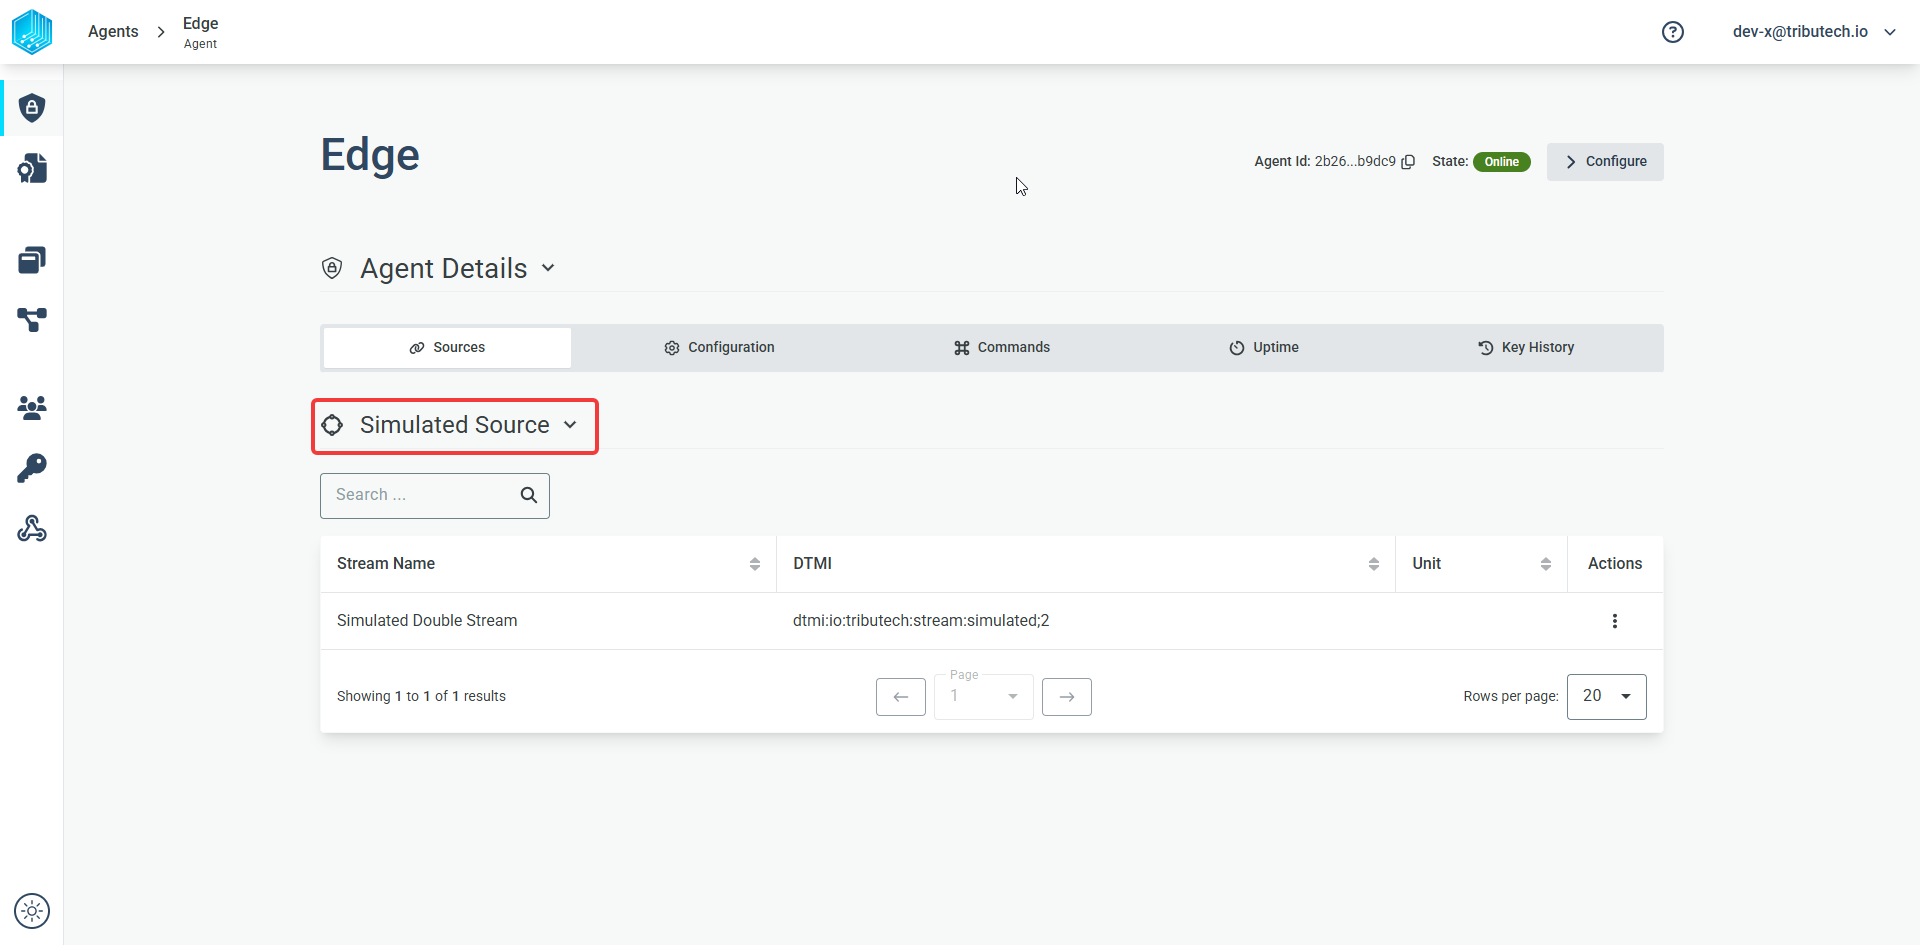
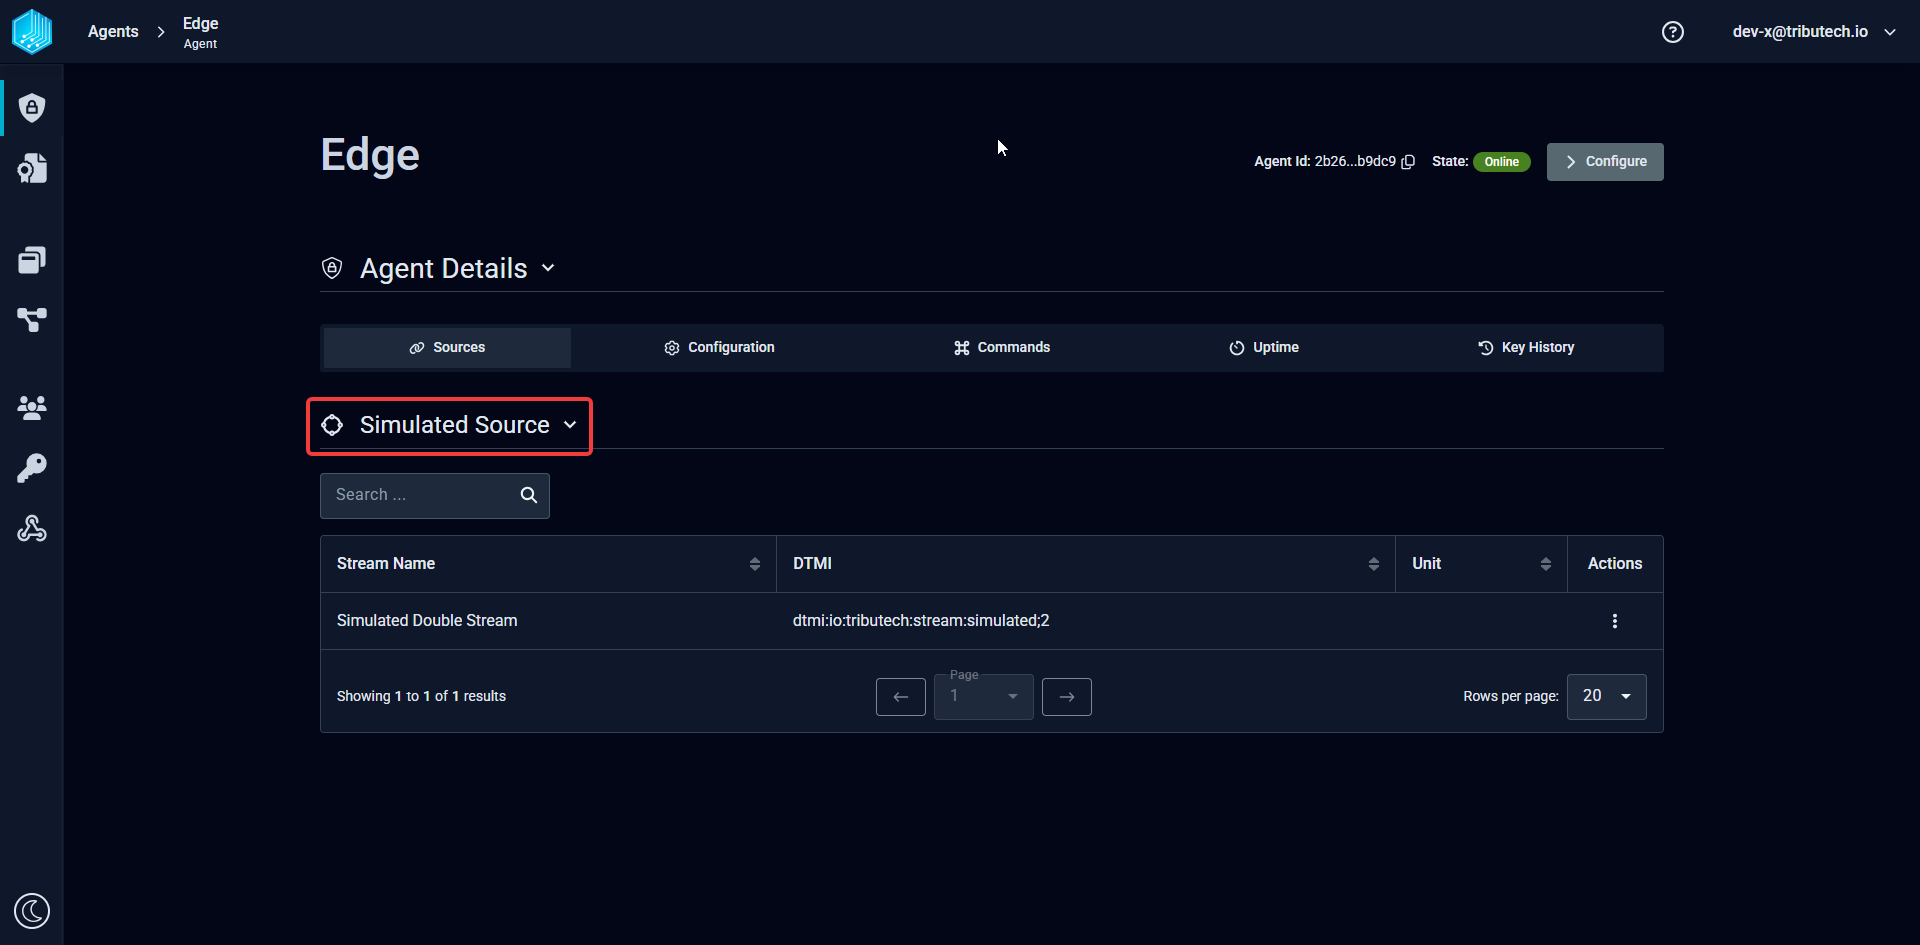
In Order to inspect data and proofs received from a Tributech Agent we need to find the correct stream. Streams can be found in the Tributech Agent details view and filtered by name or id.
Show filter:
Filter by (partial) name:
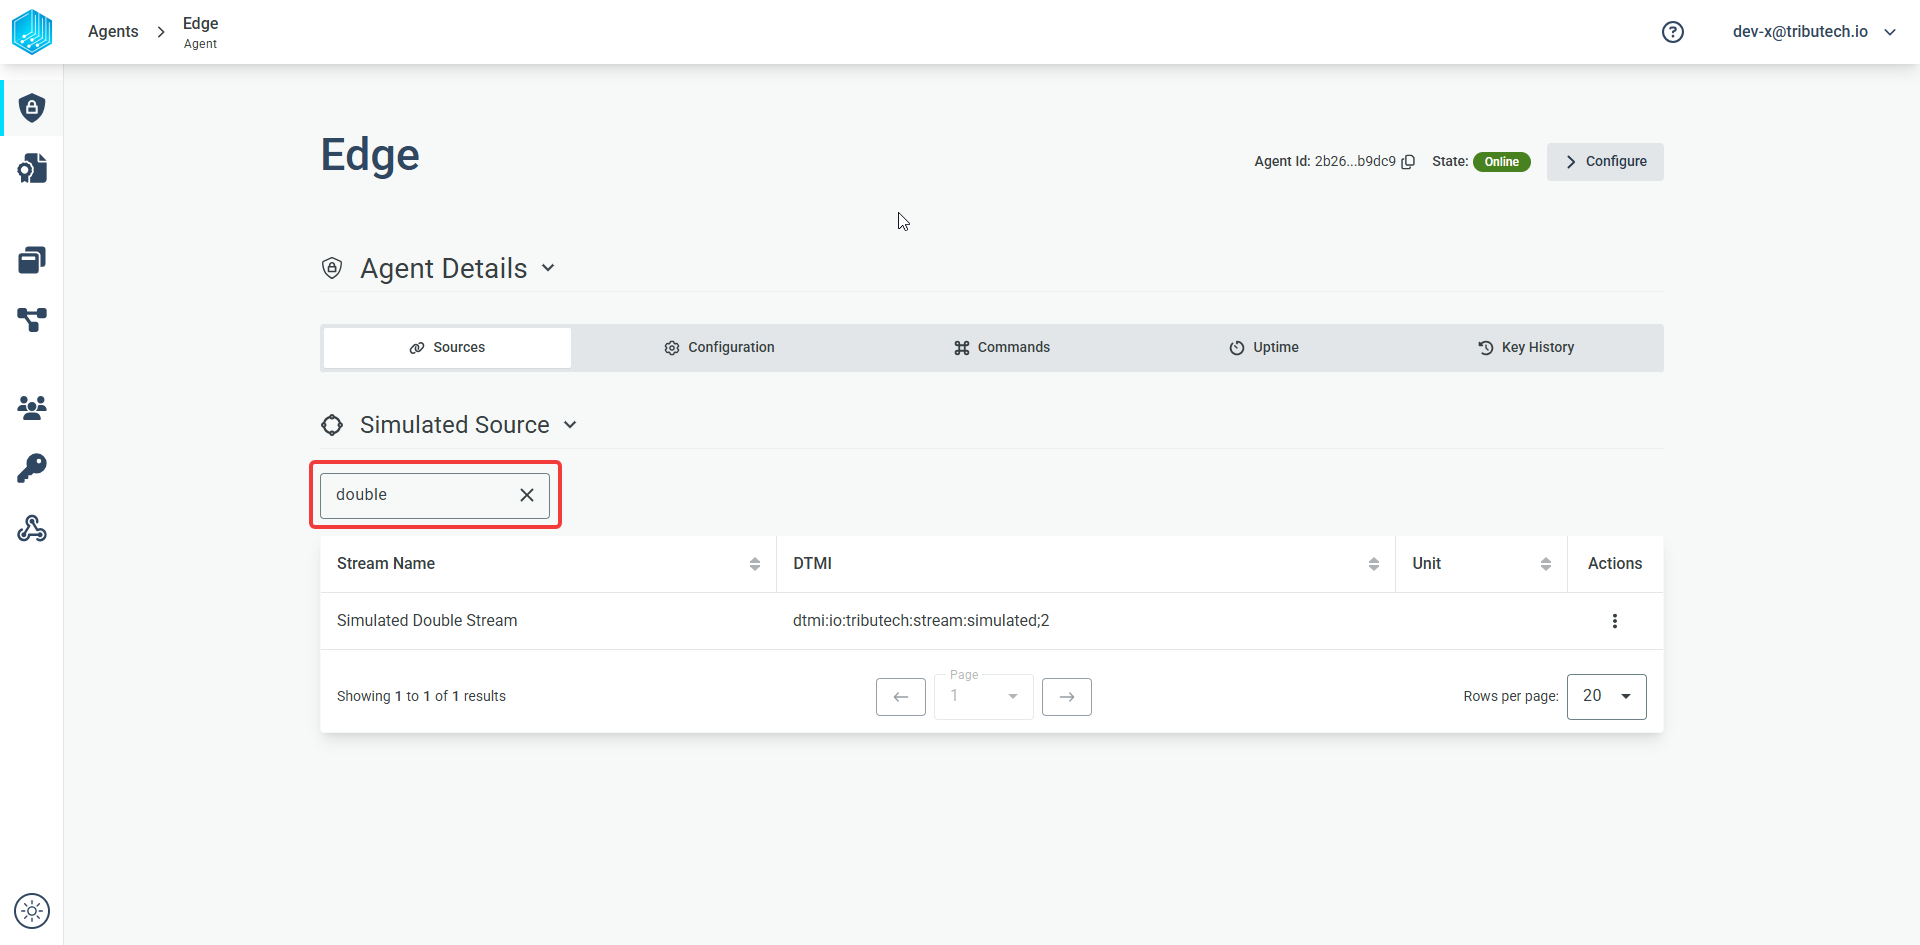
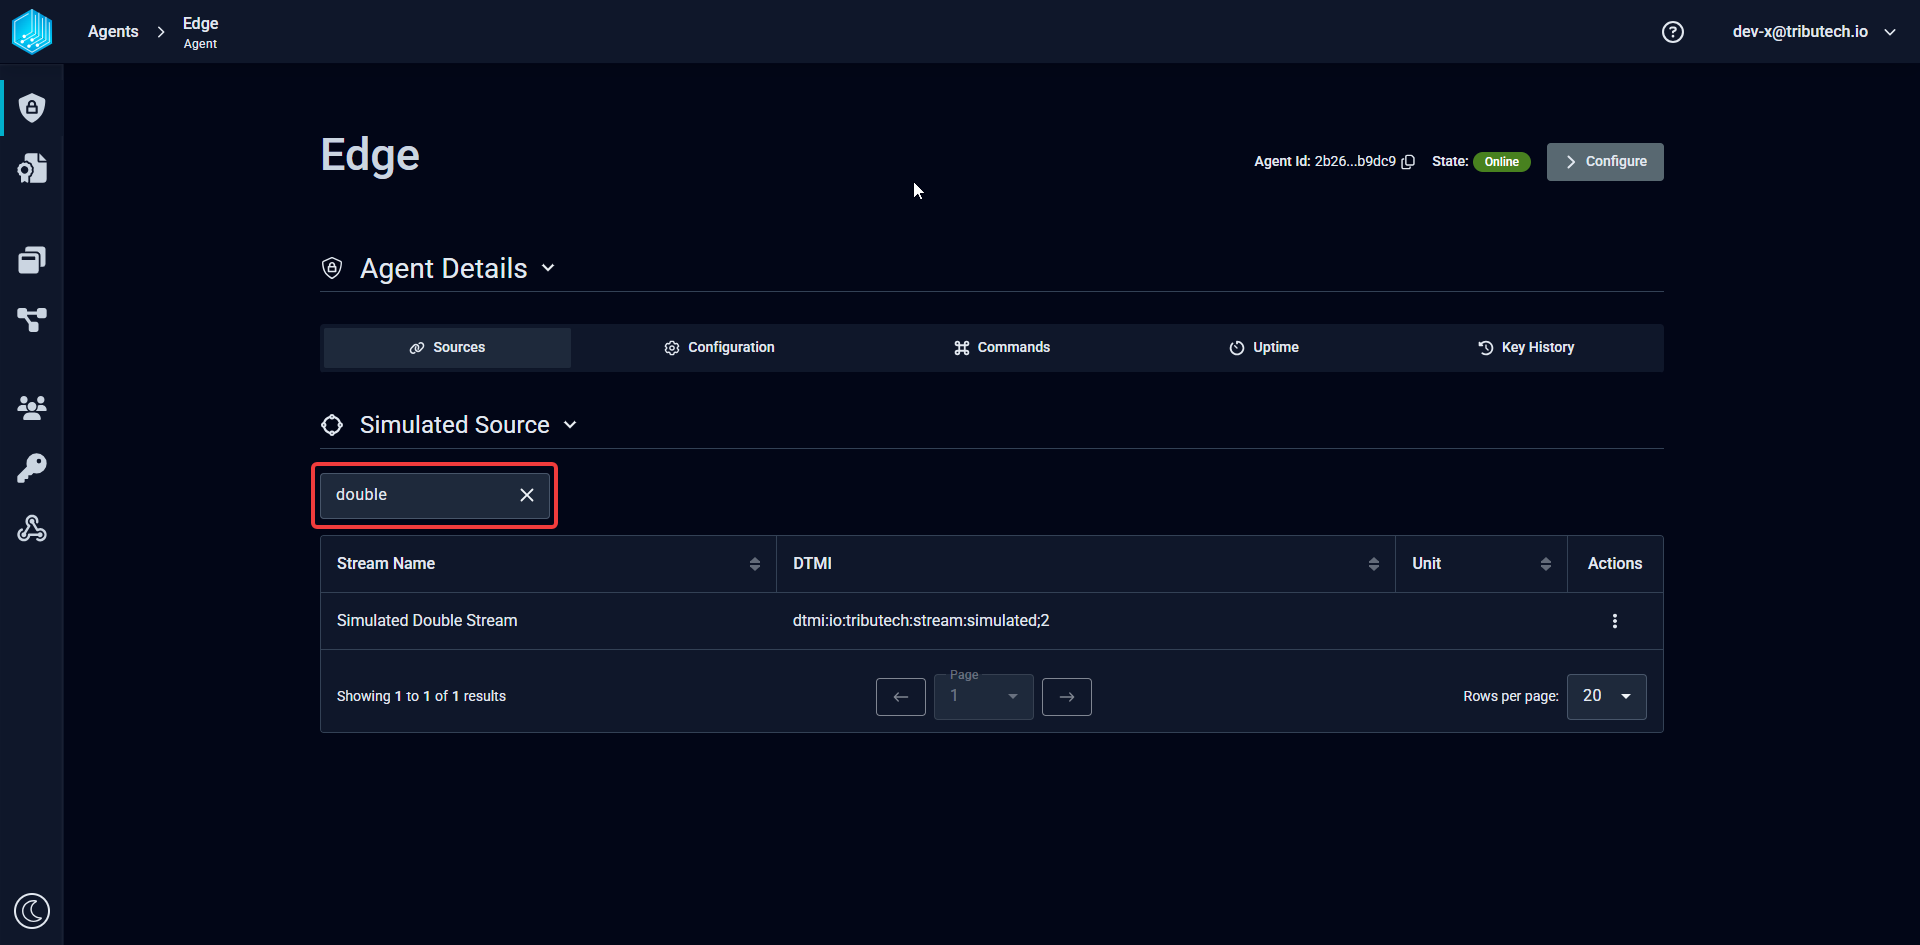
Filter by StreamId:
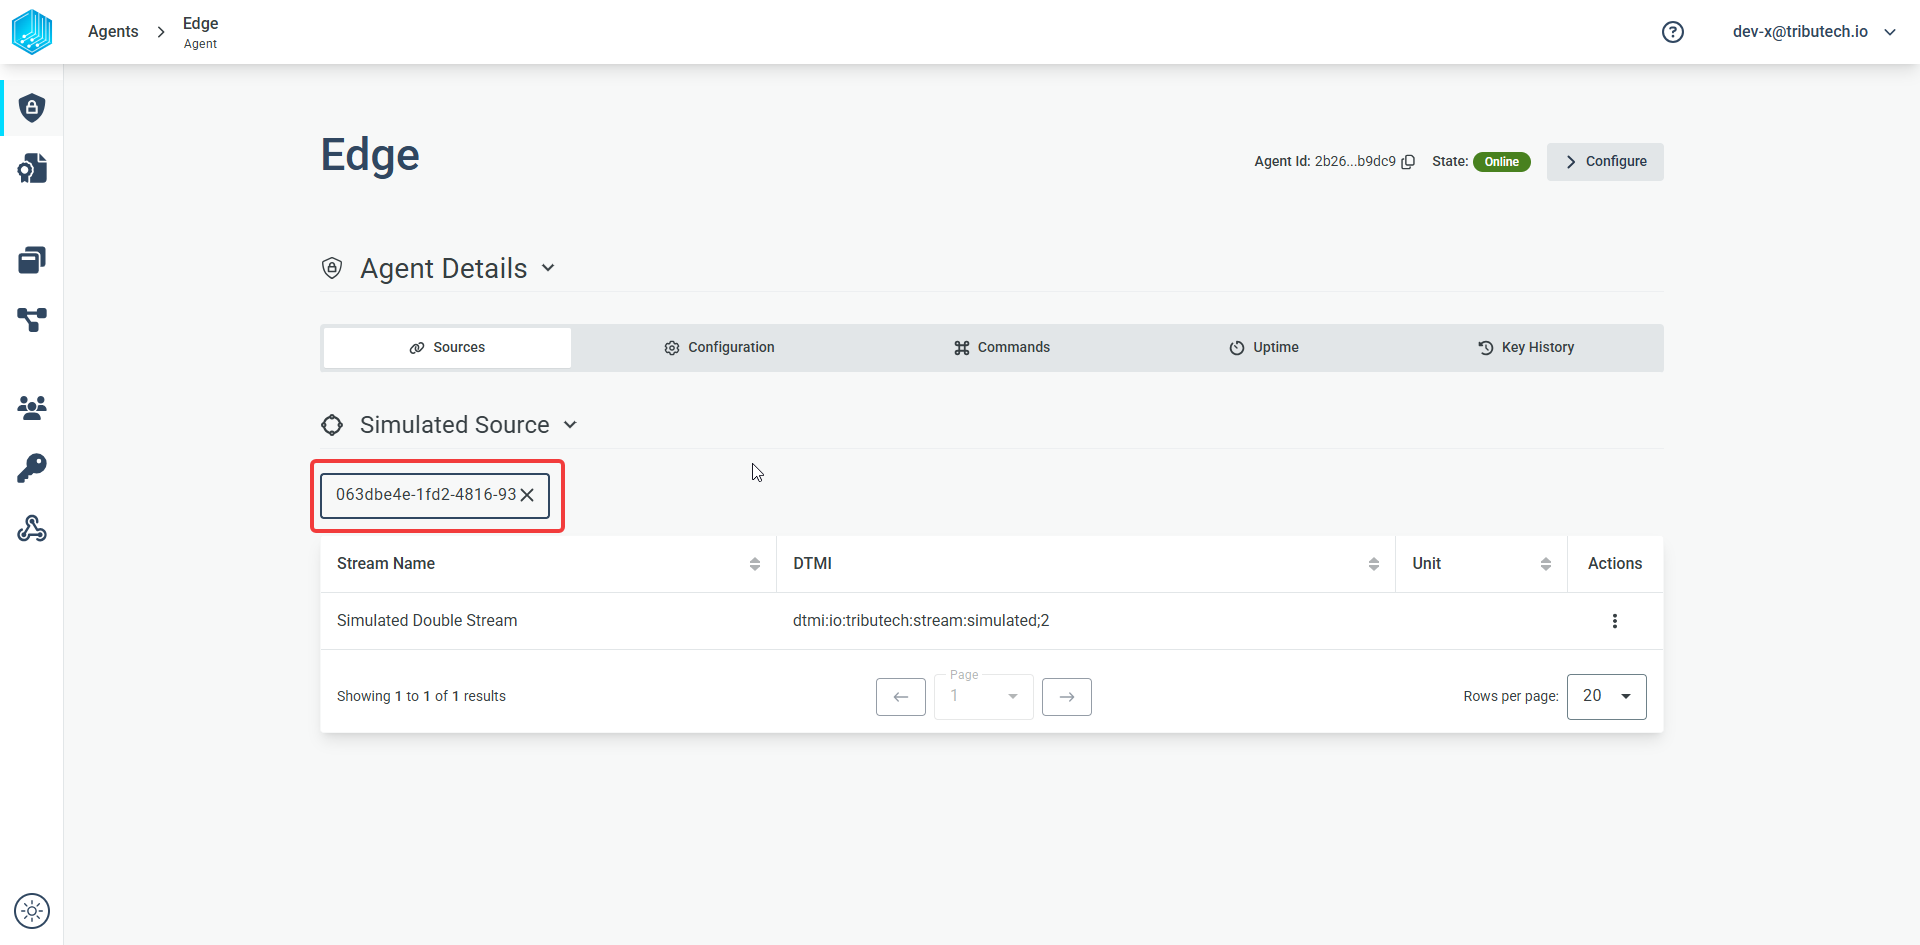
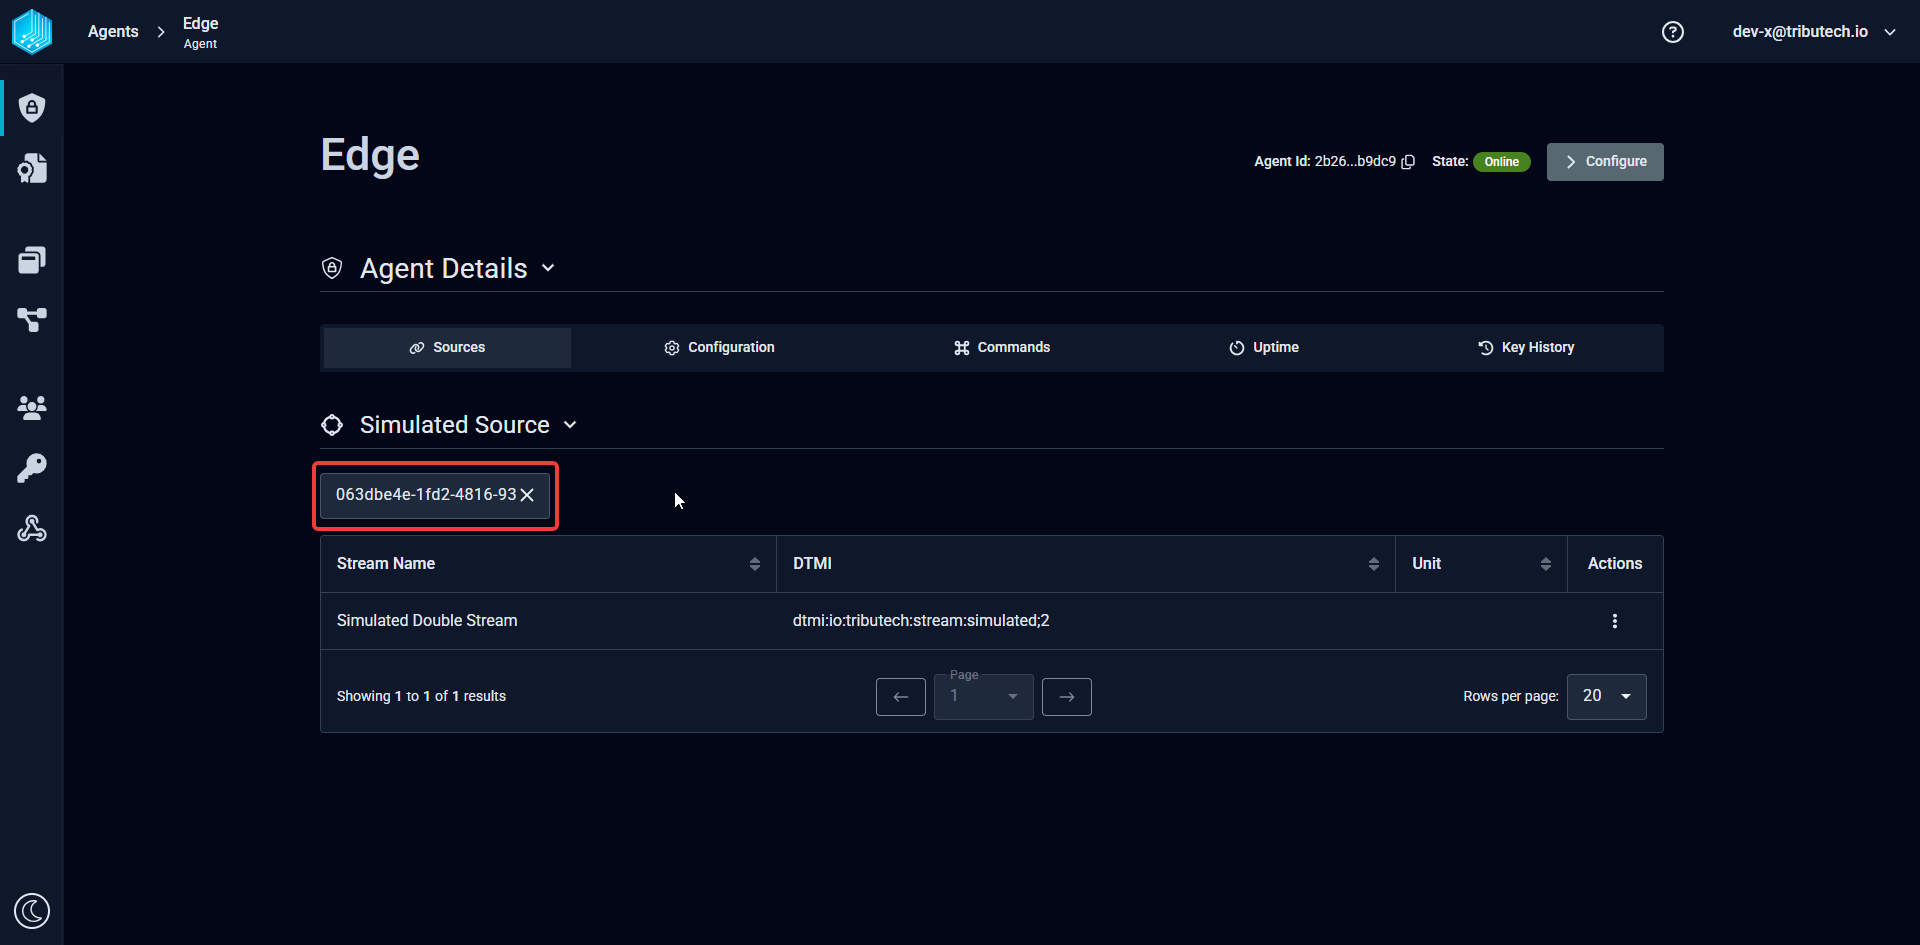
Get the Agent Id
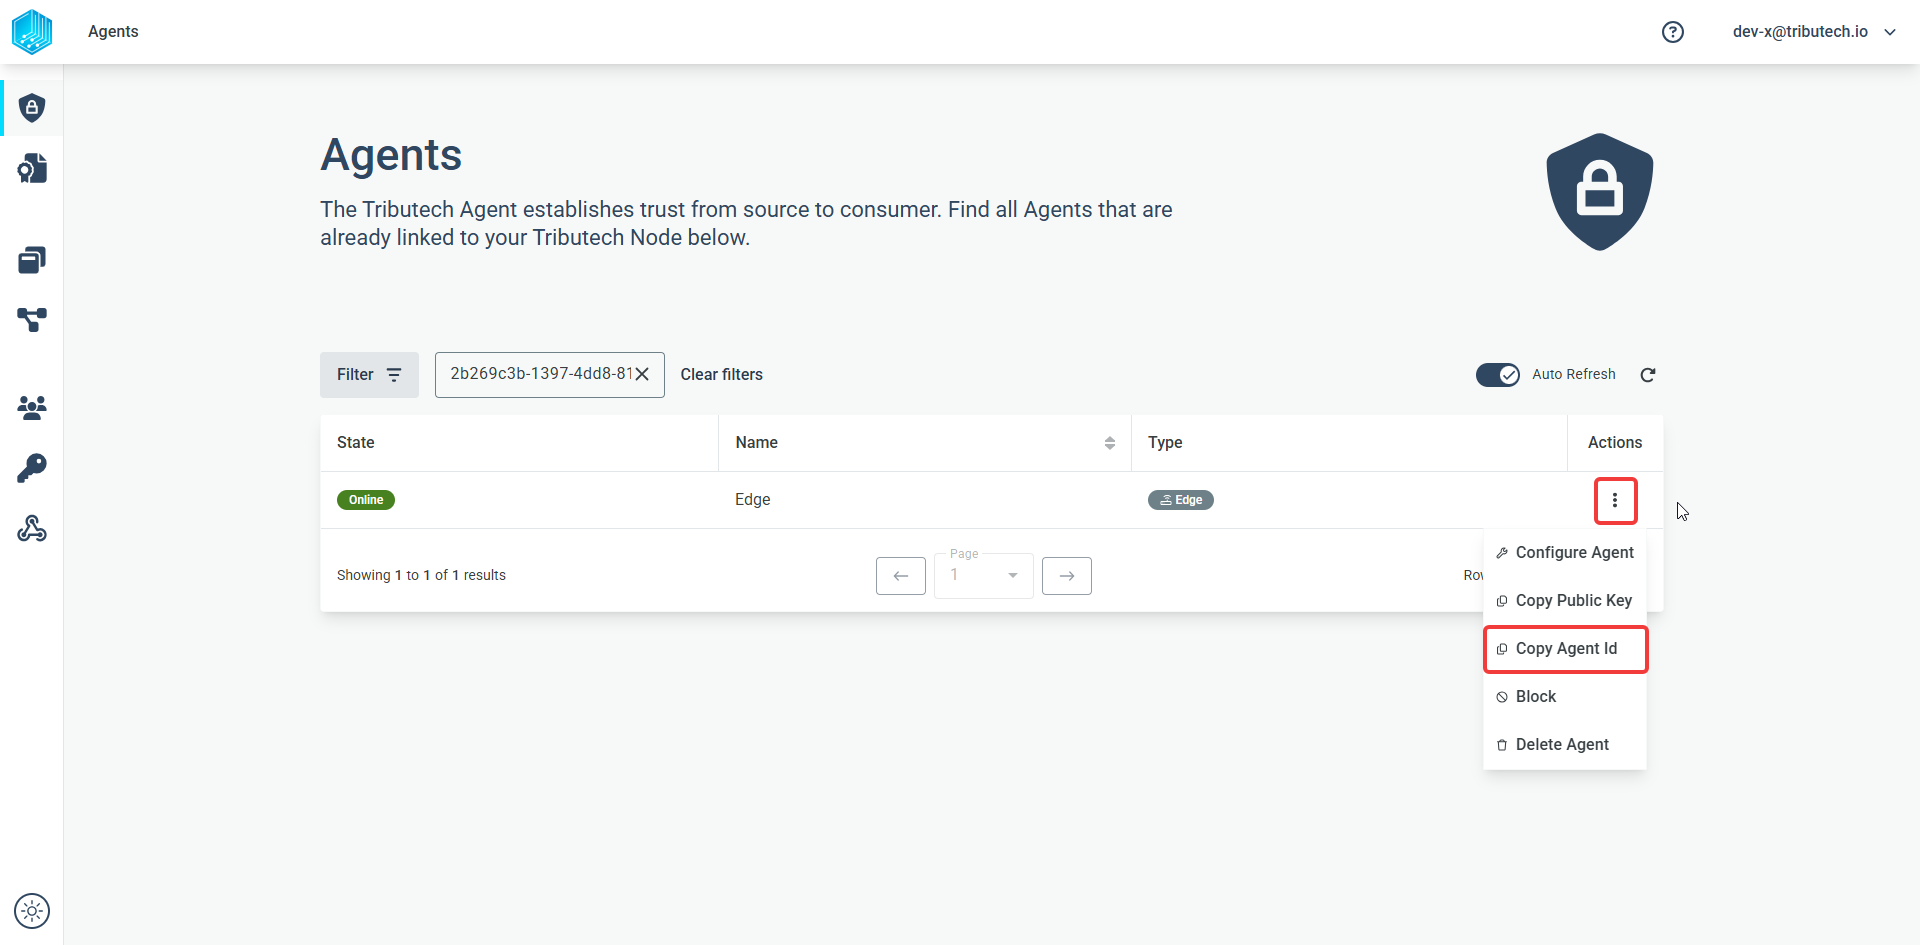
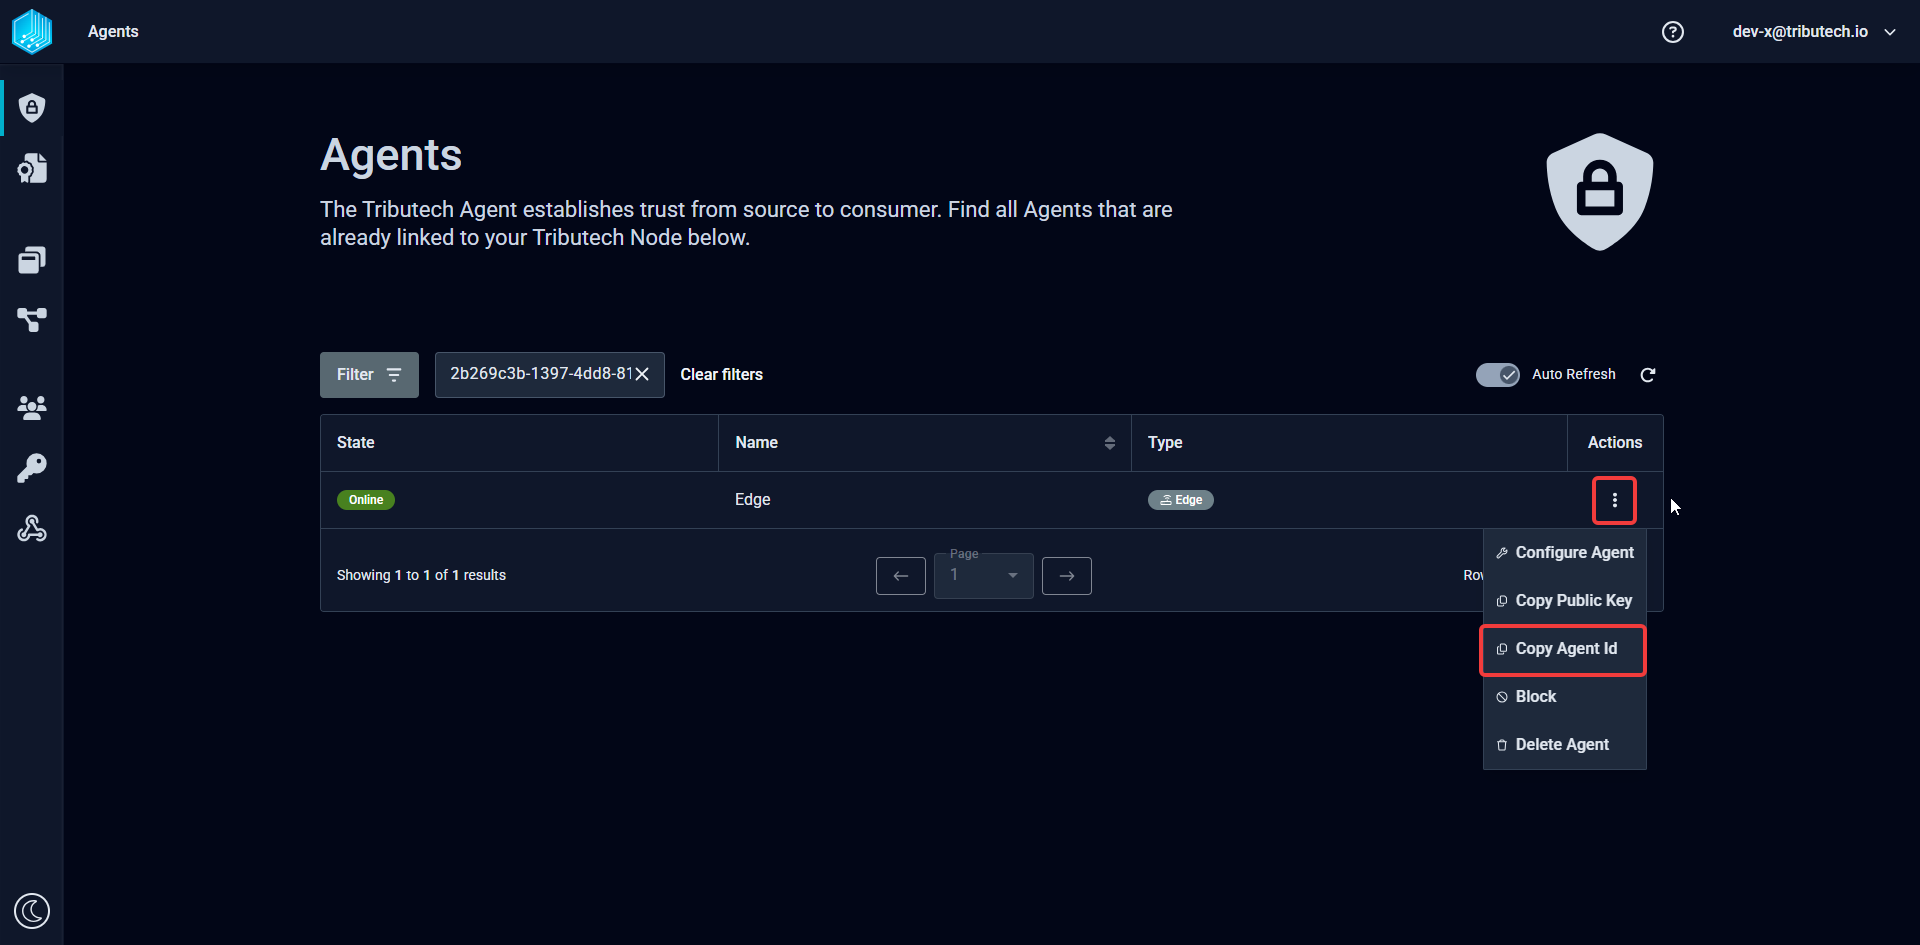
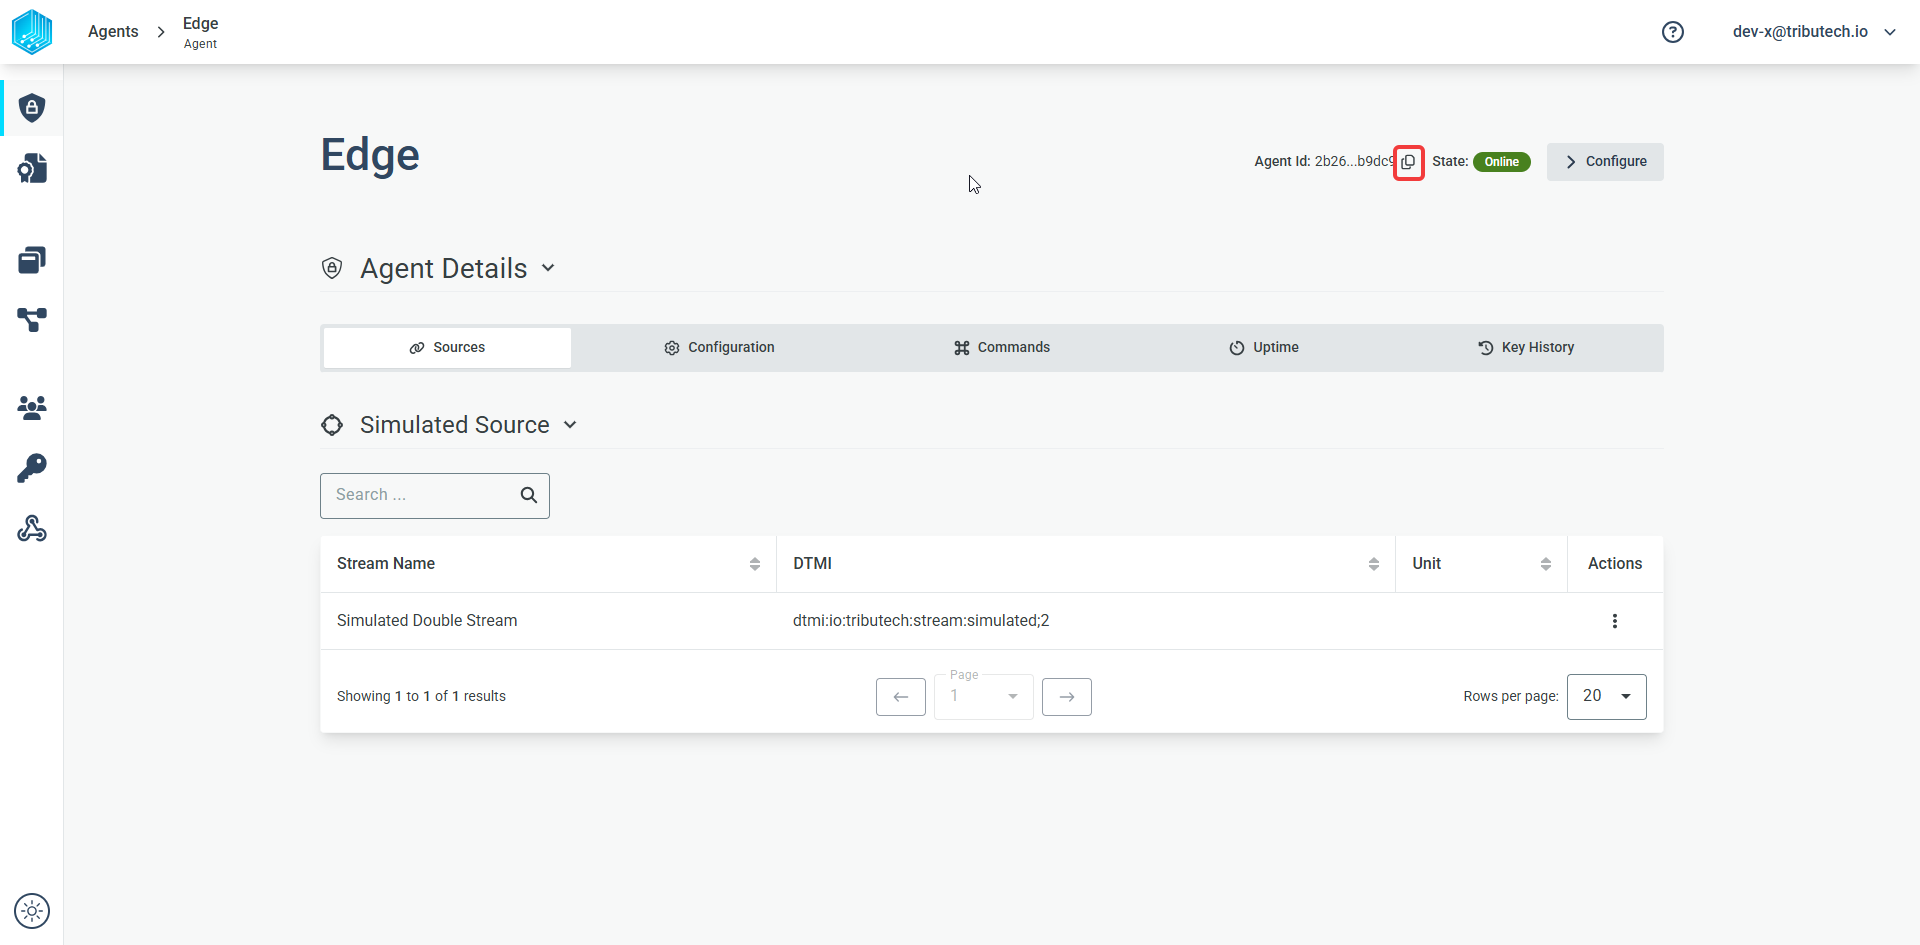
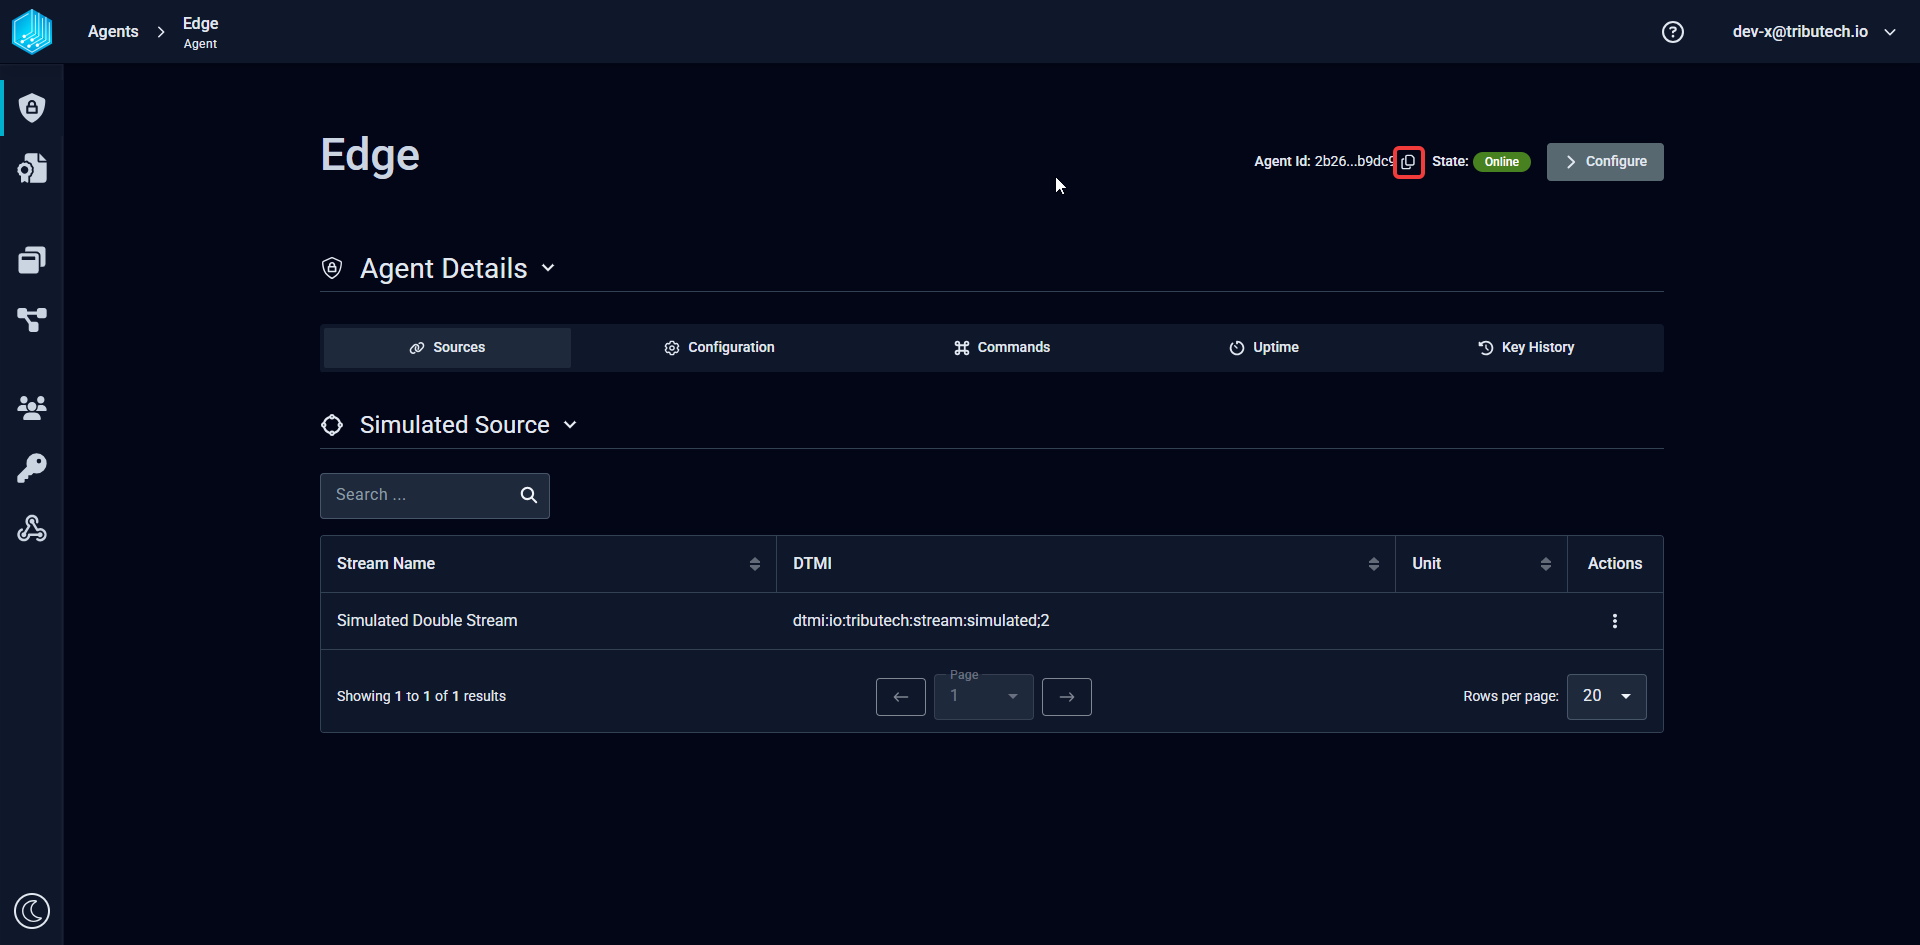
Agents can be referenced either by name or Id, e.g. searching for an agent. An Agent Id is a GUID (Globally Unique Identifier) that is assigned to a Tributech Agent on startup (see Setup (or QuickStart)) and will never change. When interacting with the Tributech Node API its required for many operations to specify which Tributech Agent we will be interacting with and the selection is done via the Agent Id. In the following enumeration we want to show where to find the Agent Id in the Tributech UI:
In the Agent Section:
In the Agent details (can be accessed by clicking the agent table entry in the Agent Section):
Get a Stream Id
Collected data is always bound to a data stream which is a collection of information that can be identified by the unique StreamId, i.e. a GUID (Globally Unique Identifier). The StreamId can be used to access values and proofs via the Tributech Node API and map data from Webhook Events. We can access the StreamId either via:
agent details (can be access by clicking the agent entry in the Agent section) actions:
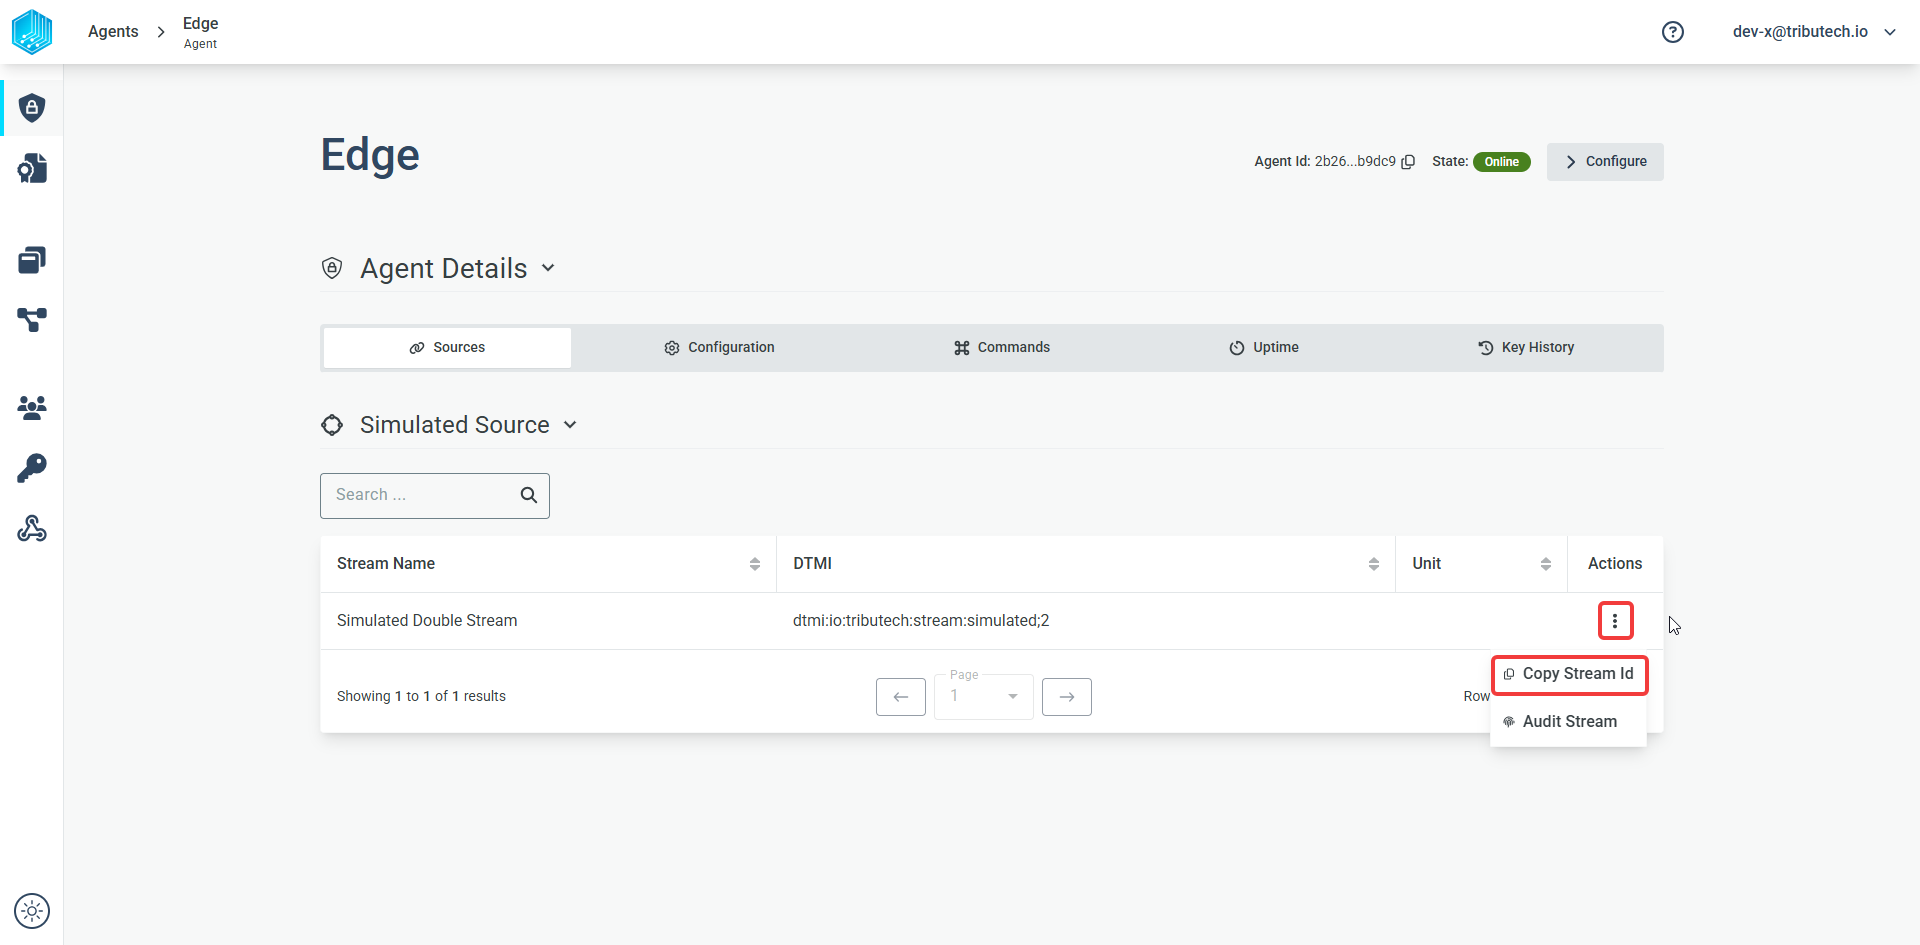
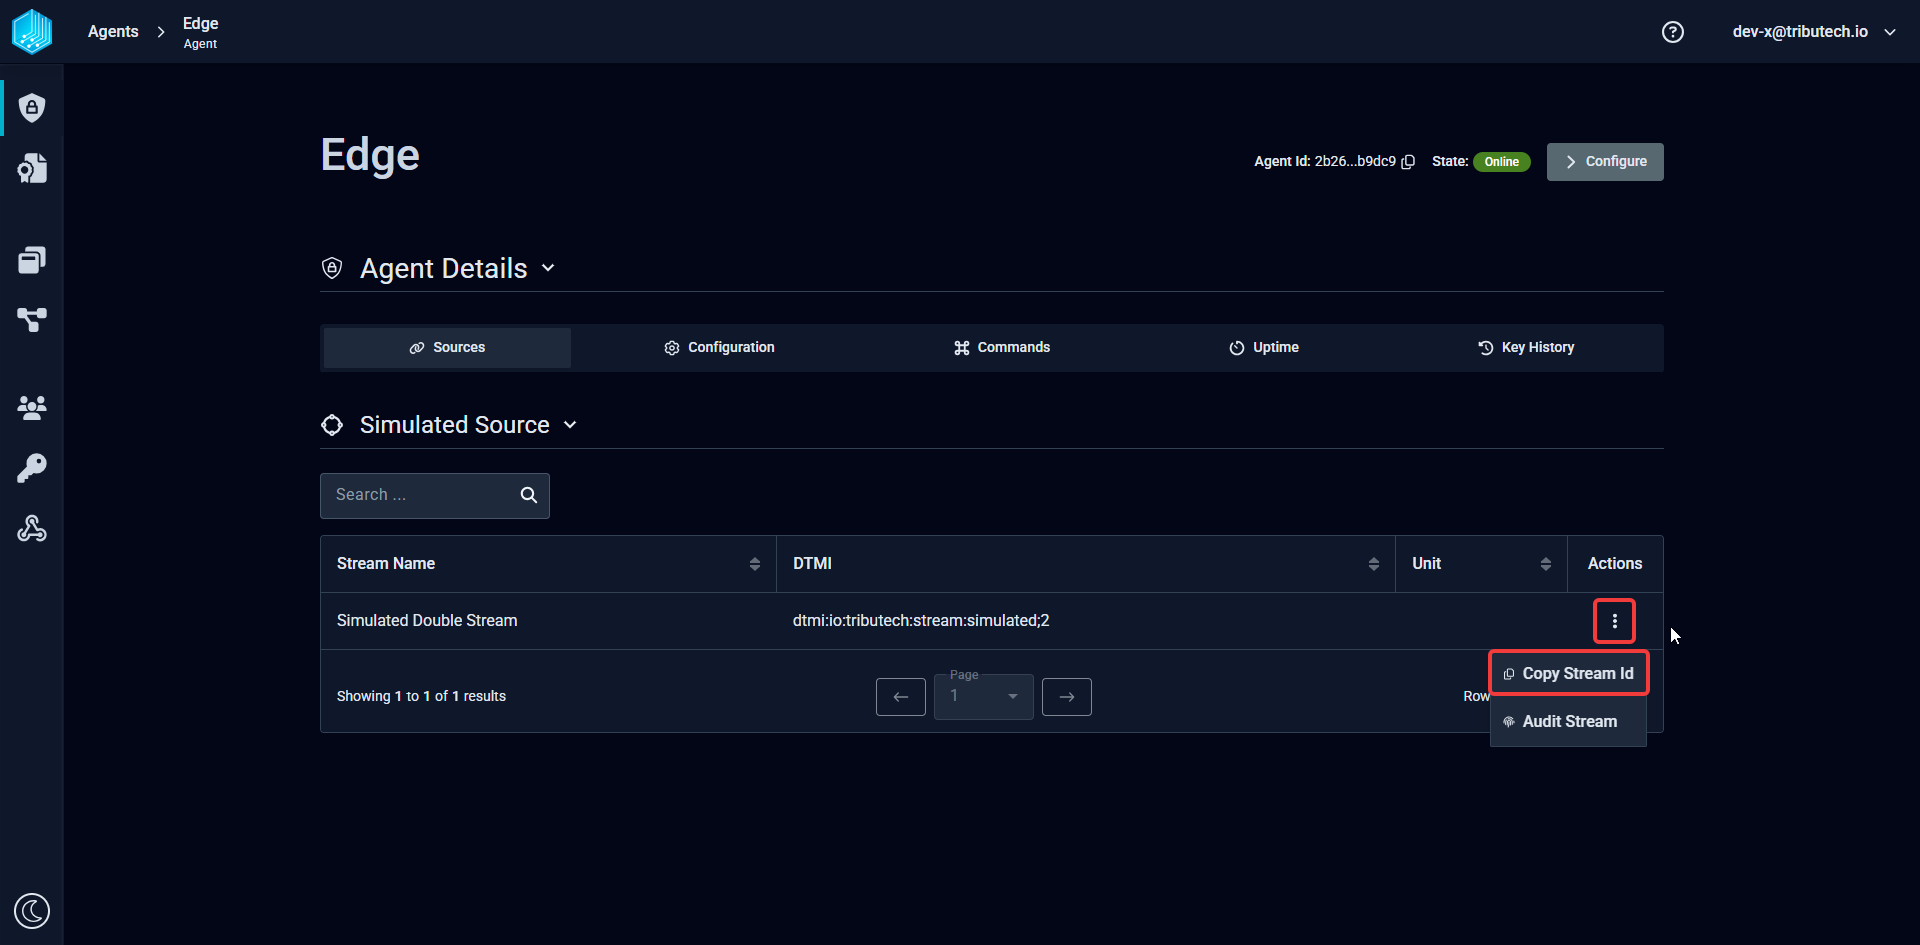
or by inspecting a specific stream
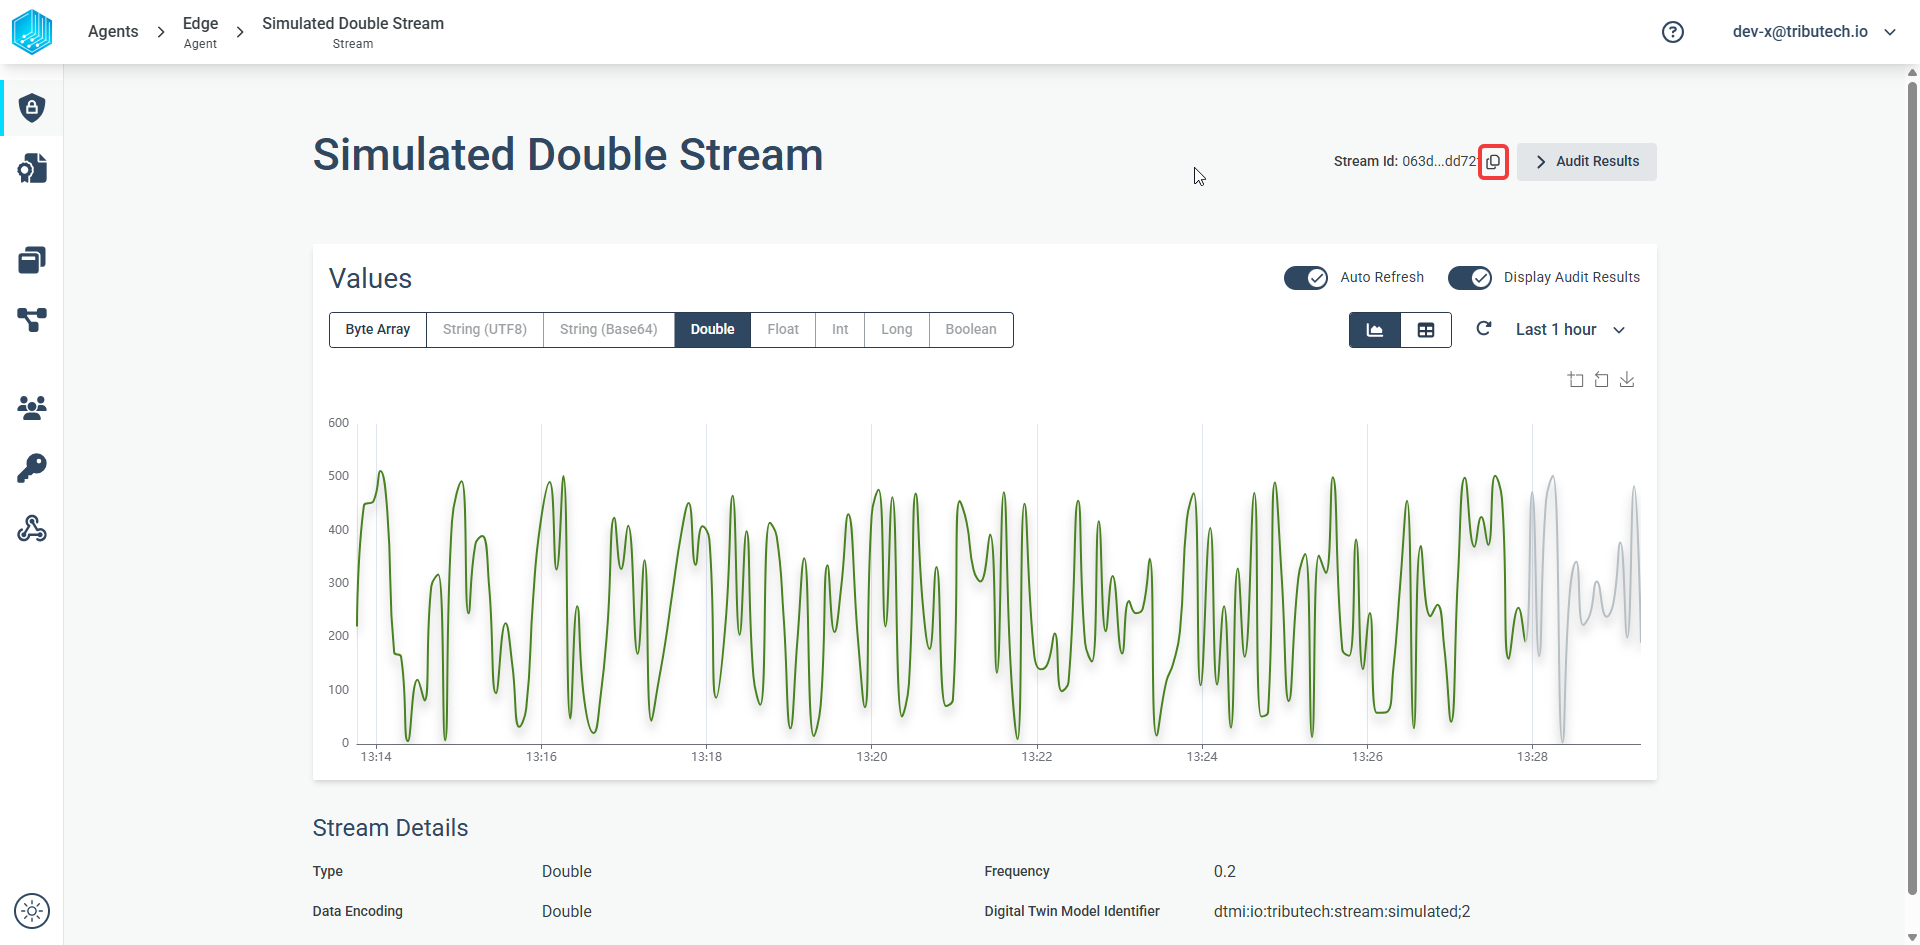
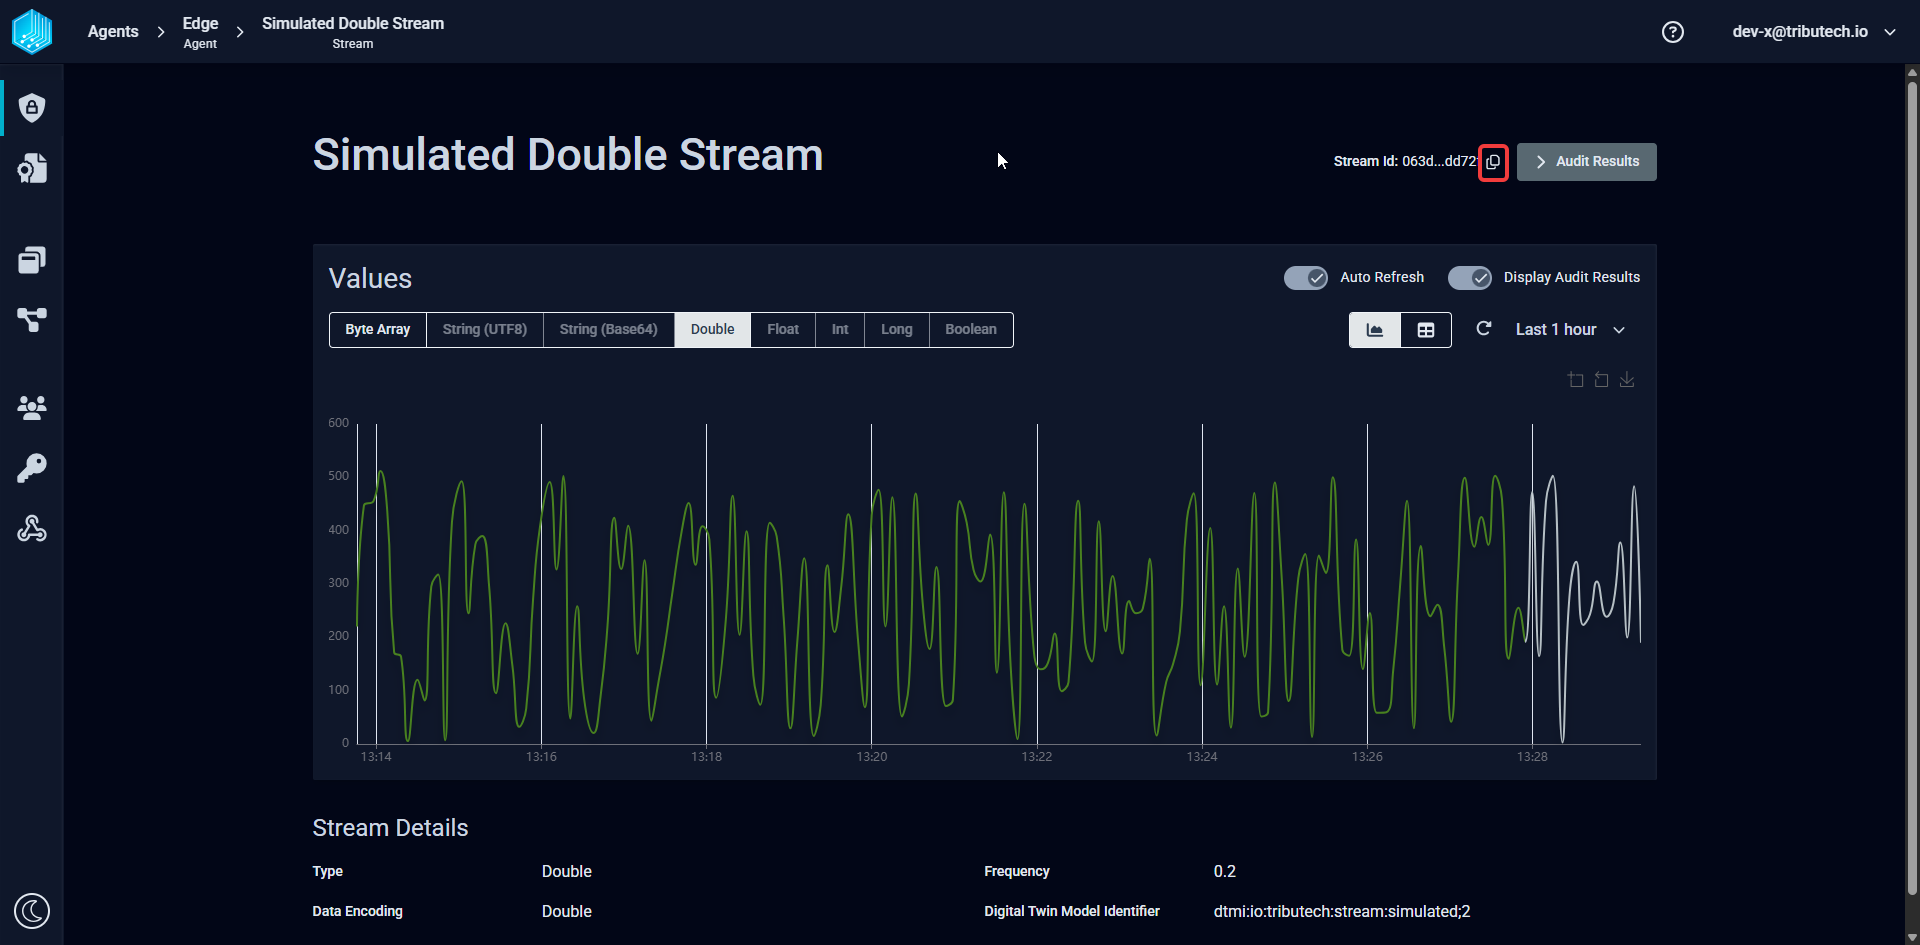
Configuring an Agent
After activating an the Tributech Agent (see Agent Management) we can configure the settings of an Tributech Agent
by changes the Digital Twin. Those settings include properties of the Tributech Agent like naming, merkle depth etc or managing relationships and associated Tributech Sources and Source settings. The starting point for all this operations is the
Twin Workspace and we show in this section how to make changes to the Digital Twin. Details on how to configure specific Sources can be found in the corresponding Tributech Sources overview.
We can access the Twin Workspace either via selecting Configure Agent in the actions context menu.
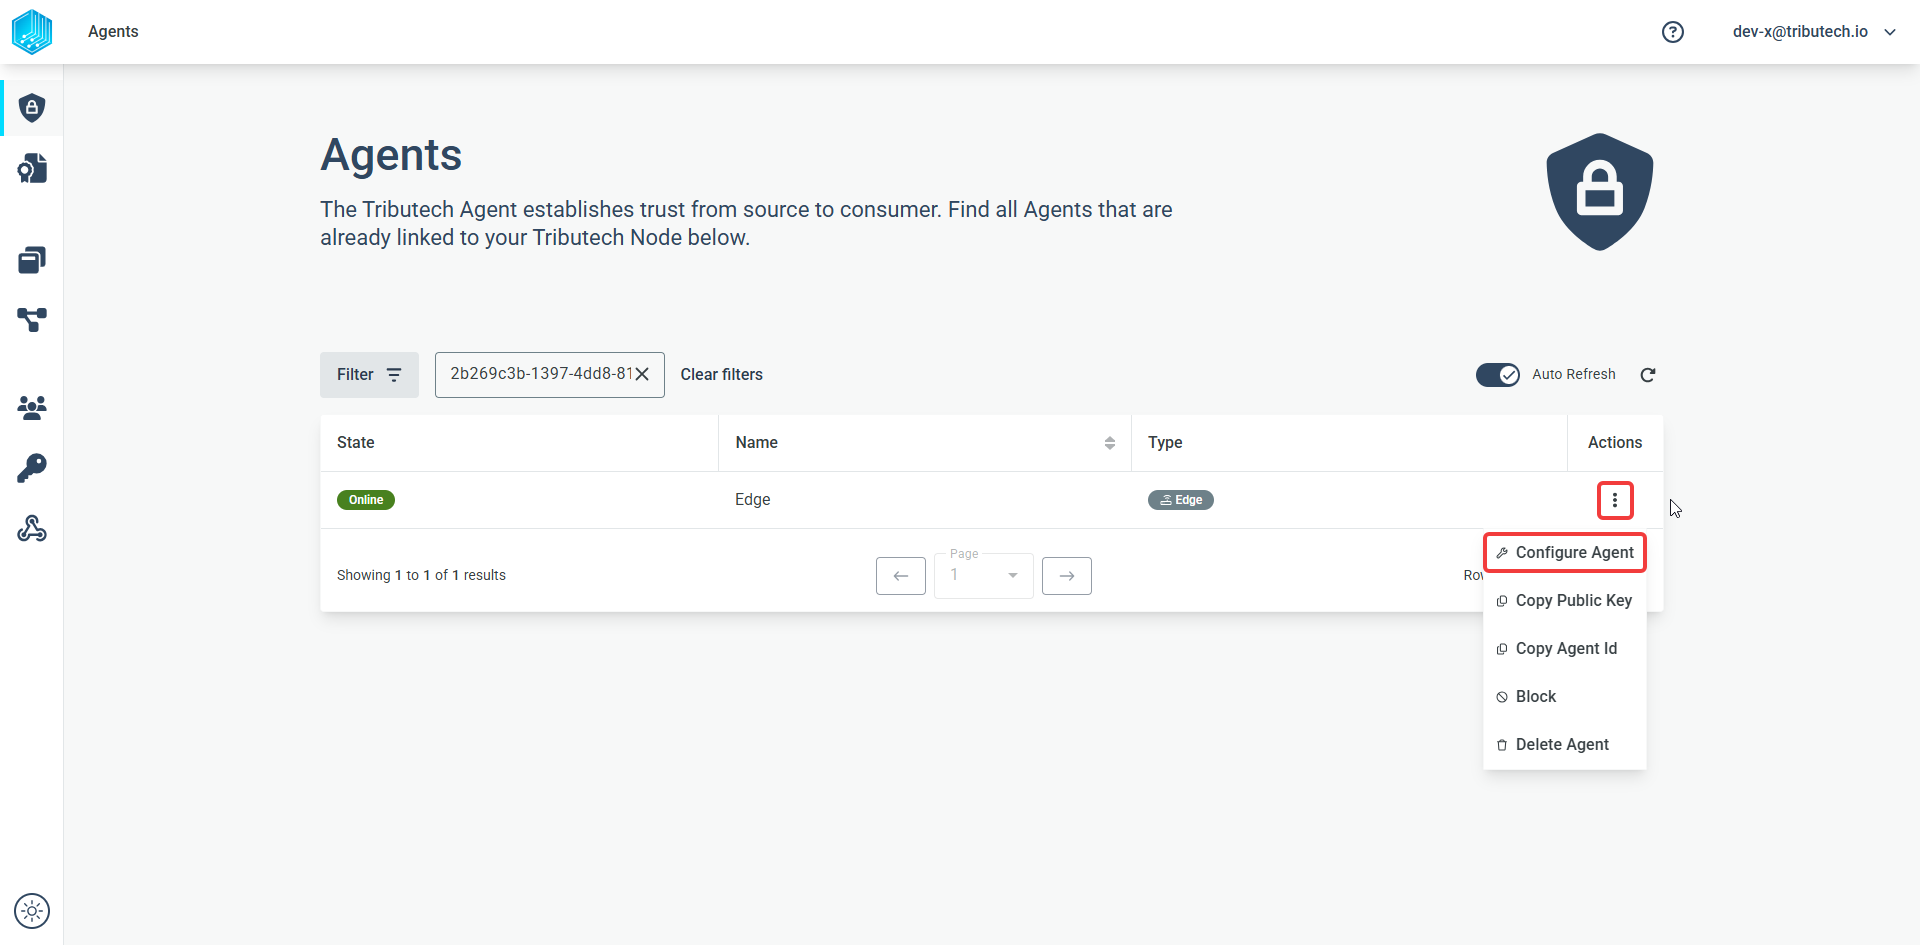
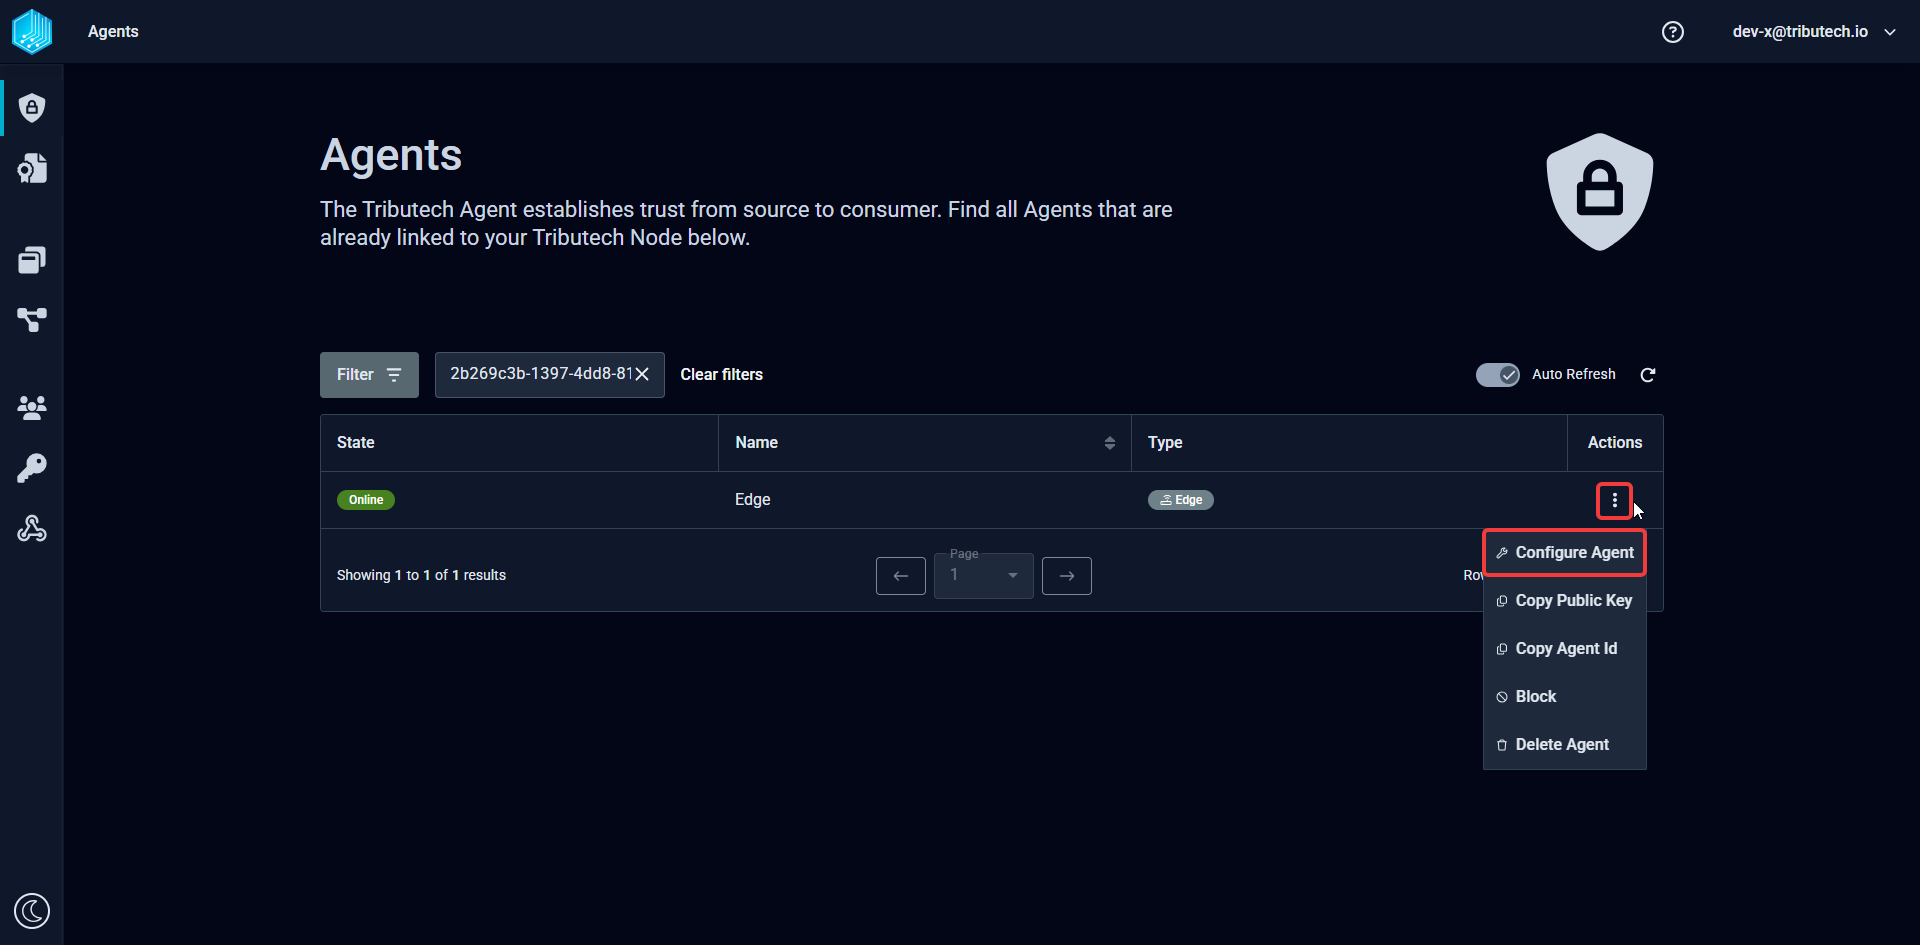
or by simply click the entry in the Agents section followed by CONFIGURE in the Agent details
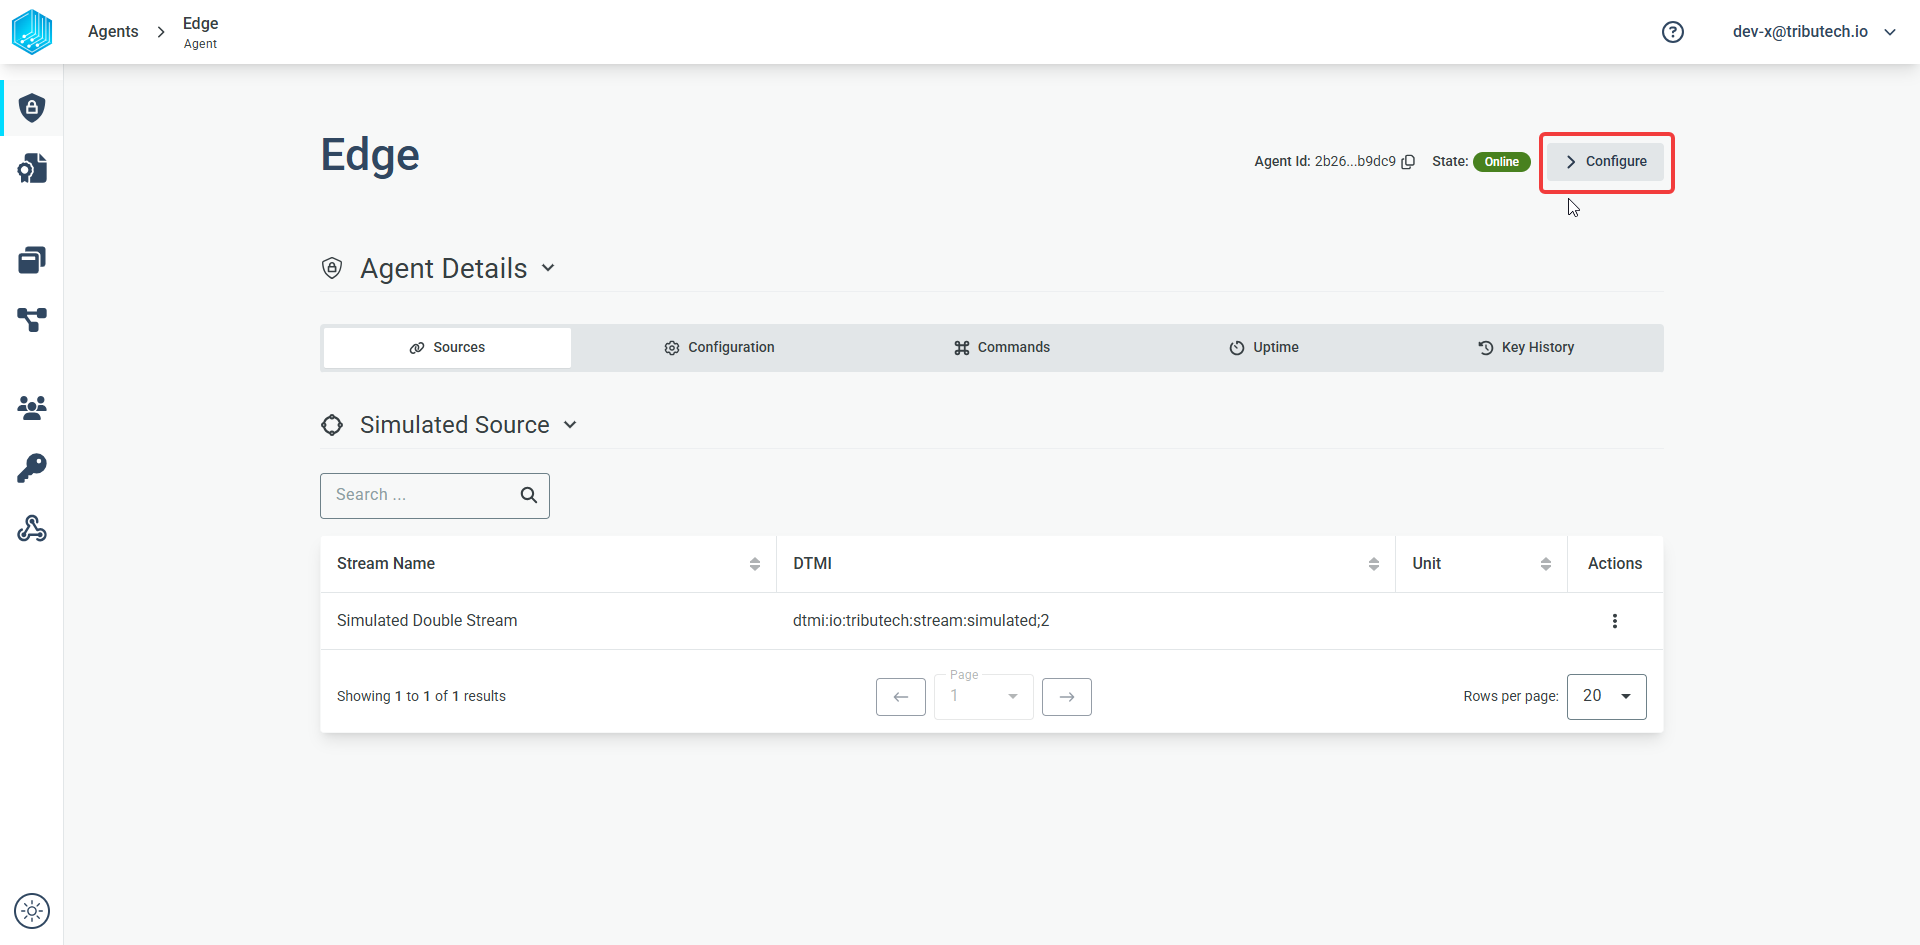
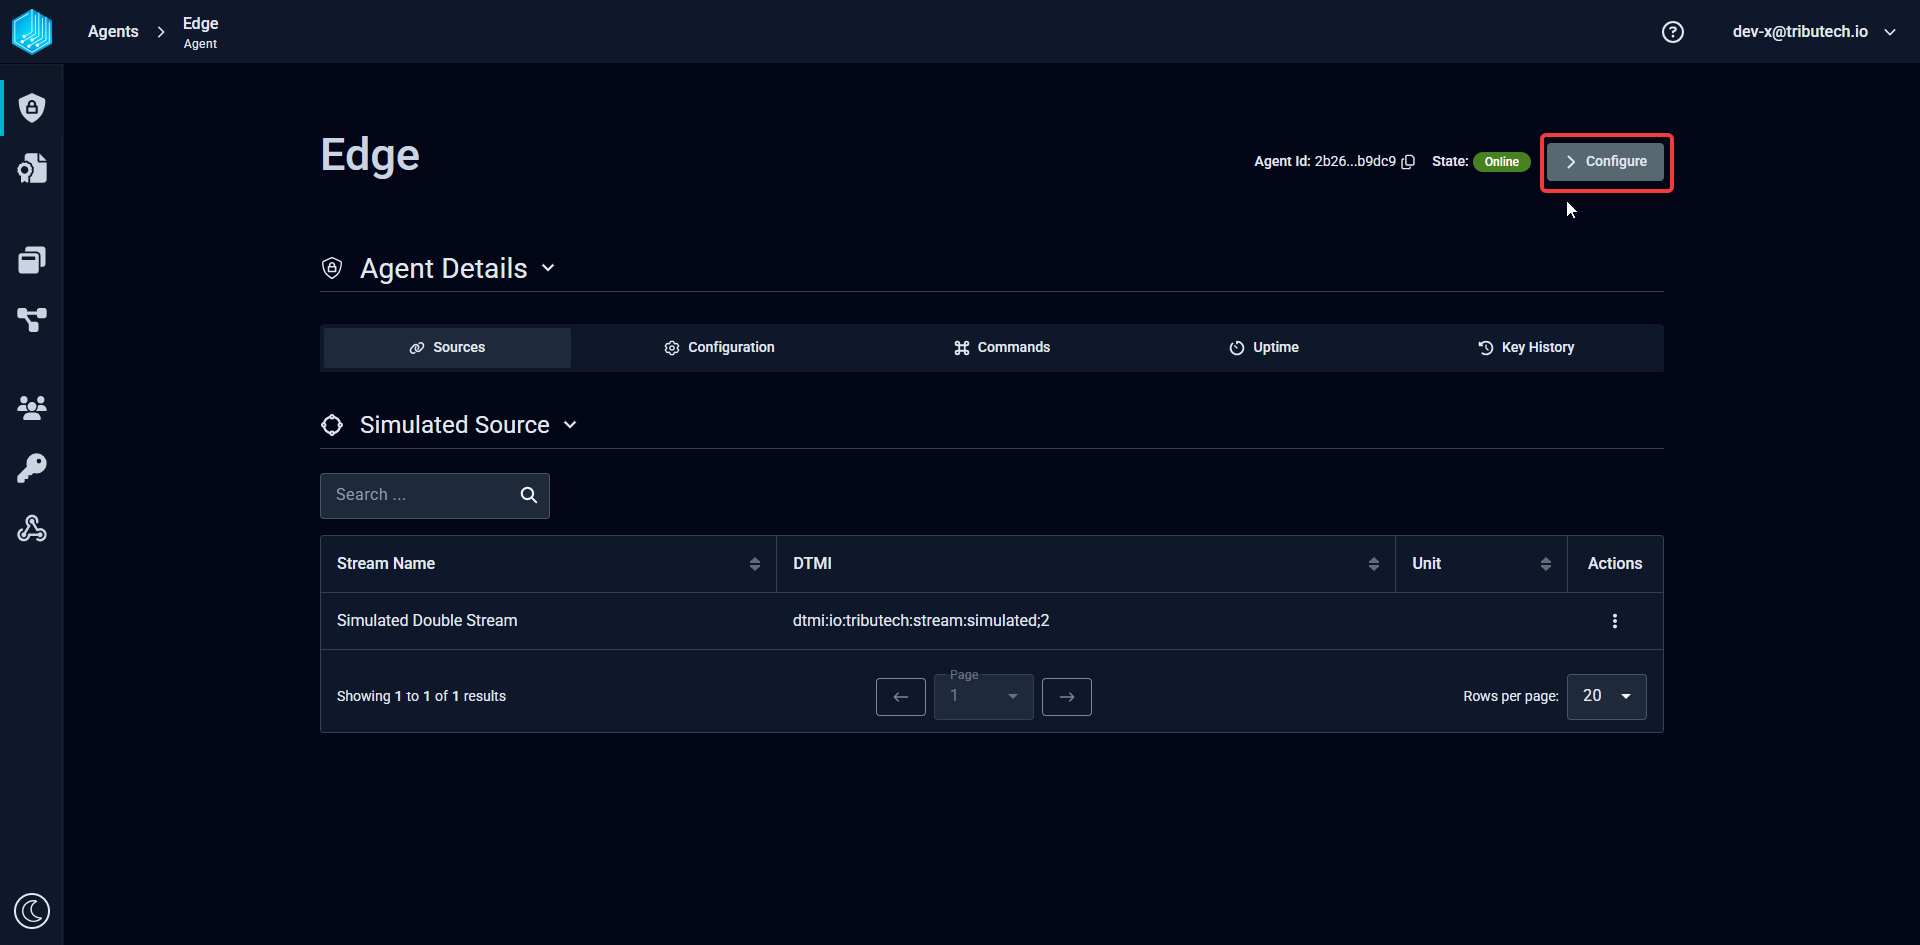
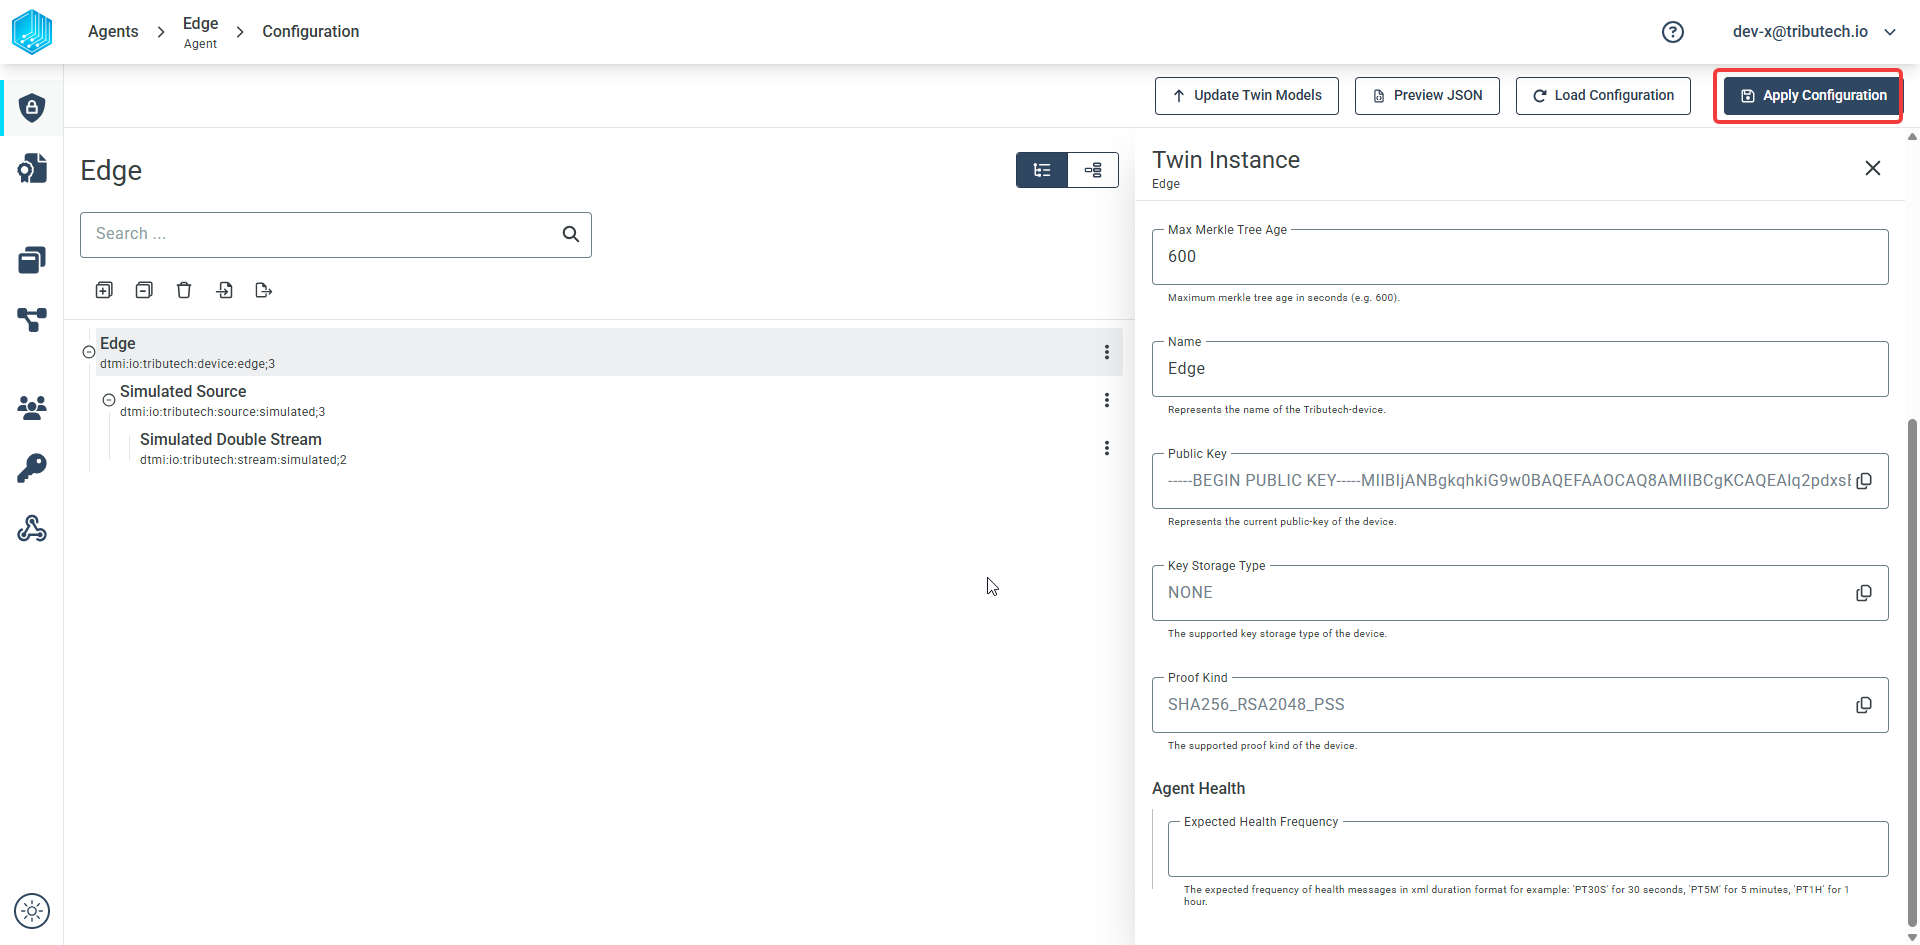
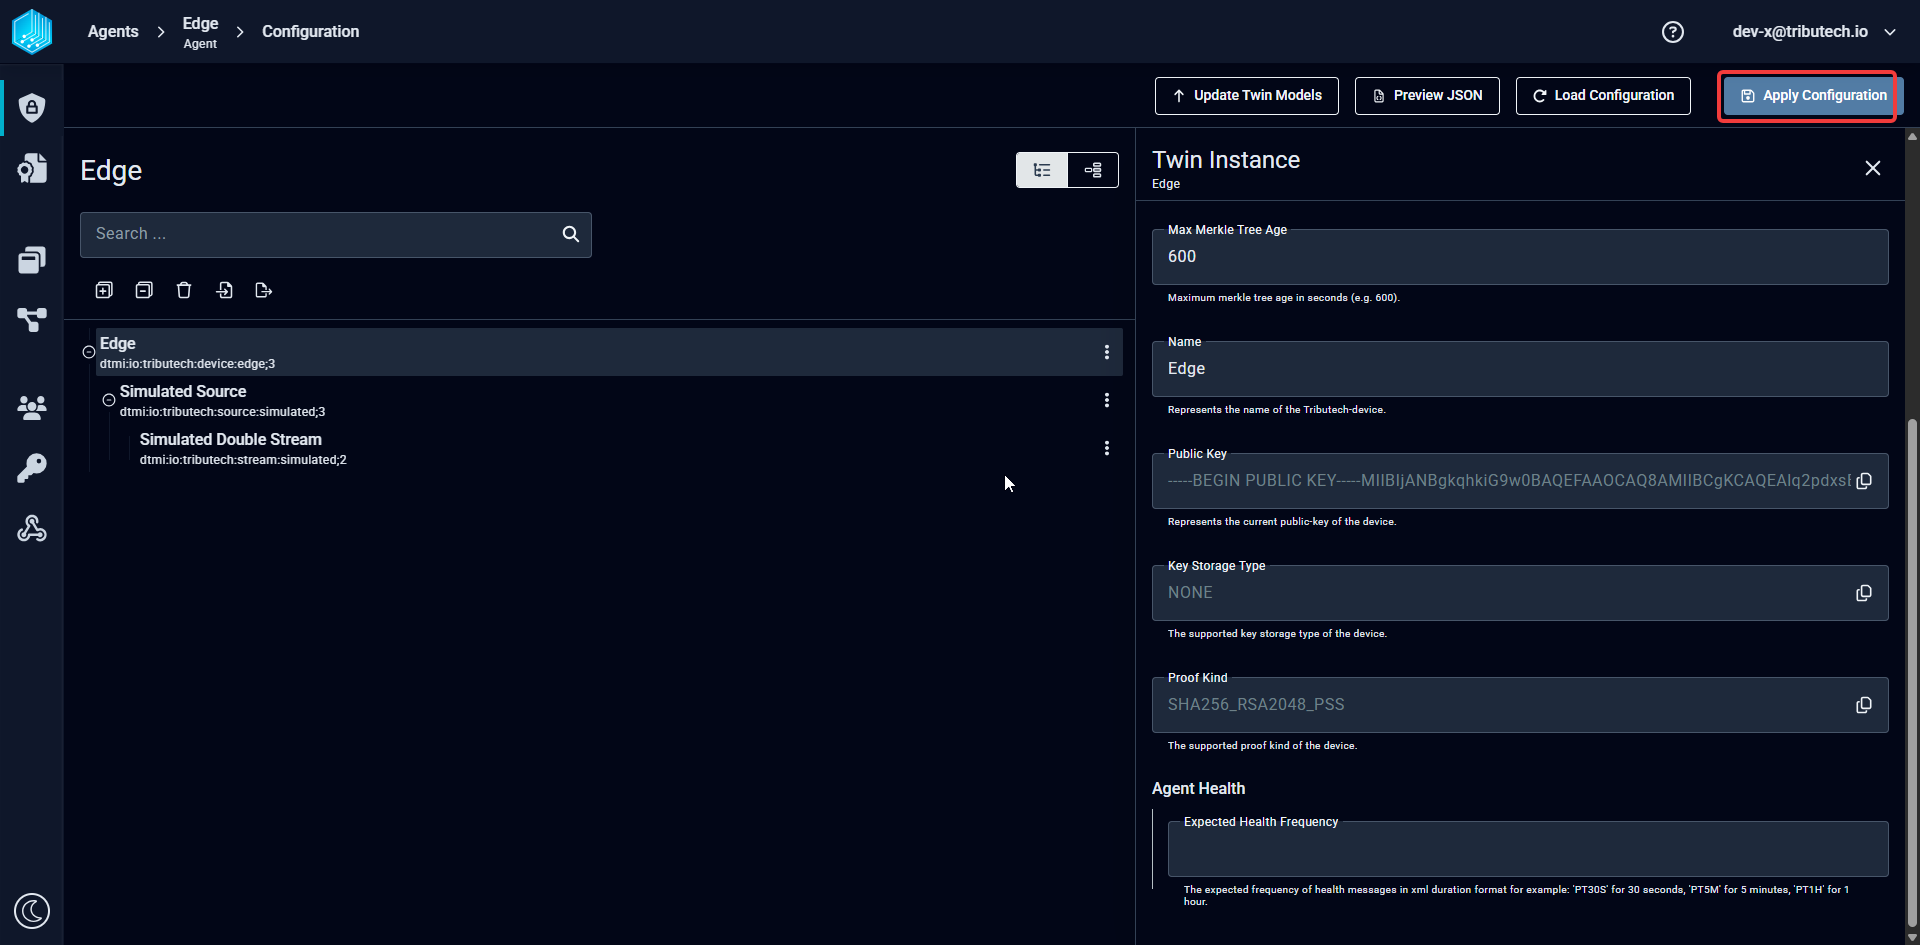
In the Twin Workspace we see on the right side, as the first fixed setting of the device entry (dtmi:io:tributech:device:edge;<version>), the Agent Id indicated by dtId. This field is an example for Meta data field which can not be adjusted by the Twin Workspace.
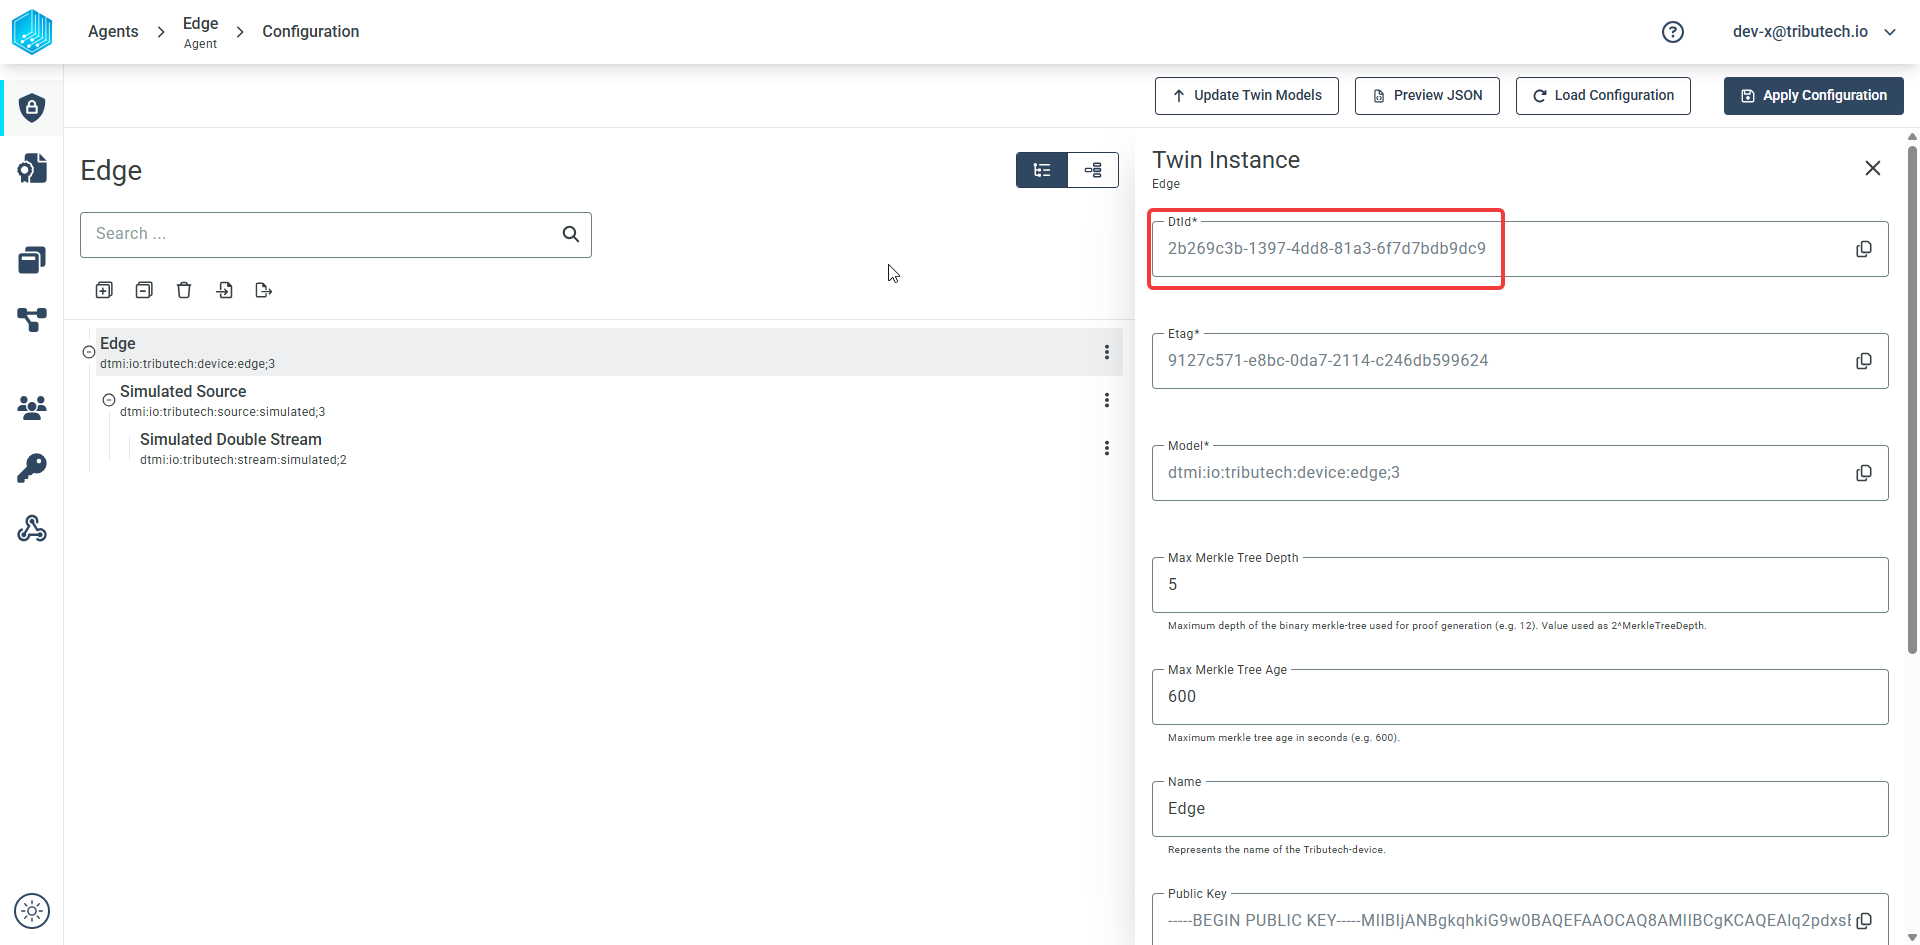
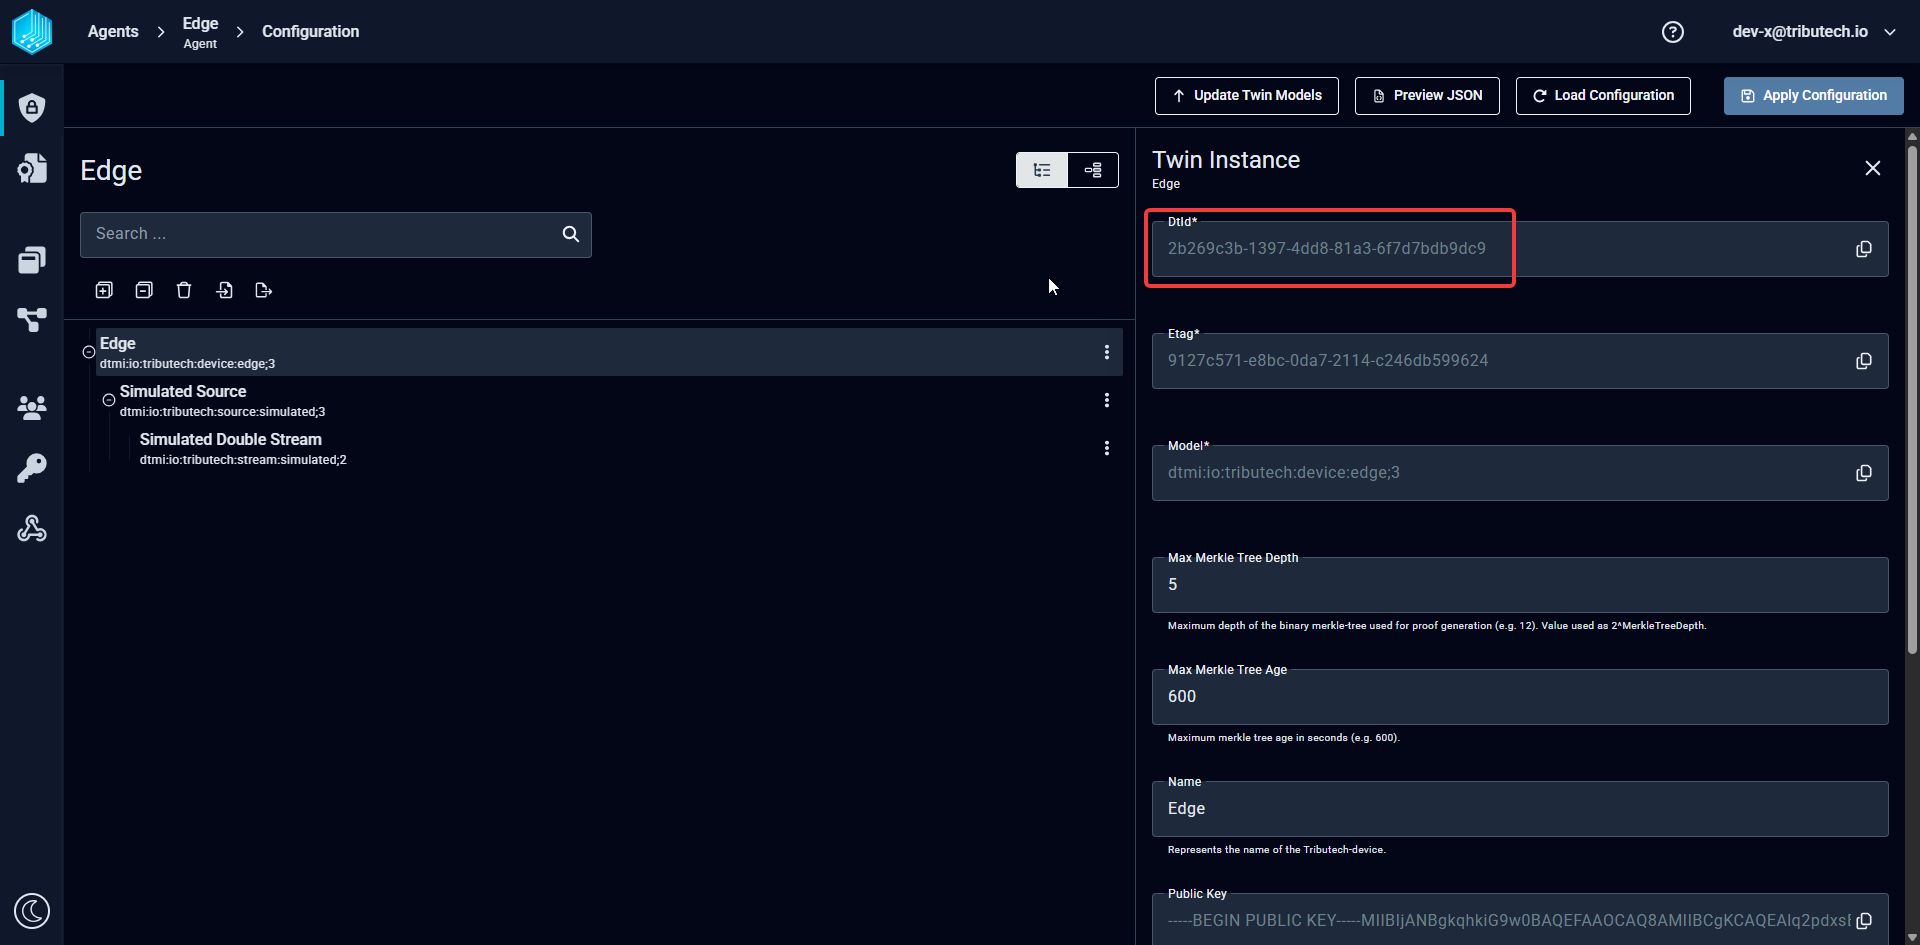
However, we can give this Tributech Agent a new name which will be displayed in the Agent Overview and will make finding this agent easier.
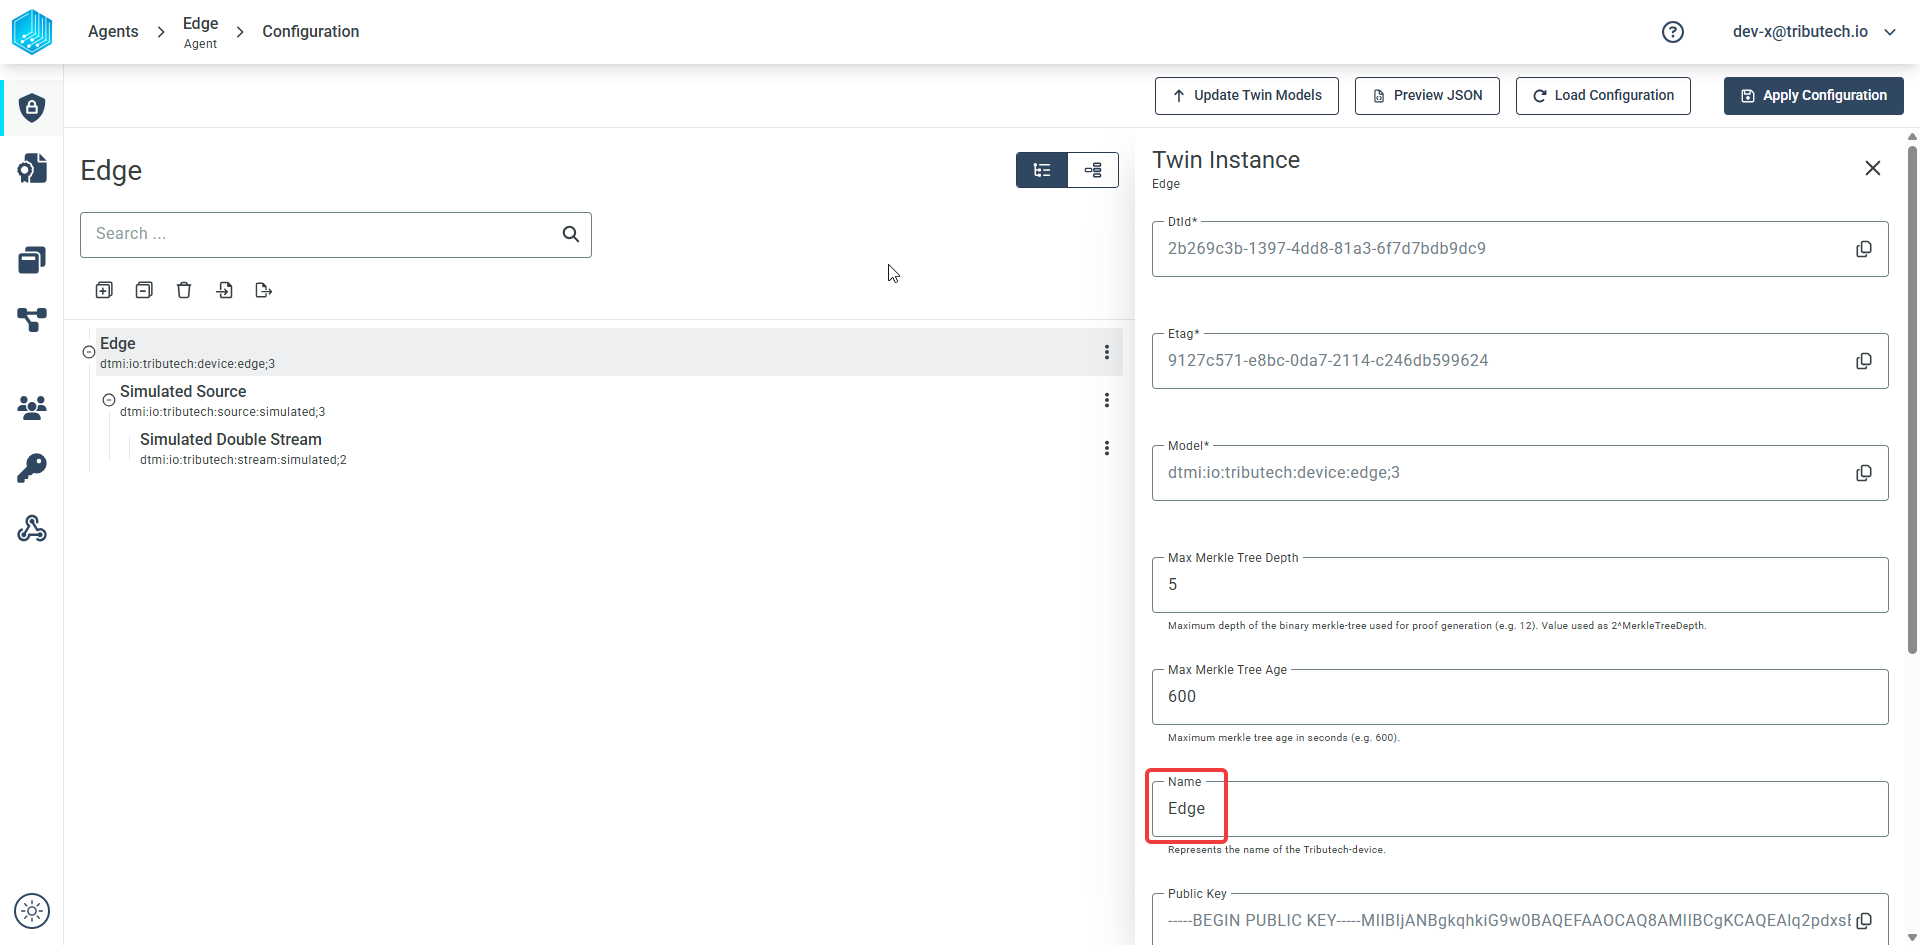
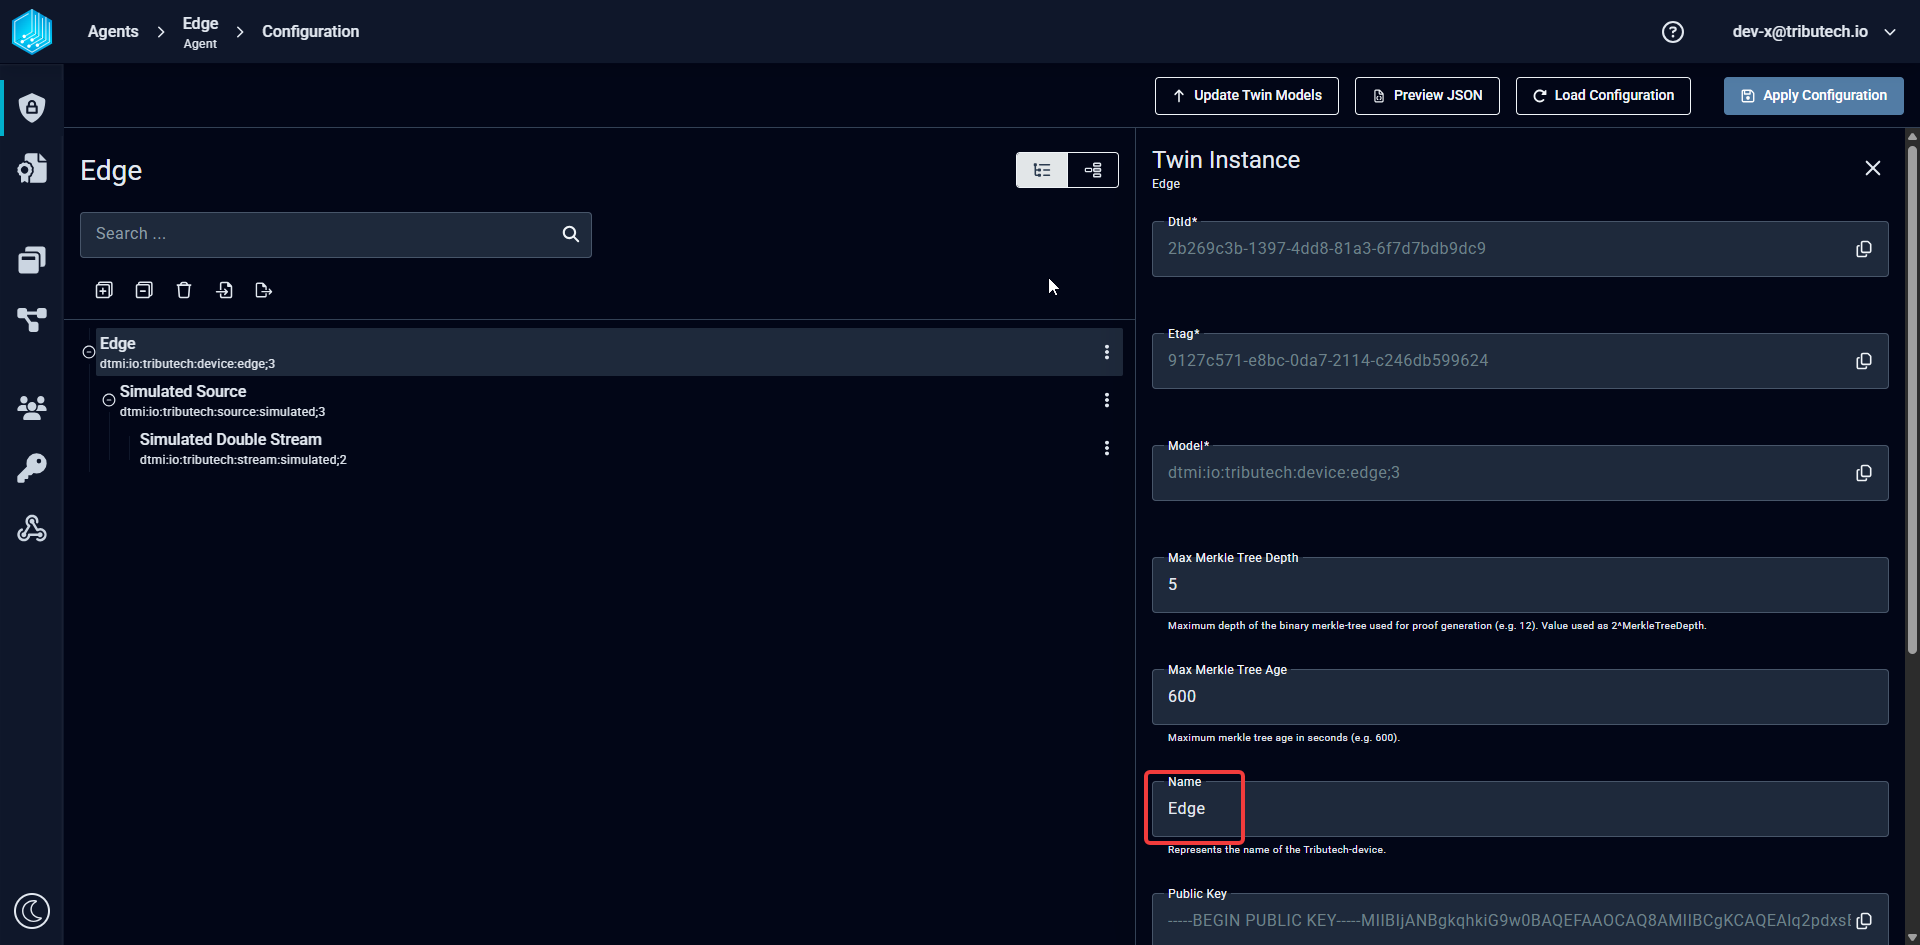
⚠️ The changes only take effect when you click APPLY CONFIGURATION.
Switching between List and Graph view
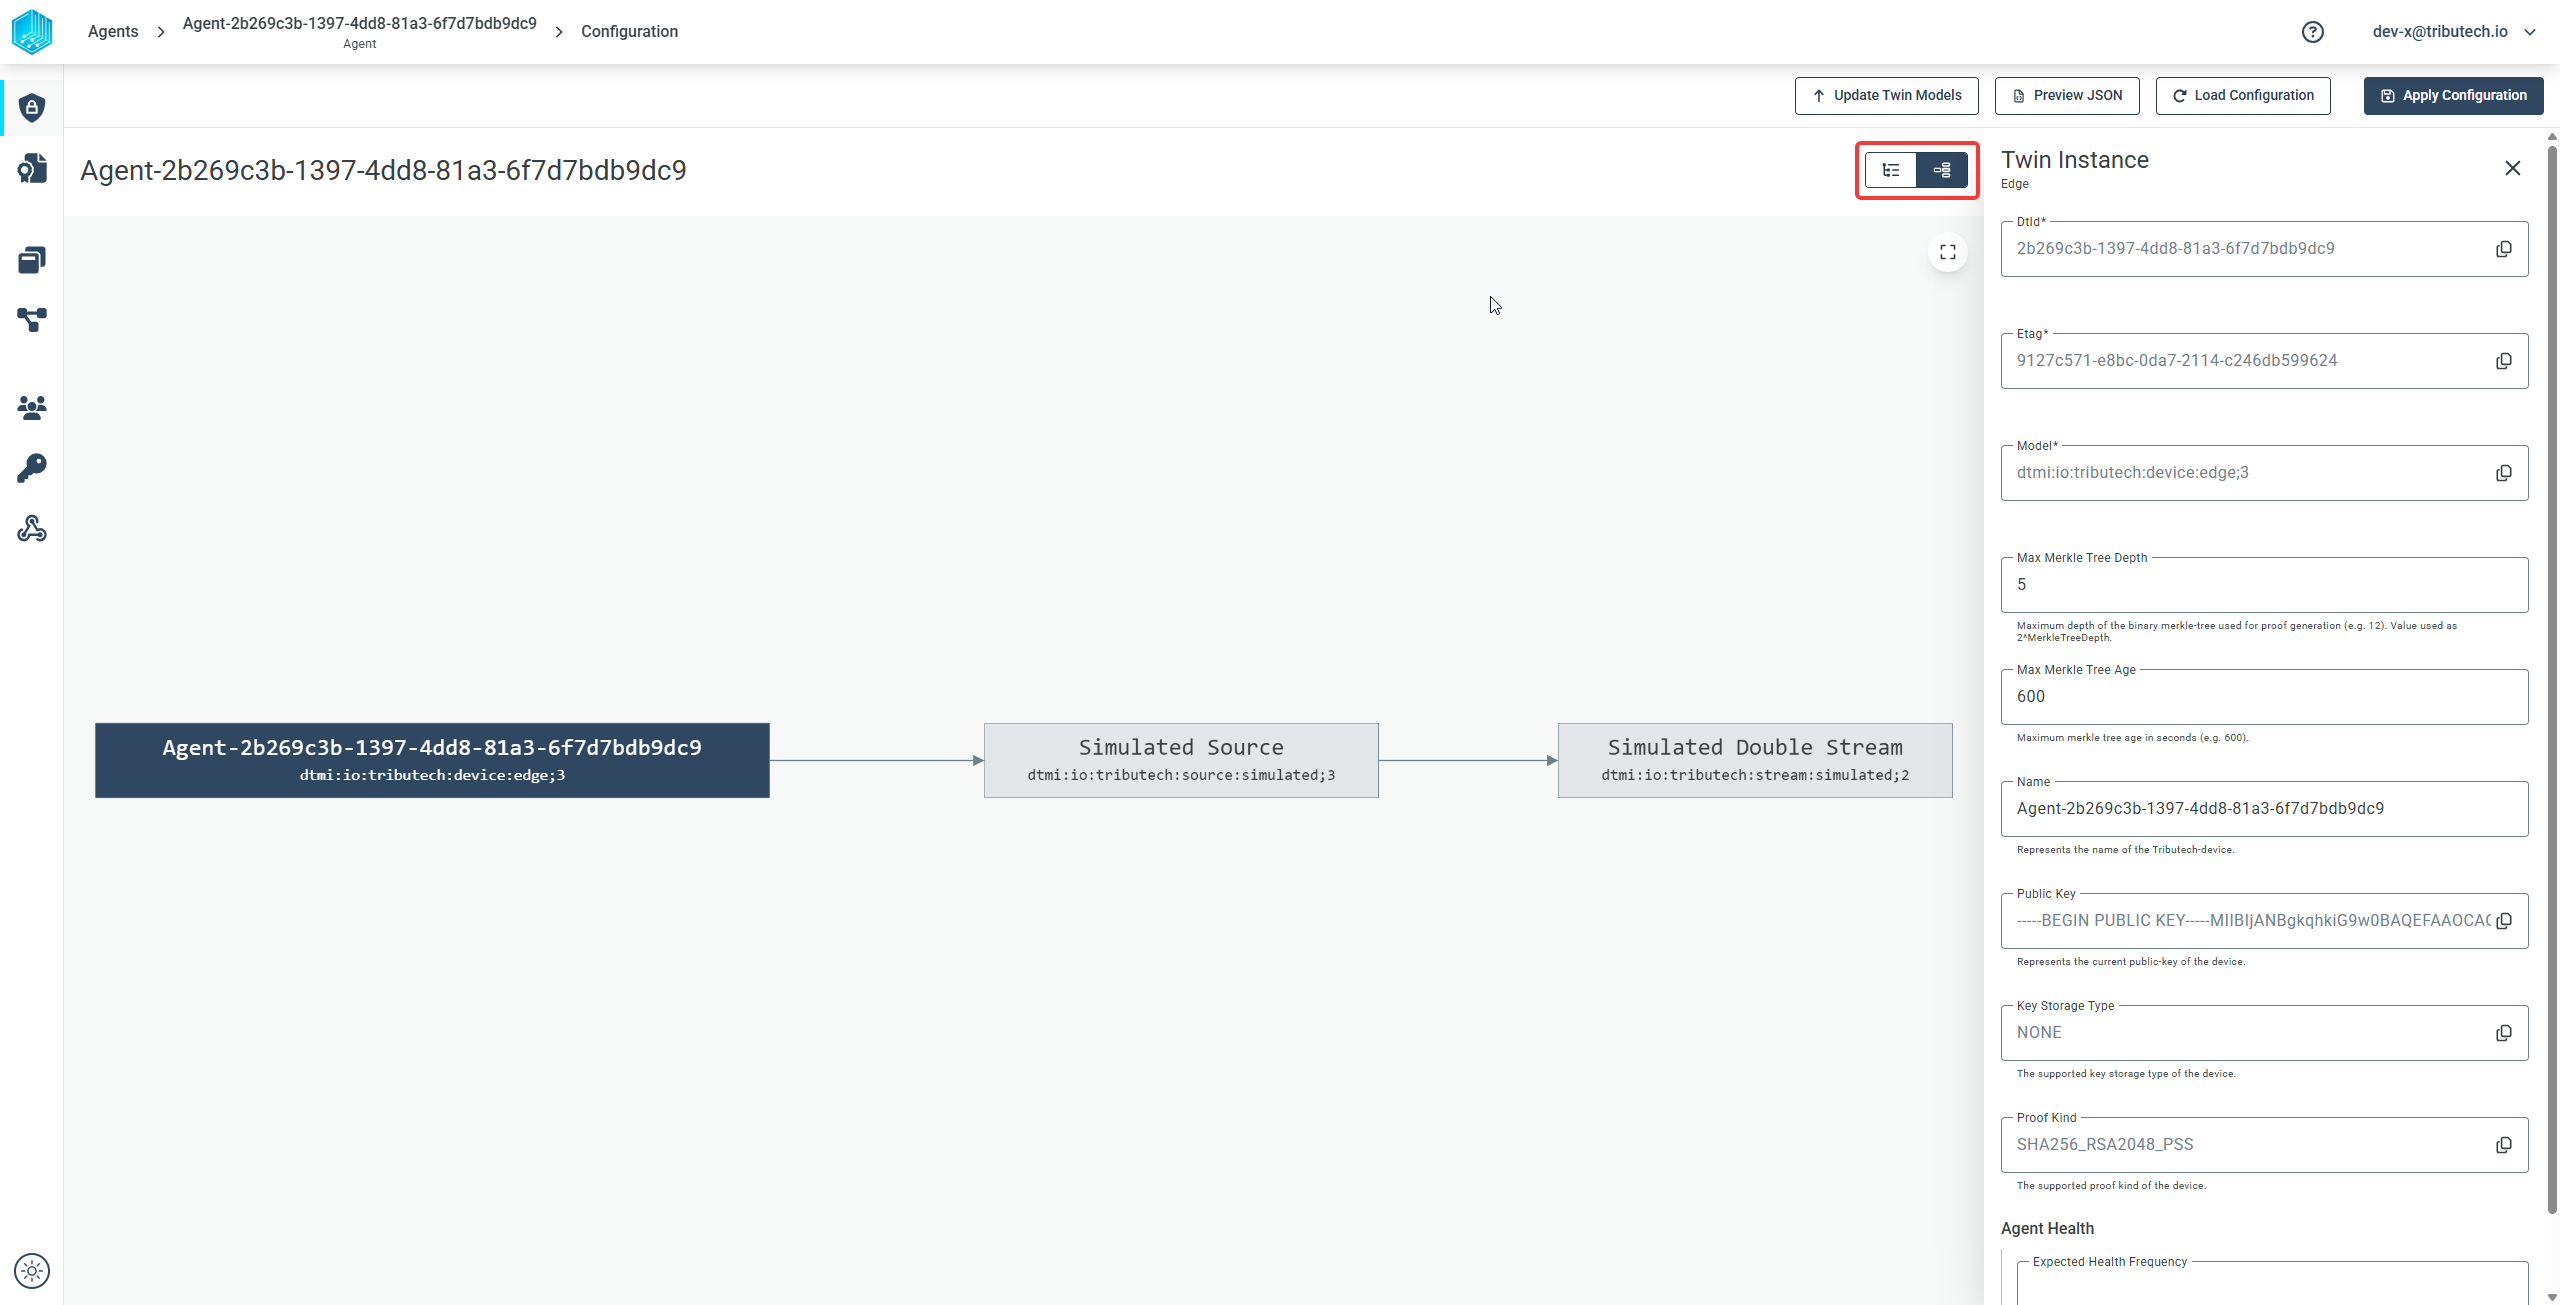
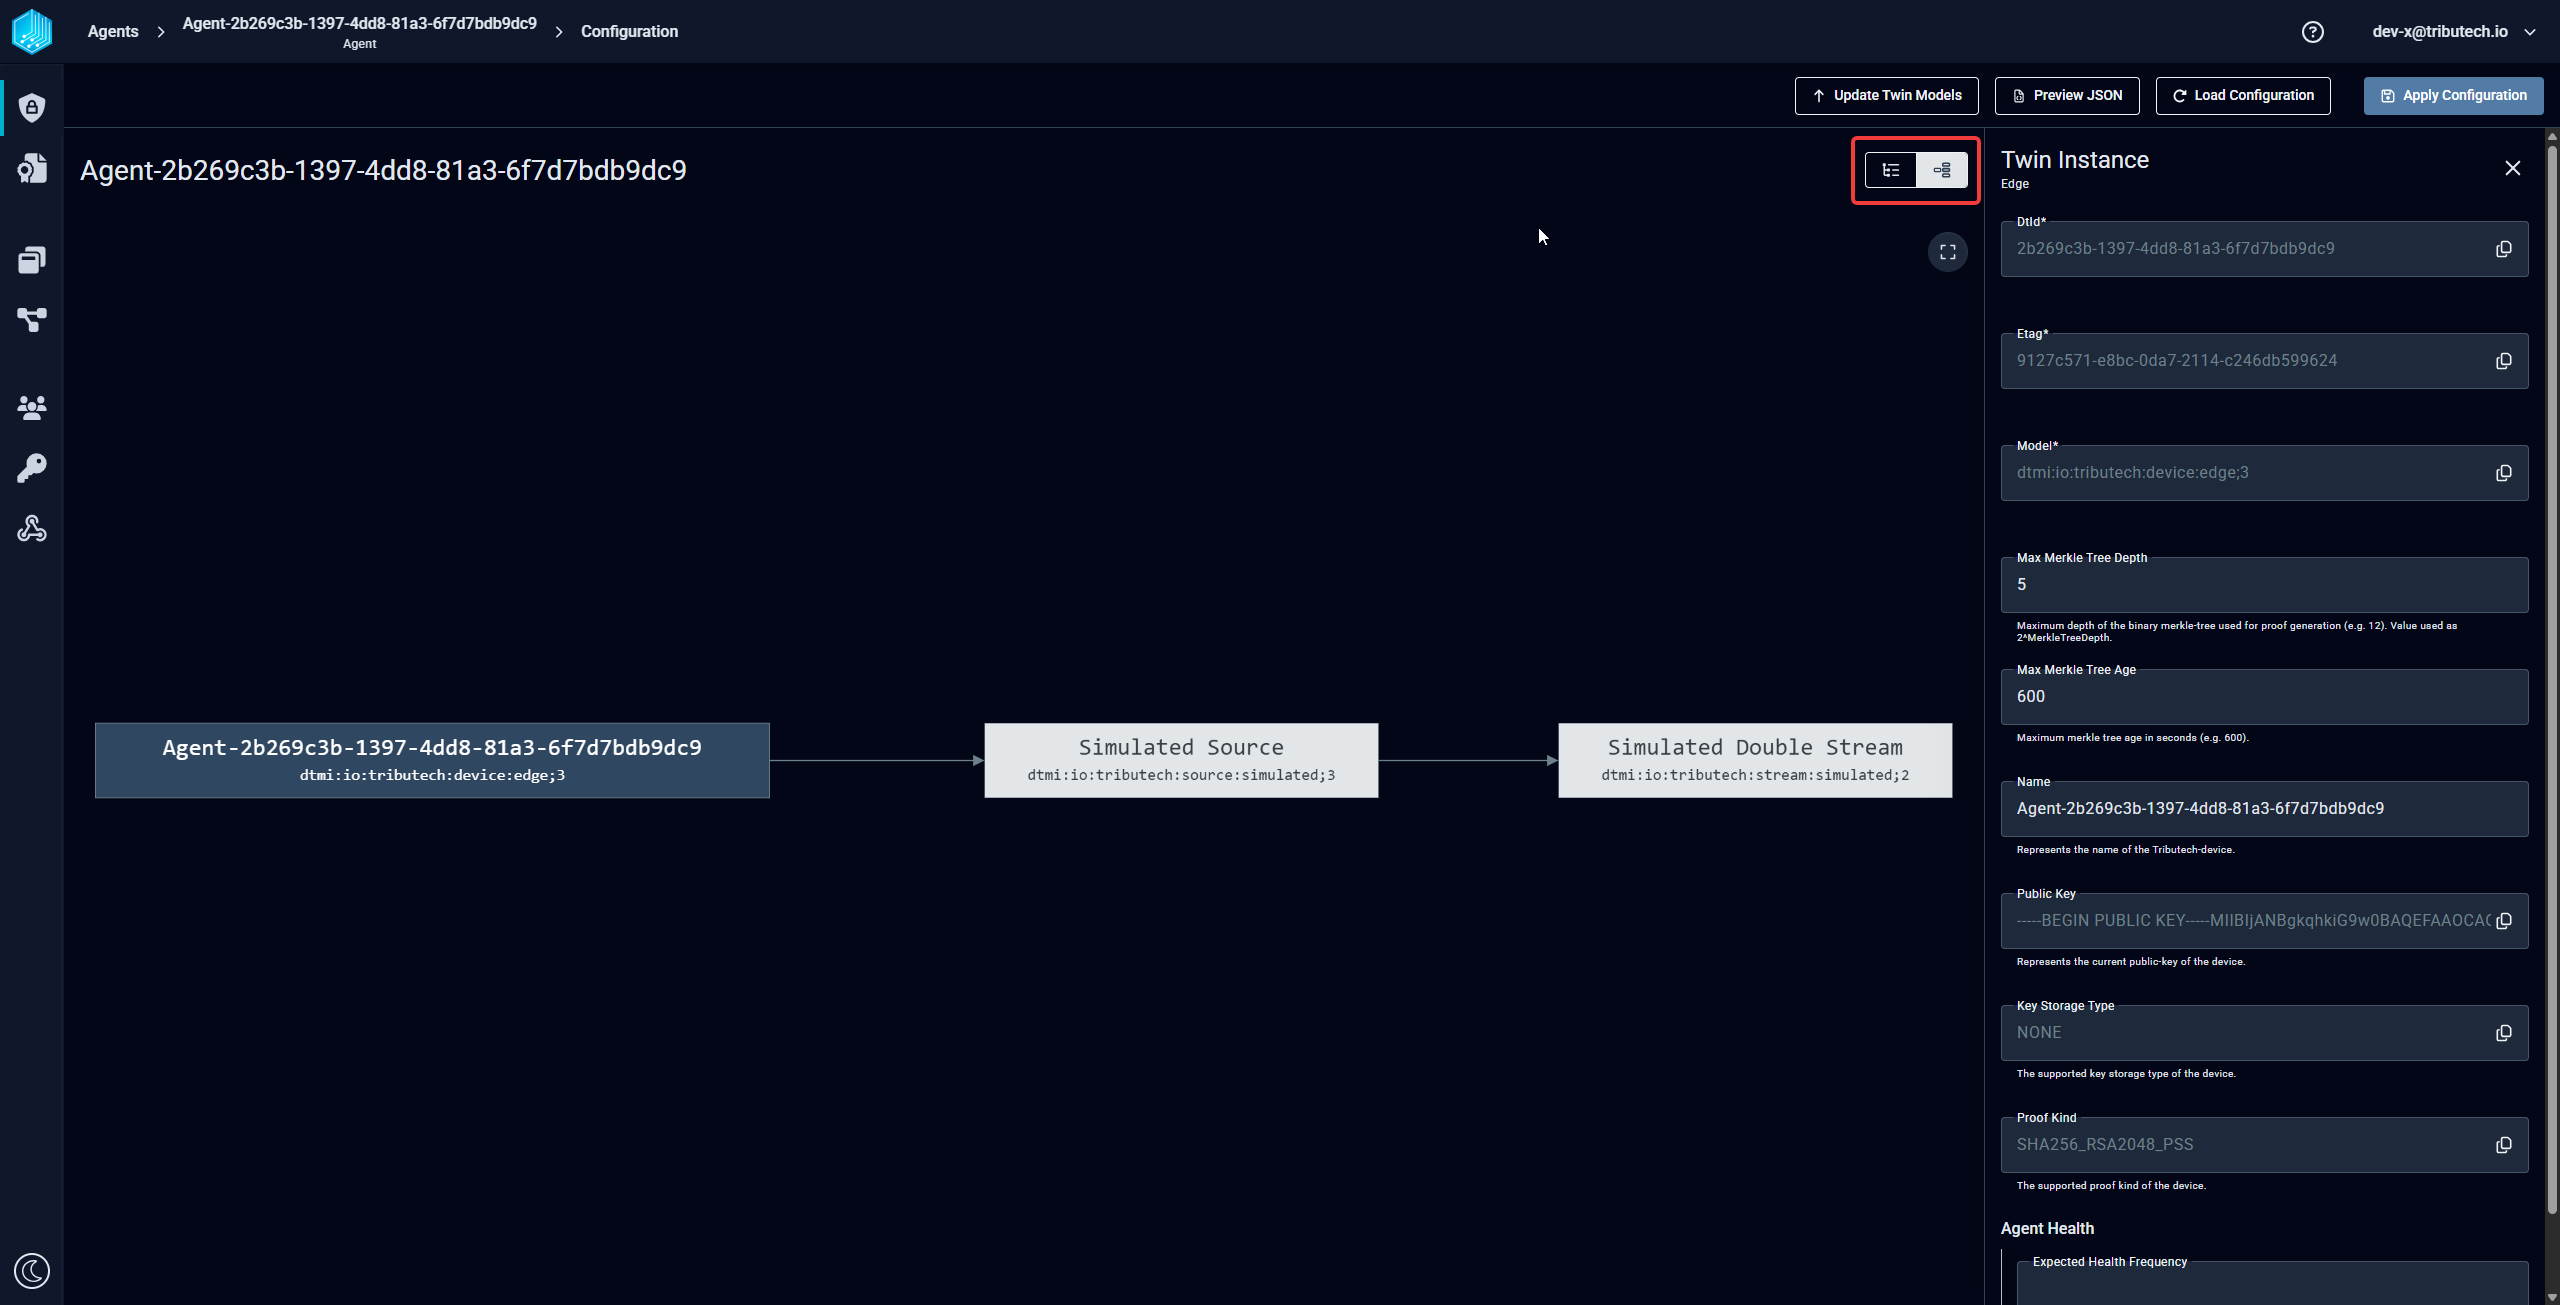
By default the Twin Workspace shows the Digital Twin as a list. Using the view icons in the upper-right corner of the workspace (highlighted below) you can switch the display: click the graph icon to show the diagram view, and the list icon next to it to return to the default list view. These icons are available in both the list and the graph view.
Adding data to an Agent
After the initial connect of a Tributech Agent only one entry exists on the left side of the Twin Workspace: the device entry dtmi:io:tributech:device:edge;<version>. This entry represents the Tributech Agent and should not be deleted, but we can add a data ingress to this agent by adding Tributech Sources. We show in the following steps how to add a Simulated Tributech Source which we set up in our QuickStart and Setup docker-compose.yml sample file.
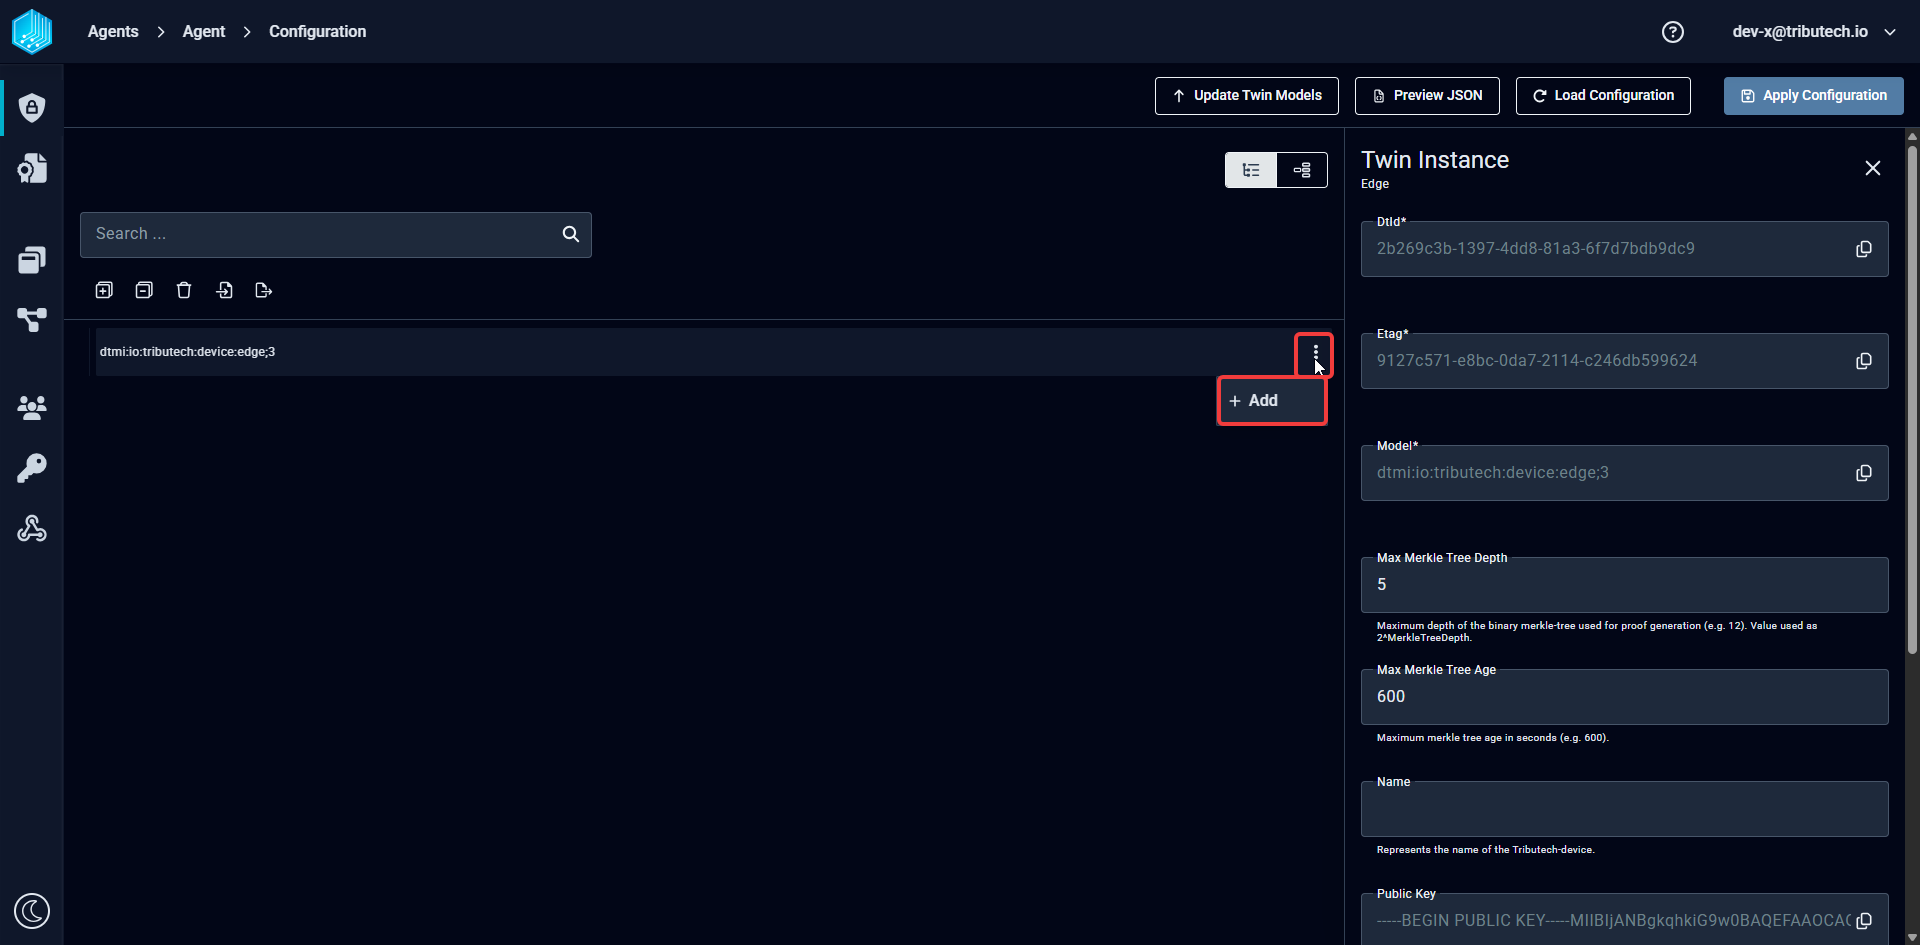
To add a source, click the ⋮ (three-dot) menu at the end of the device entry line and select + Add:
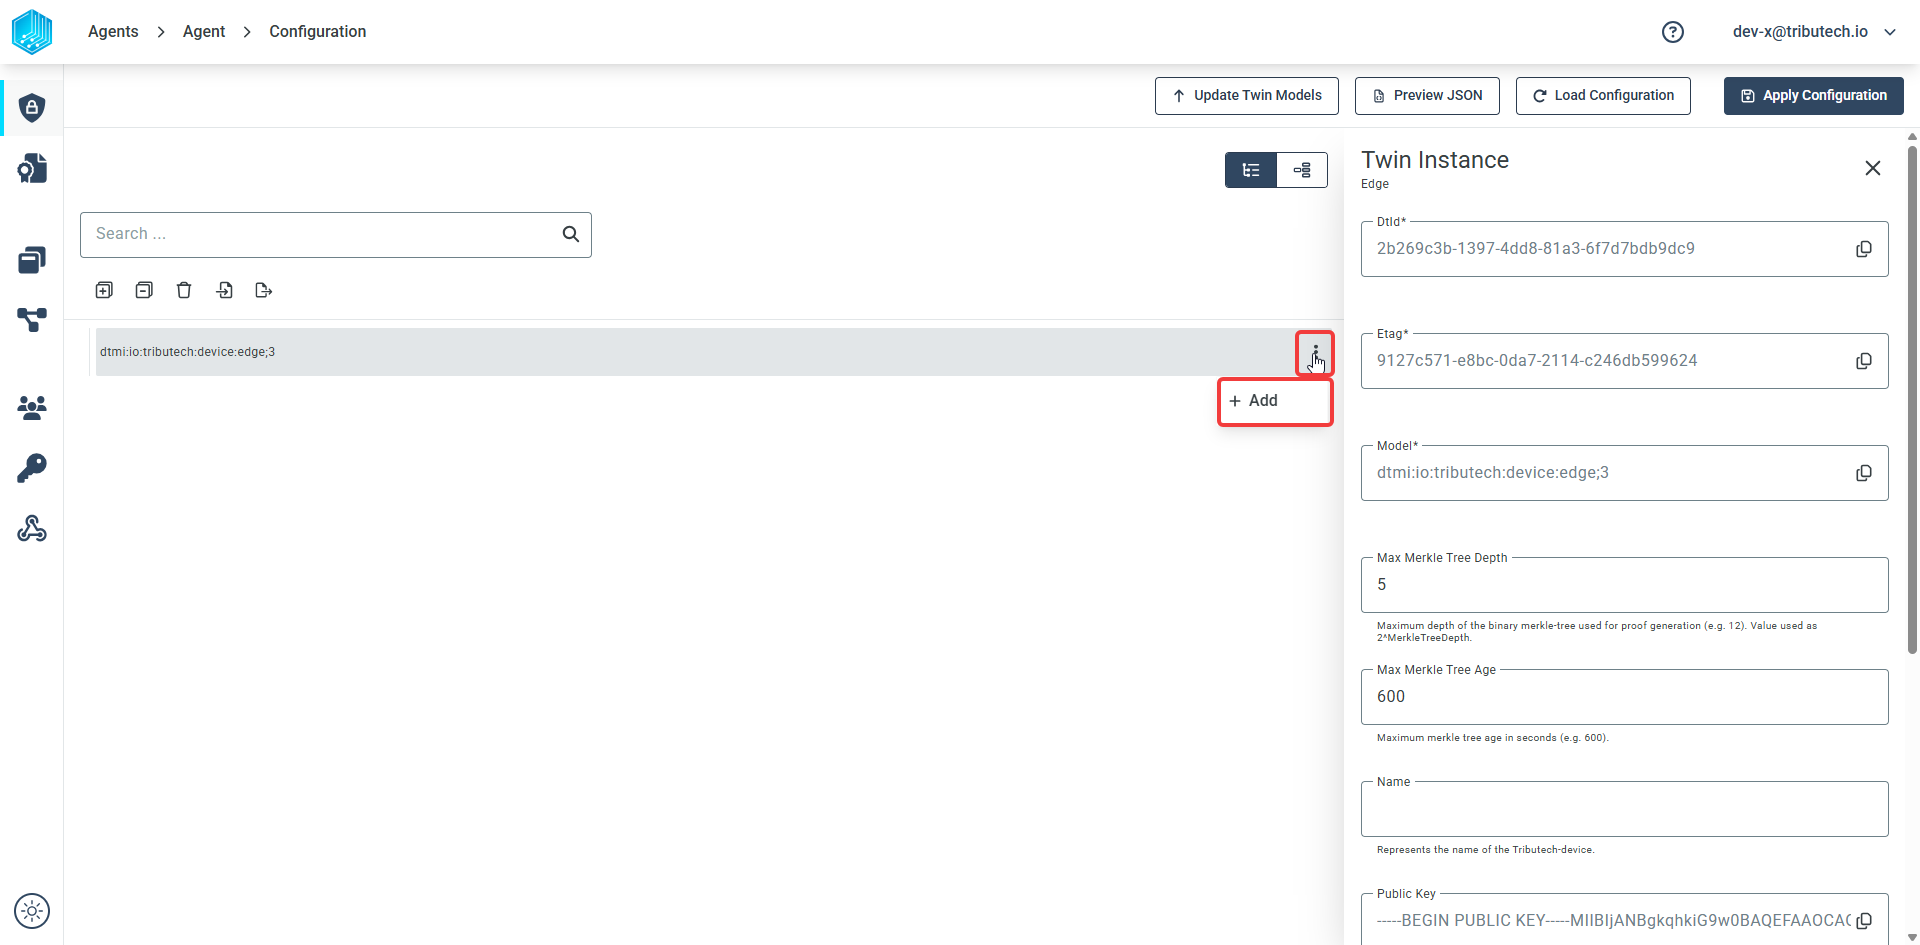
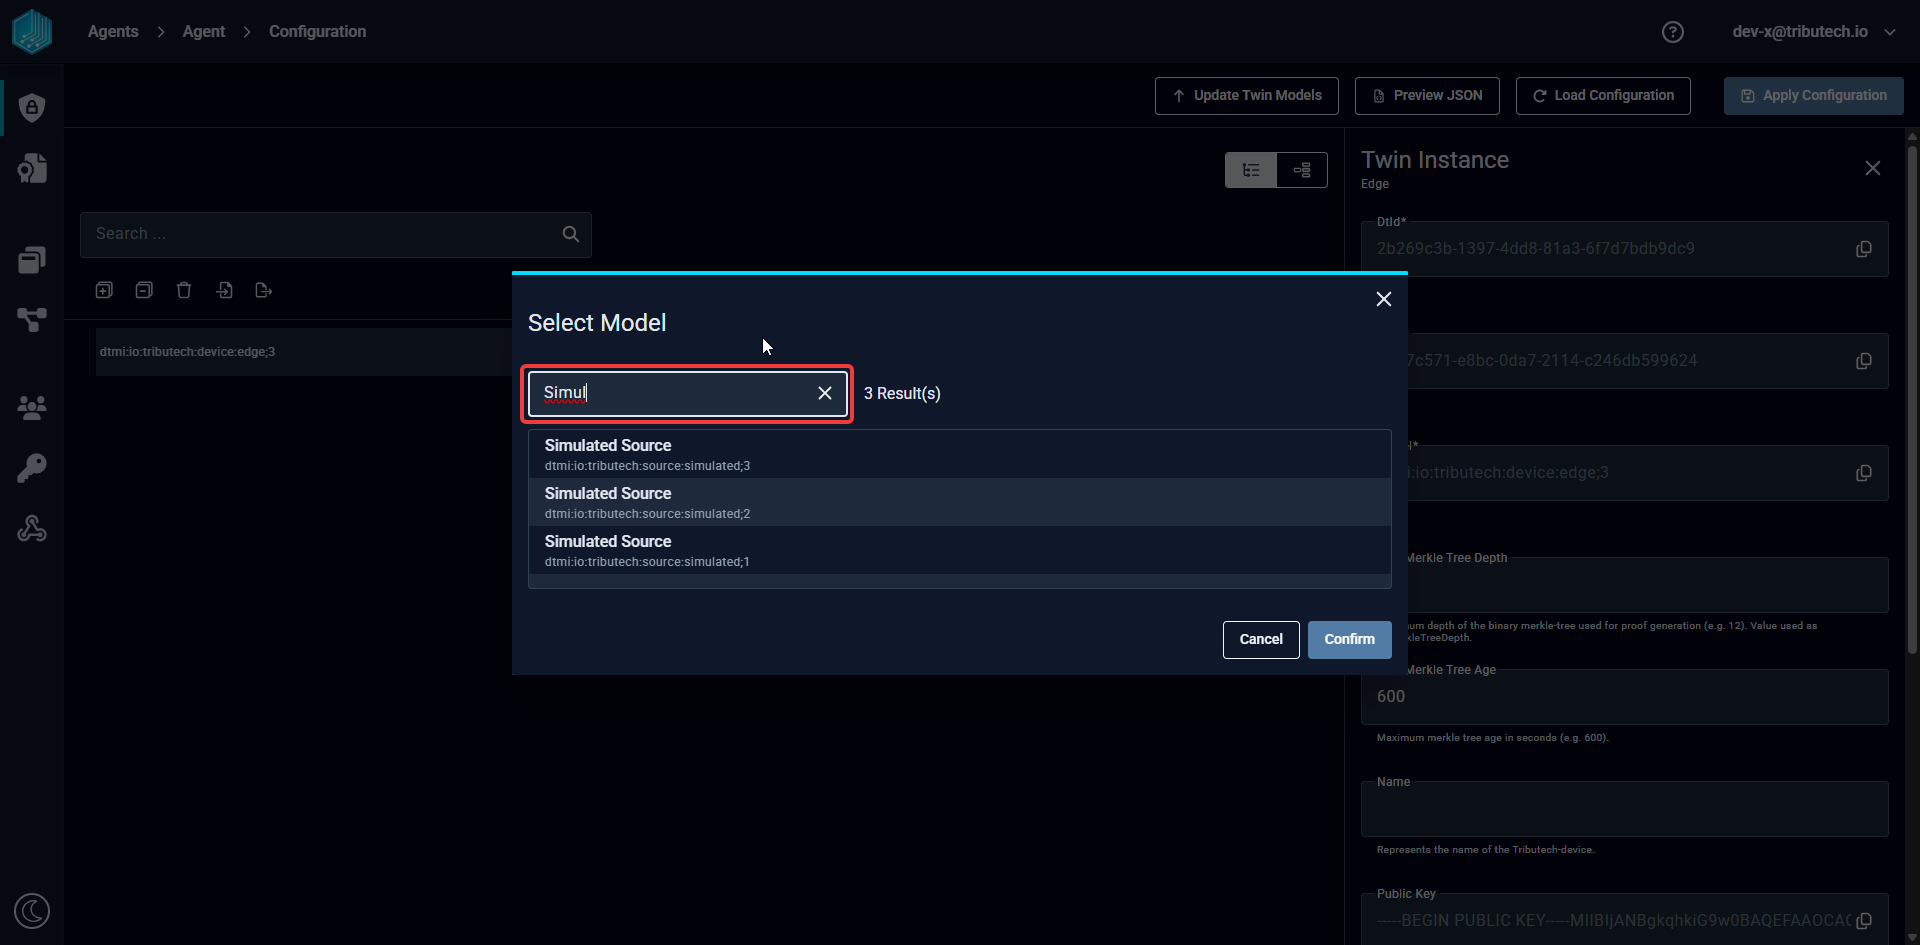
A pop-up window opens where we can search for the desired source and select the required version. Select the Simulated Tributech Source and click the Confirm button in the lower-right corner of the window:
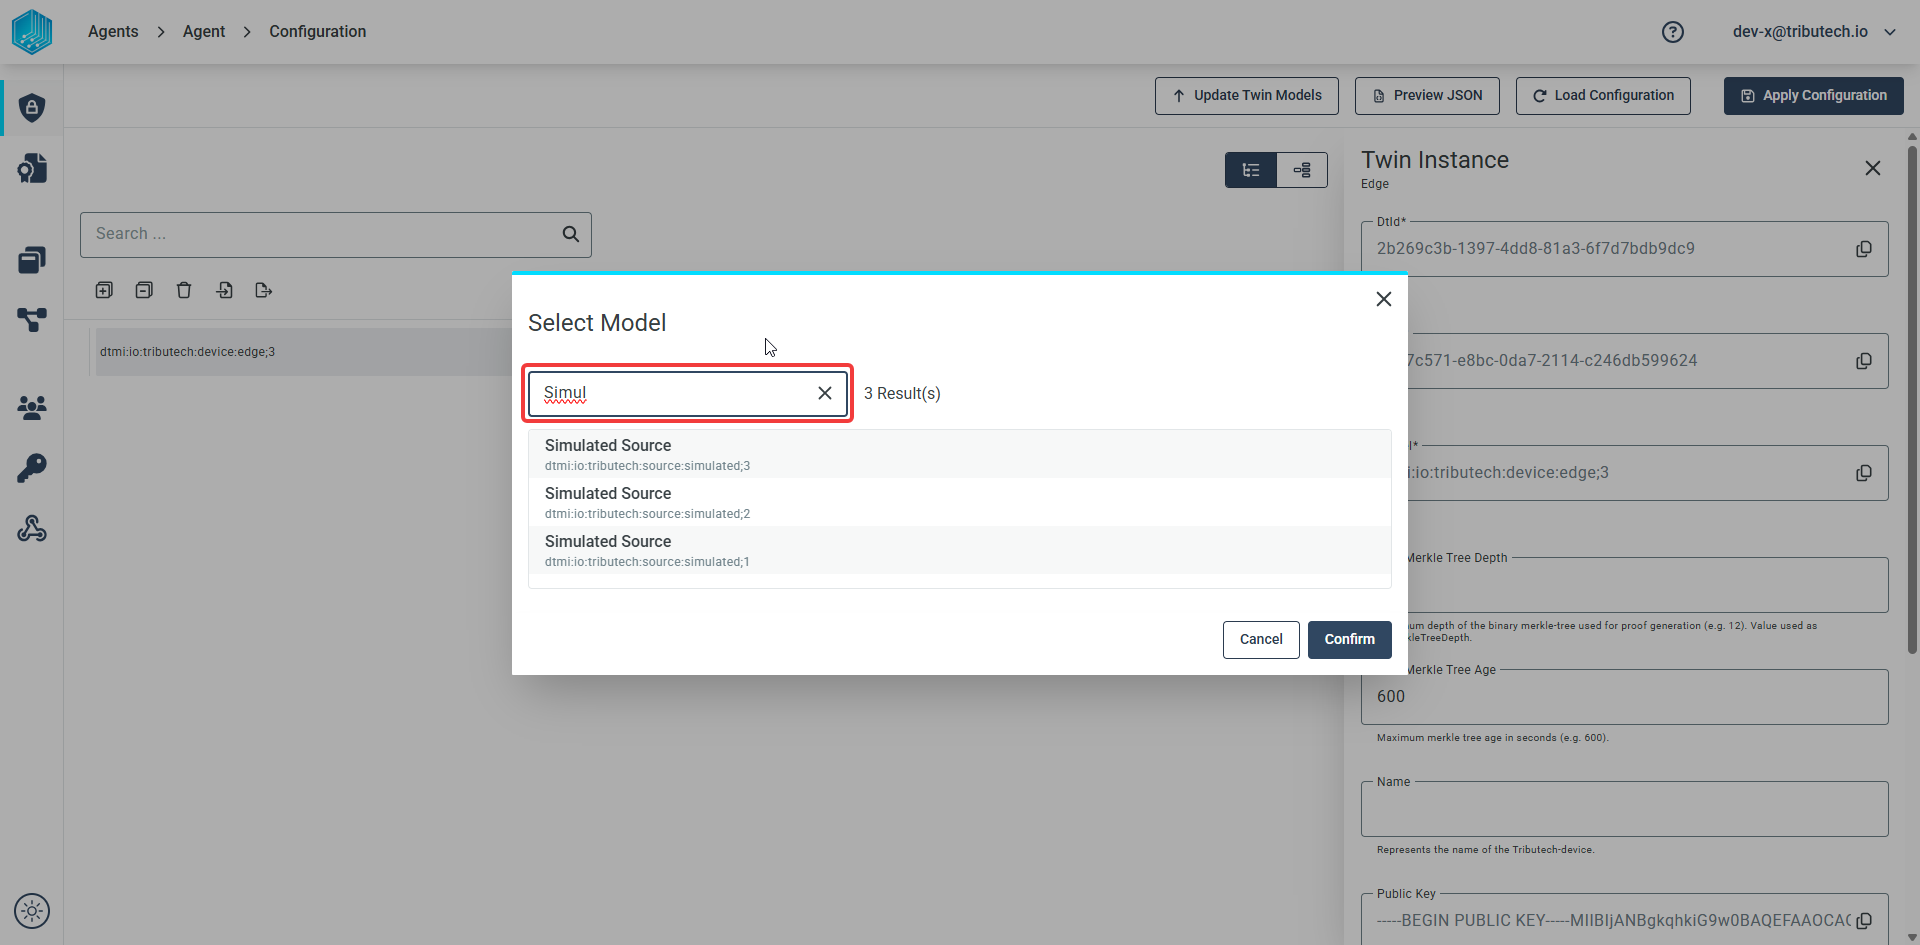
We now made the Tributech Agent aware of a connection between itself and a Simulated Tributech Source. This enables us to manage the configuration of the Tributech Source and receive data from it.
To receive data from the newly added Simulated Tributech Source we need to add a Simulated Stream to it. Click the ⋮ (three-dot) menu at the end of the source entry line to open a dropdown with + Add and Delete (which would remove the source), then select + Add:
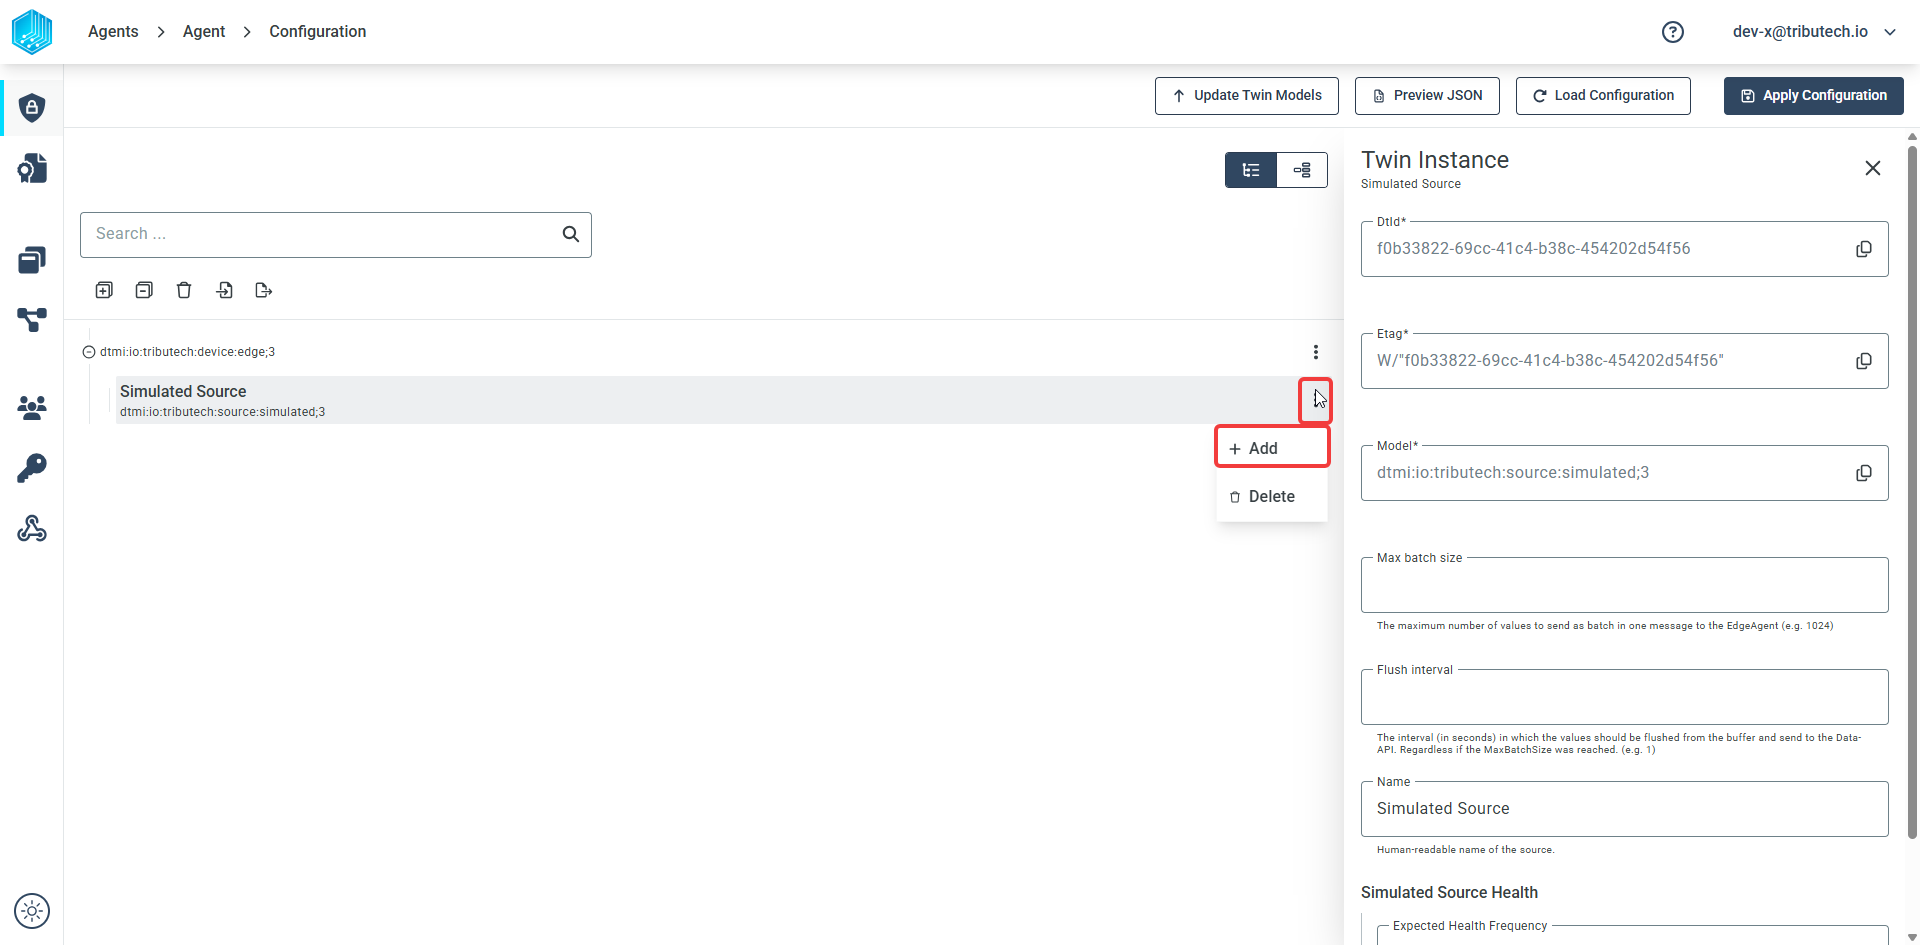
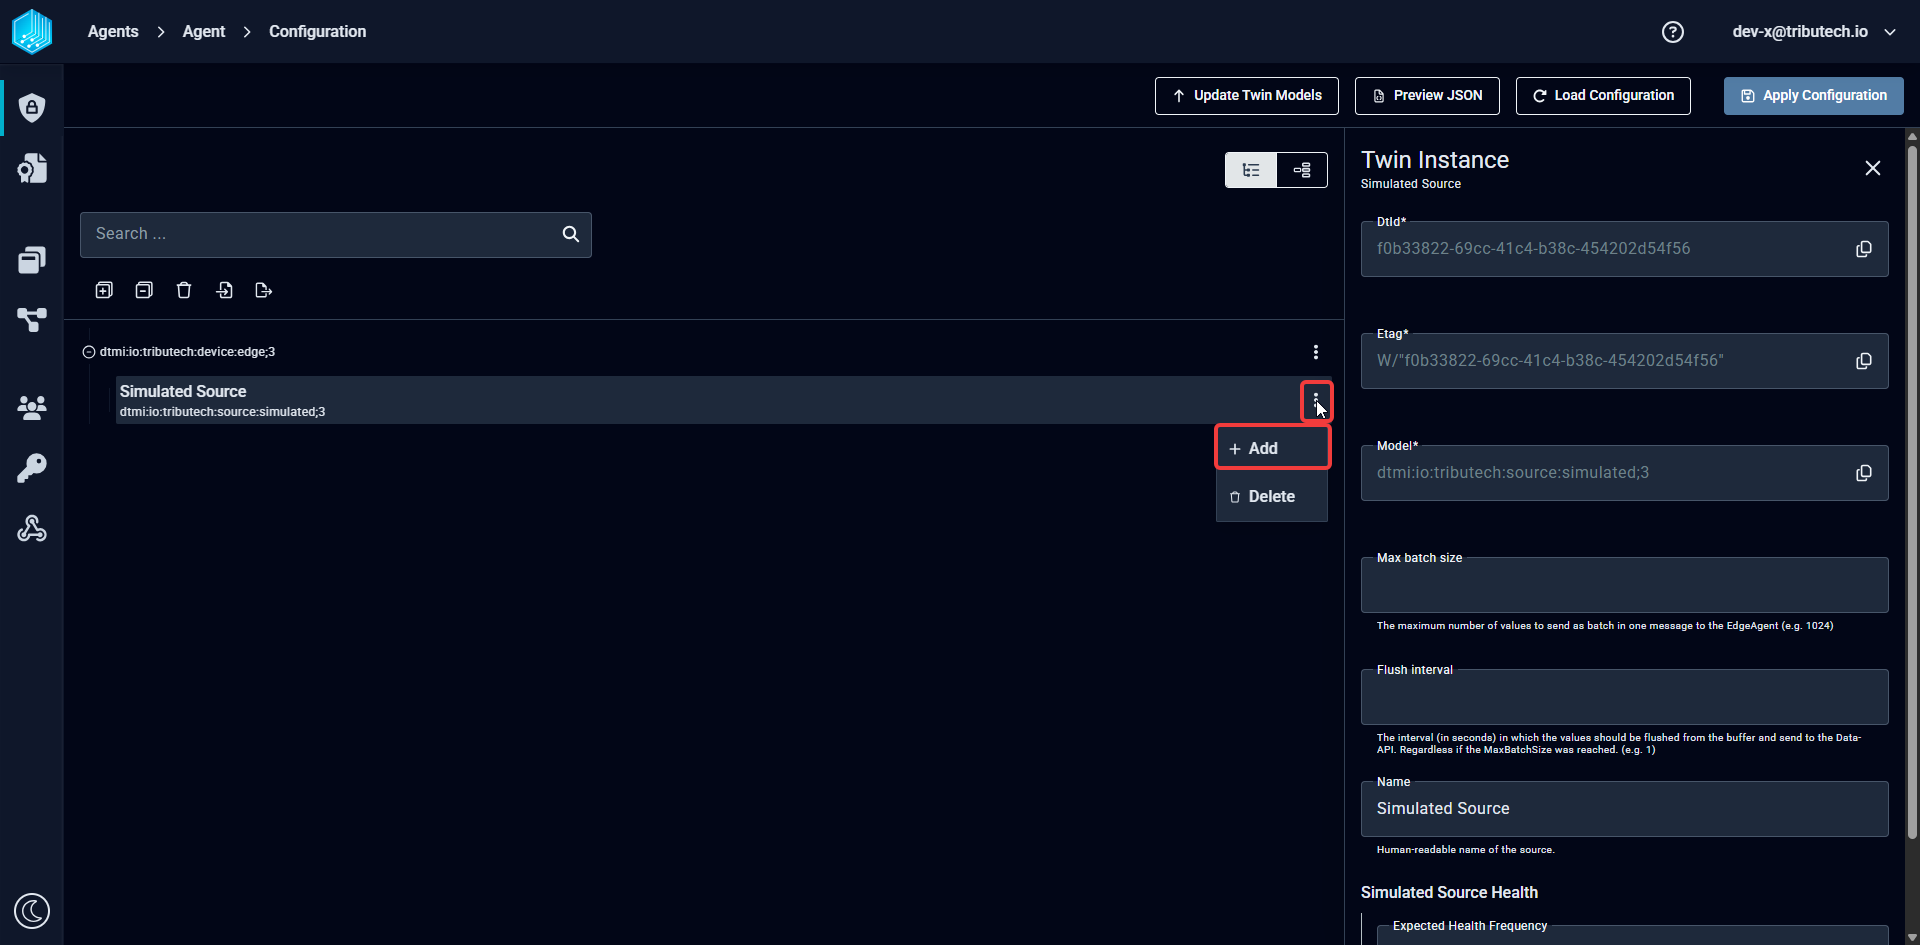
A pop-up window opens listing the streams available for this source. Select the desired stream and click the Confirm button in the lower-right corner of the window:
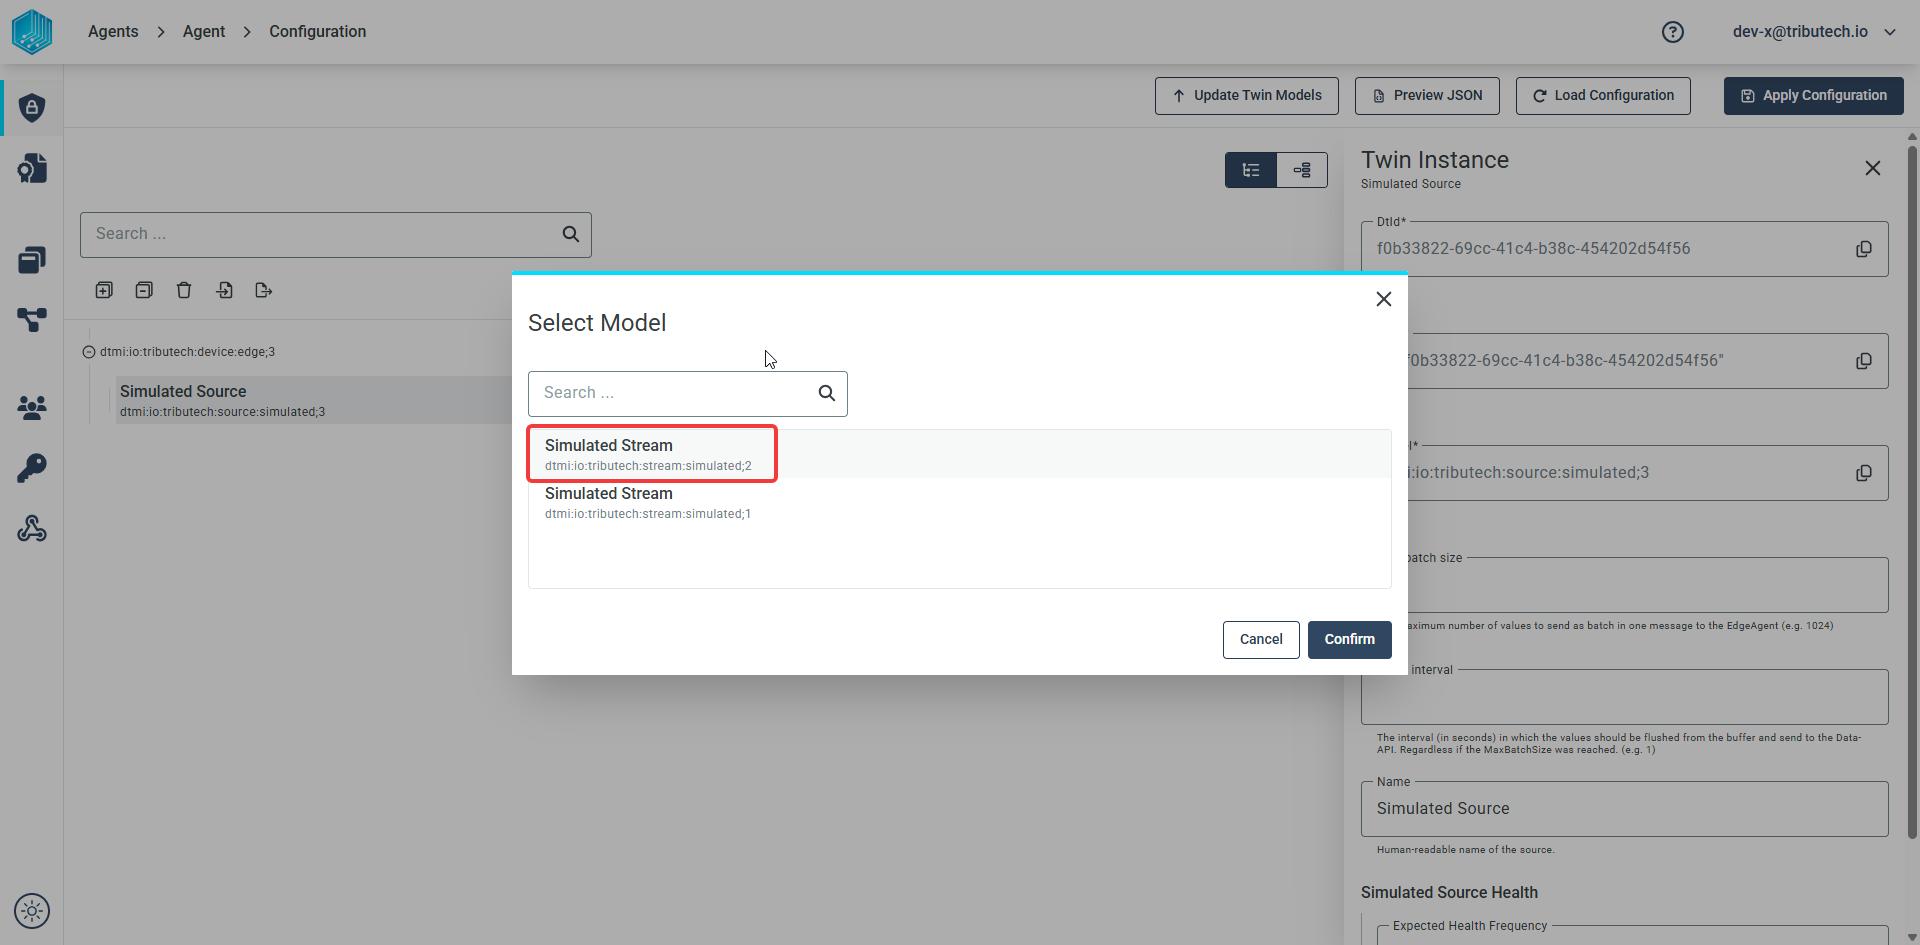
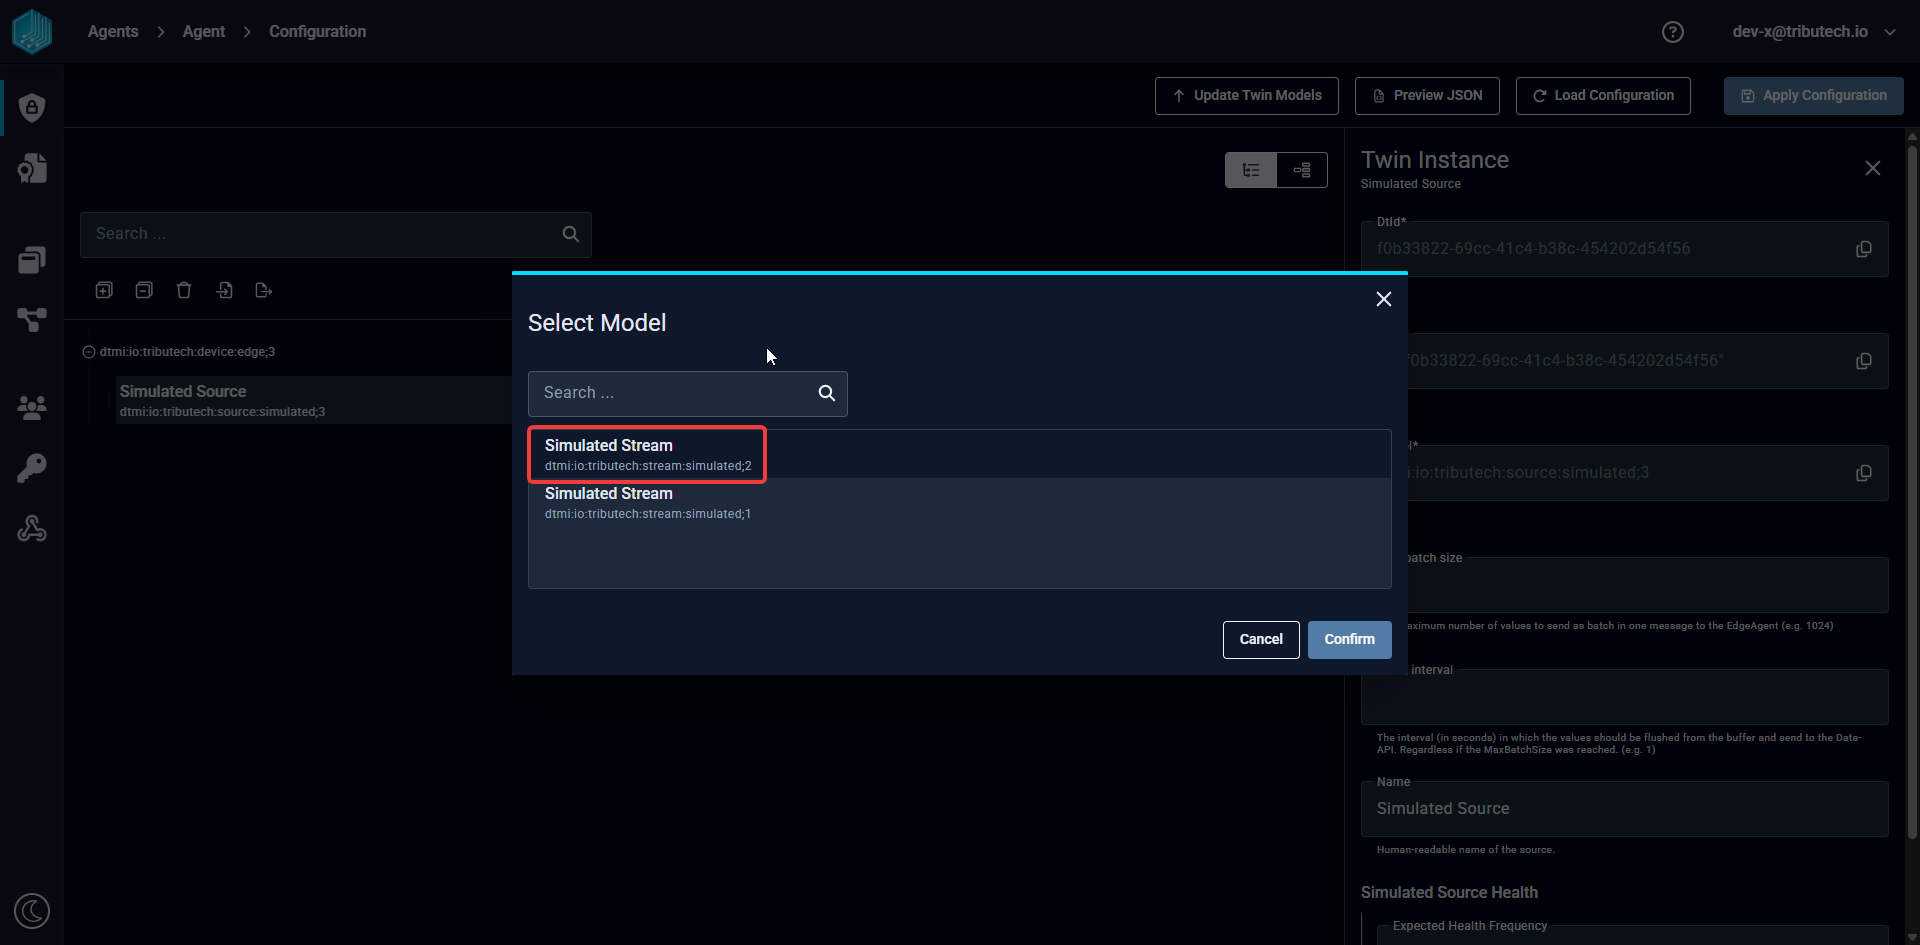
A simulated stream is a continuous flow of data that will be produced randomly by the Simulated Tributech Source with a specific type of data (double, long, integer,..). We adjust the default template properties as followed:
- Name:
Simulated Double Streamis used to identify the stream in the Agent Details overview - Data Encoding:
Doubleused in the display of values in the Tributech Node UI - Type:
Doubleused to generate data. - Min Value:
-100will be the smallest generated value - Max Value:
100will be the largest generated value - Frequency:
0.5means every 2 second a new values is generated (Time interval = 1 / Data Frequency)
⚠️ The changes only take effect when you click APPLY CONFIGURATION.
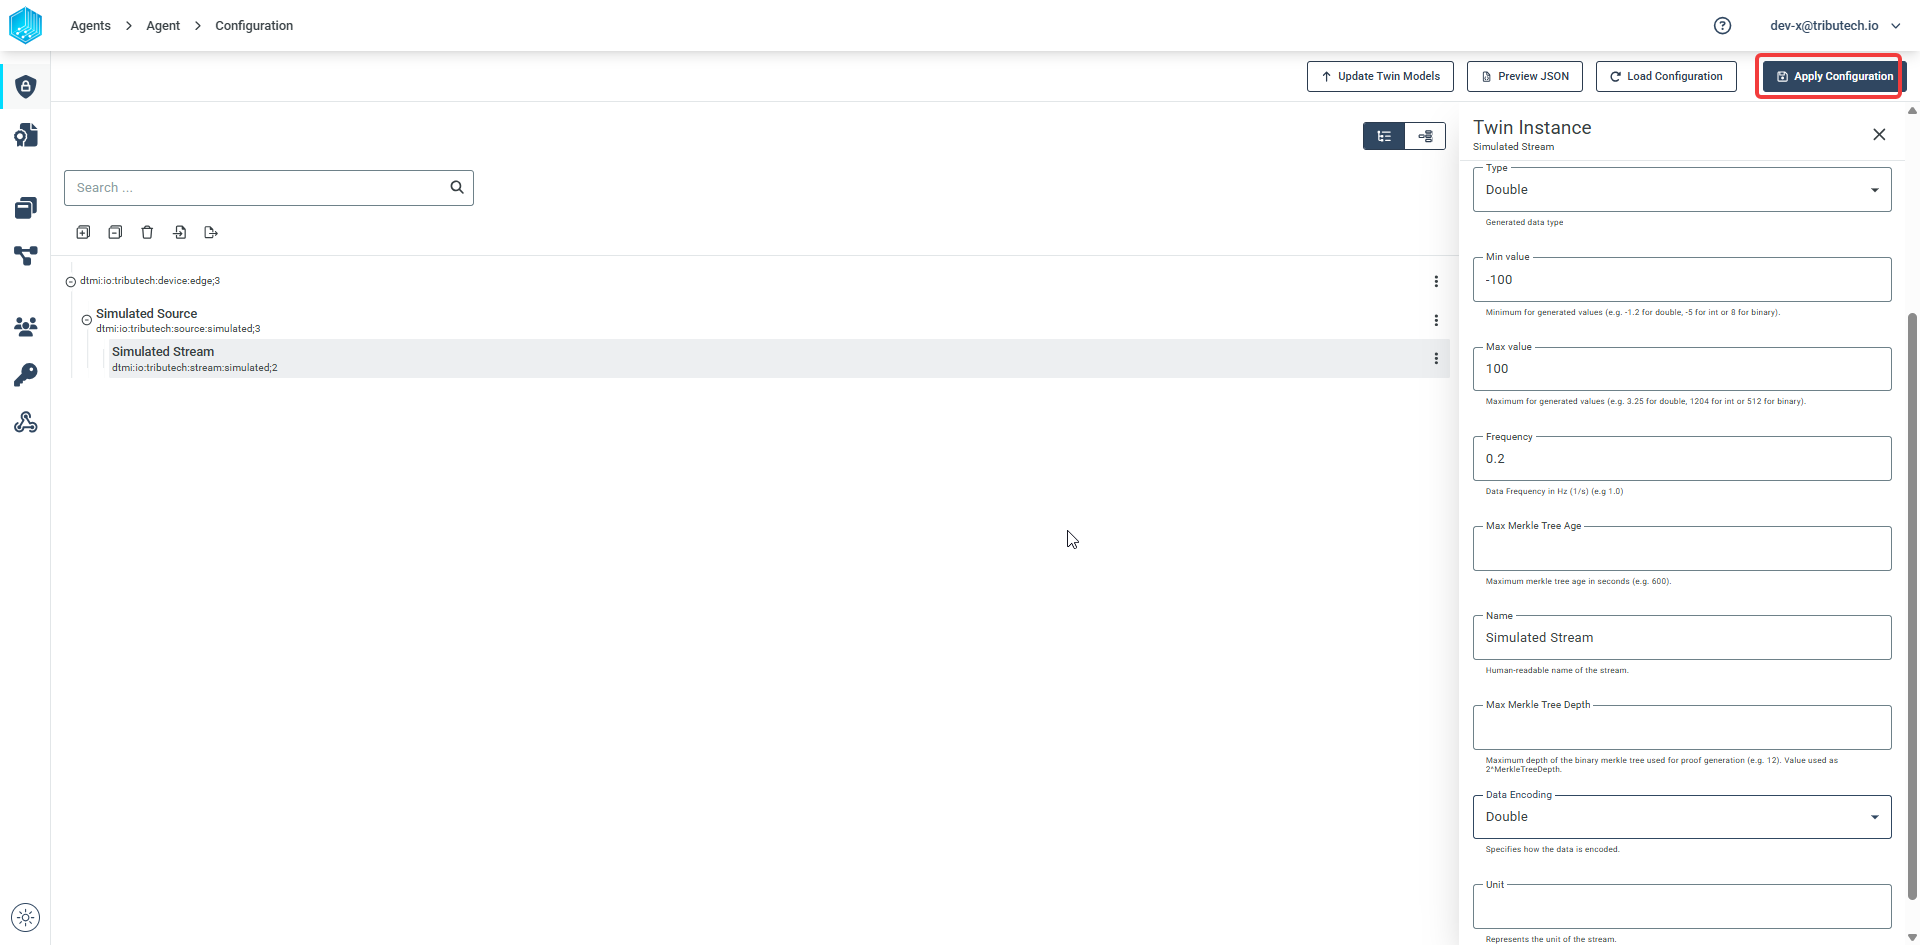
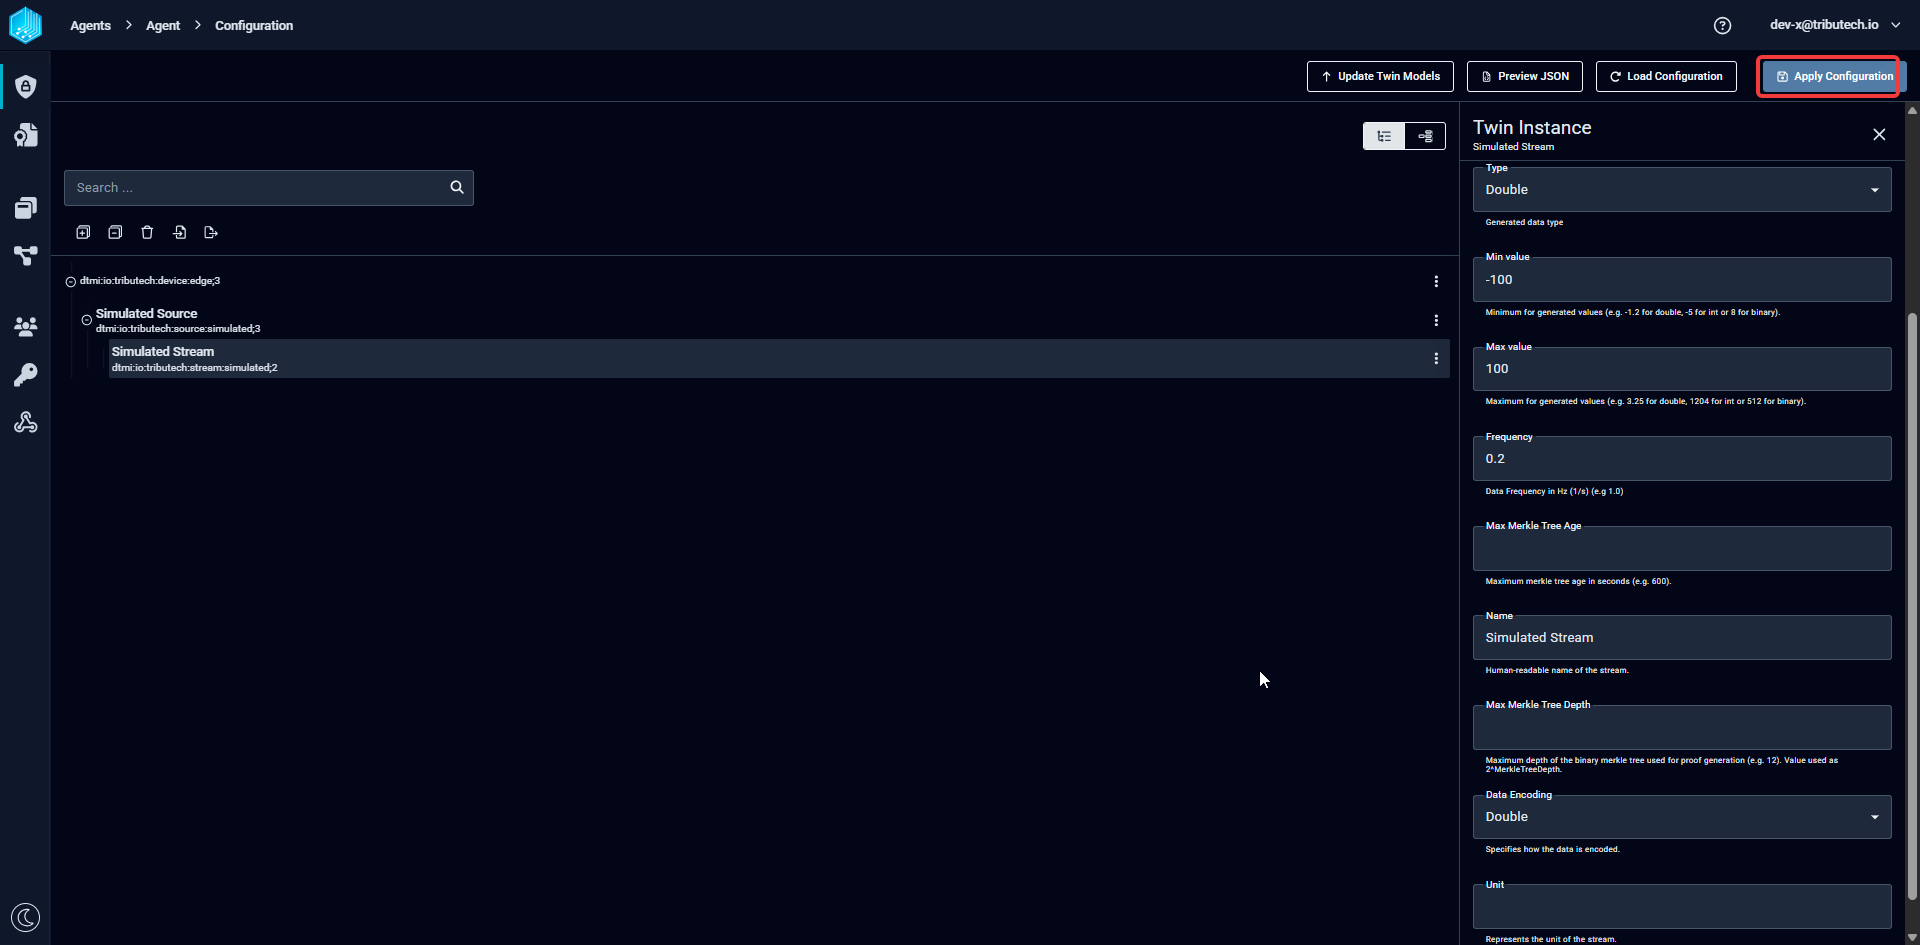
After successfully executing APPLY CONFIGURATION we can now go back to the Agent details by clicking the Agent Name in breadcrumbbar.
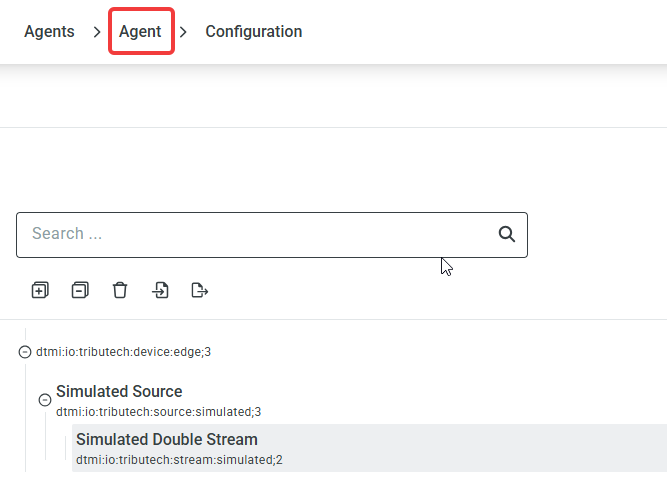
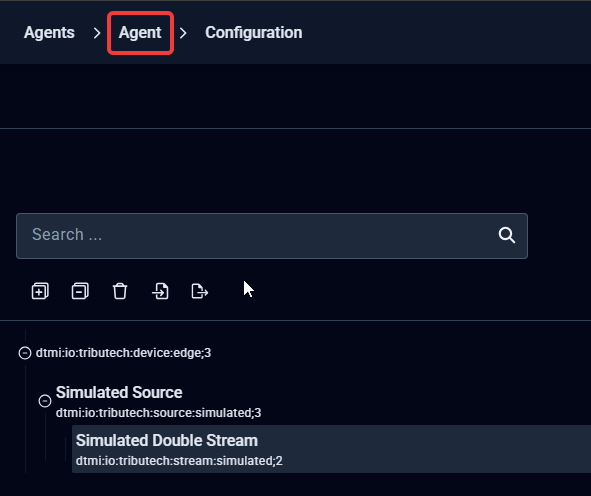
The newly created Simulated Double Stream is now available. For more information on how to add different sources visit Tributech Source Integration or configure a Simulated Tributech Source visit the corresponding sites.
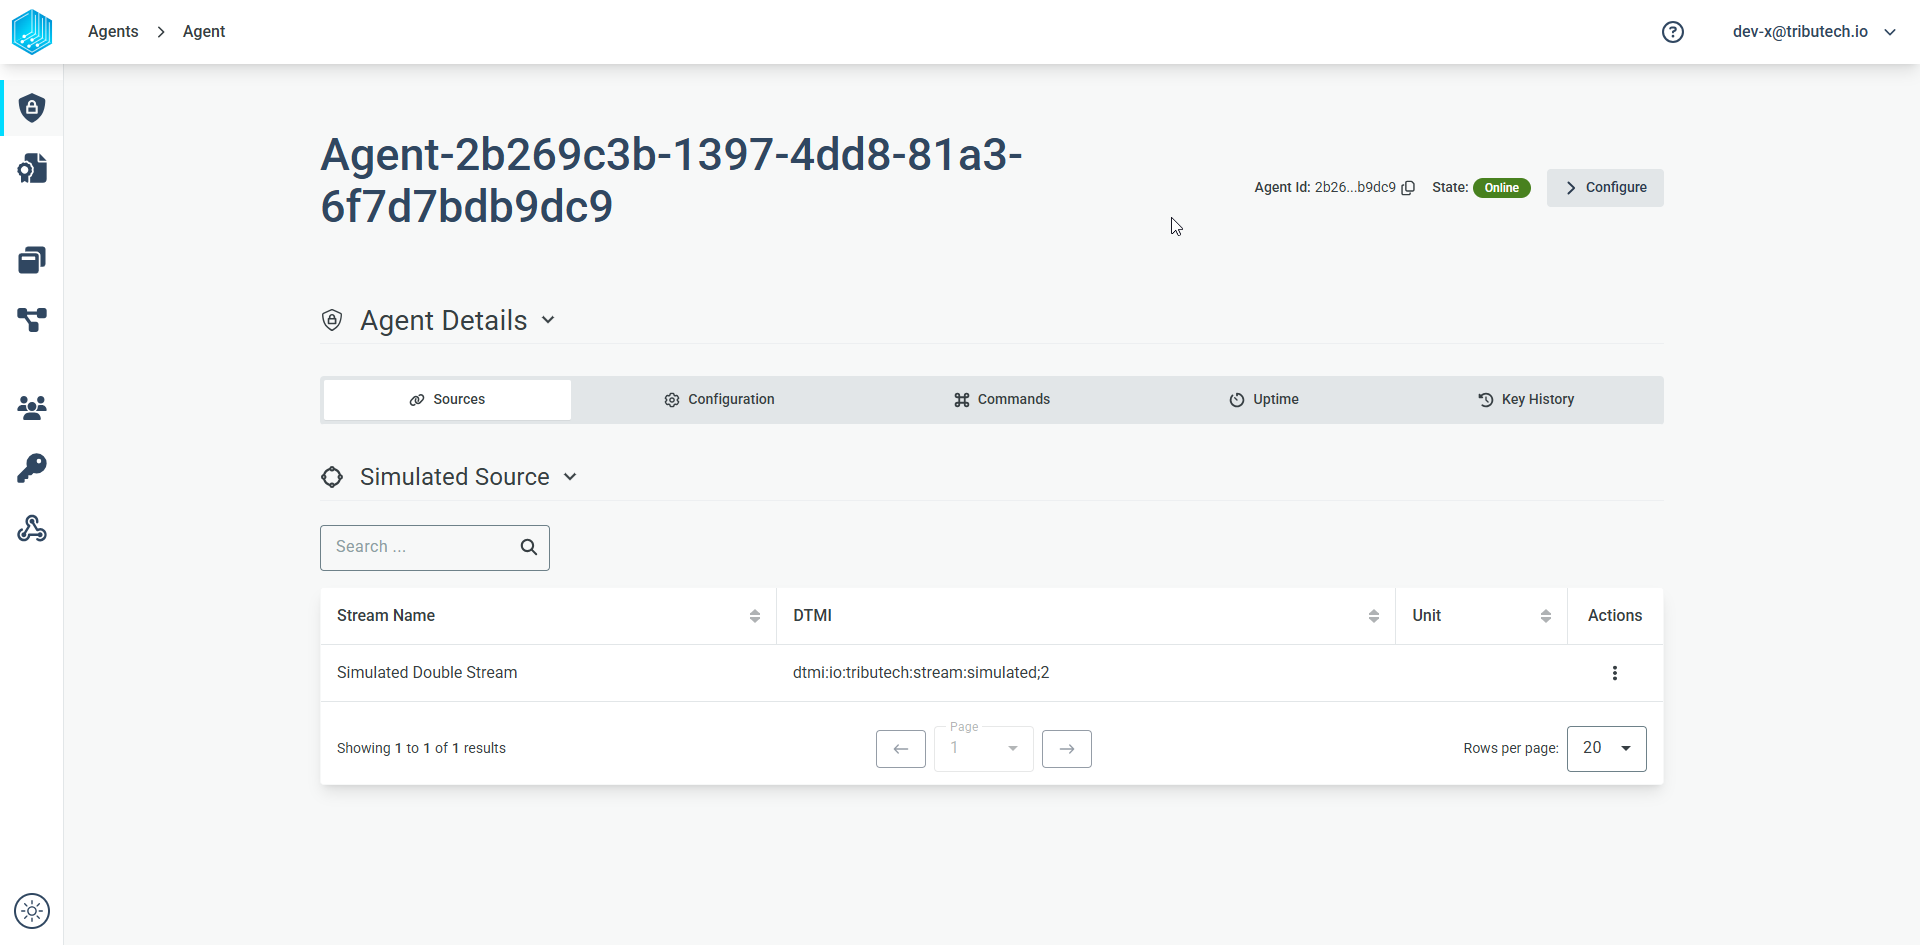
By selecting the Simulated Double Stream we can directly go into the stream verification of the received data.
Digital Twin Versions (Upgrade / Downgrade)
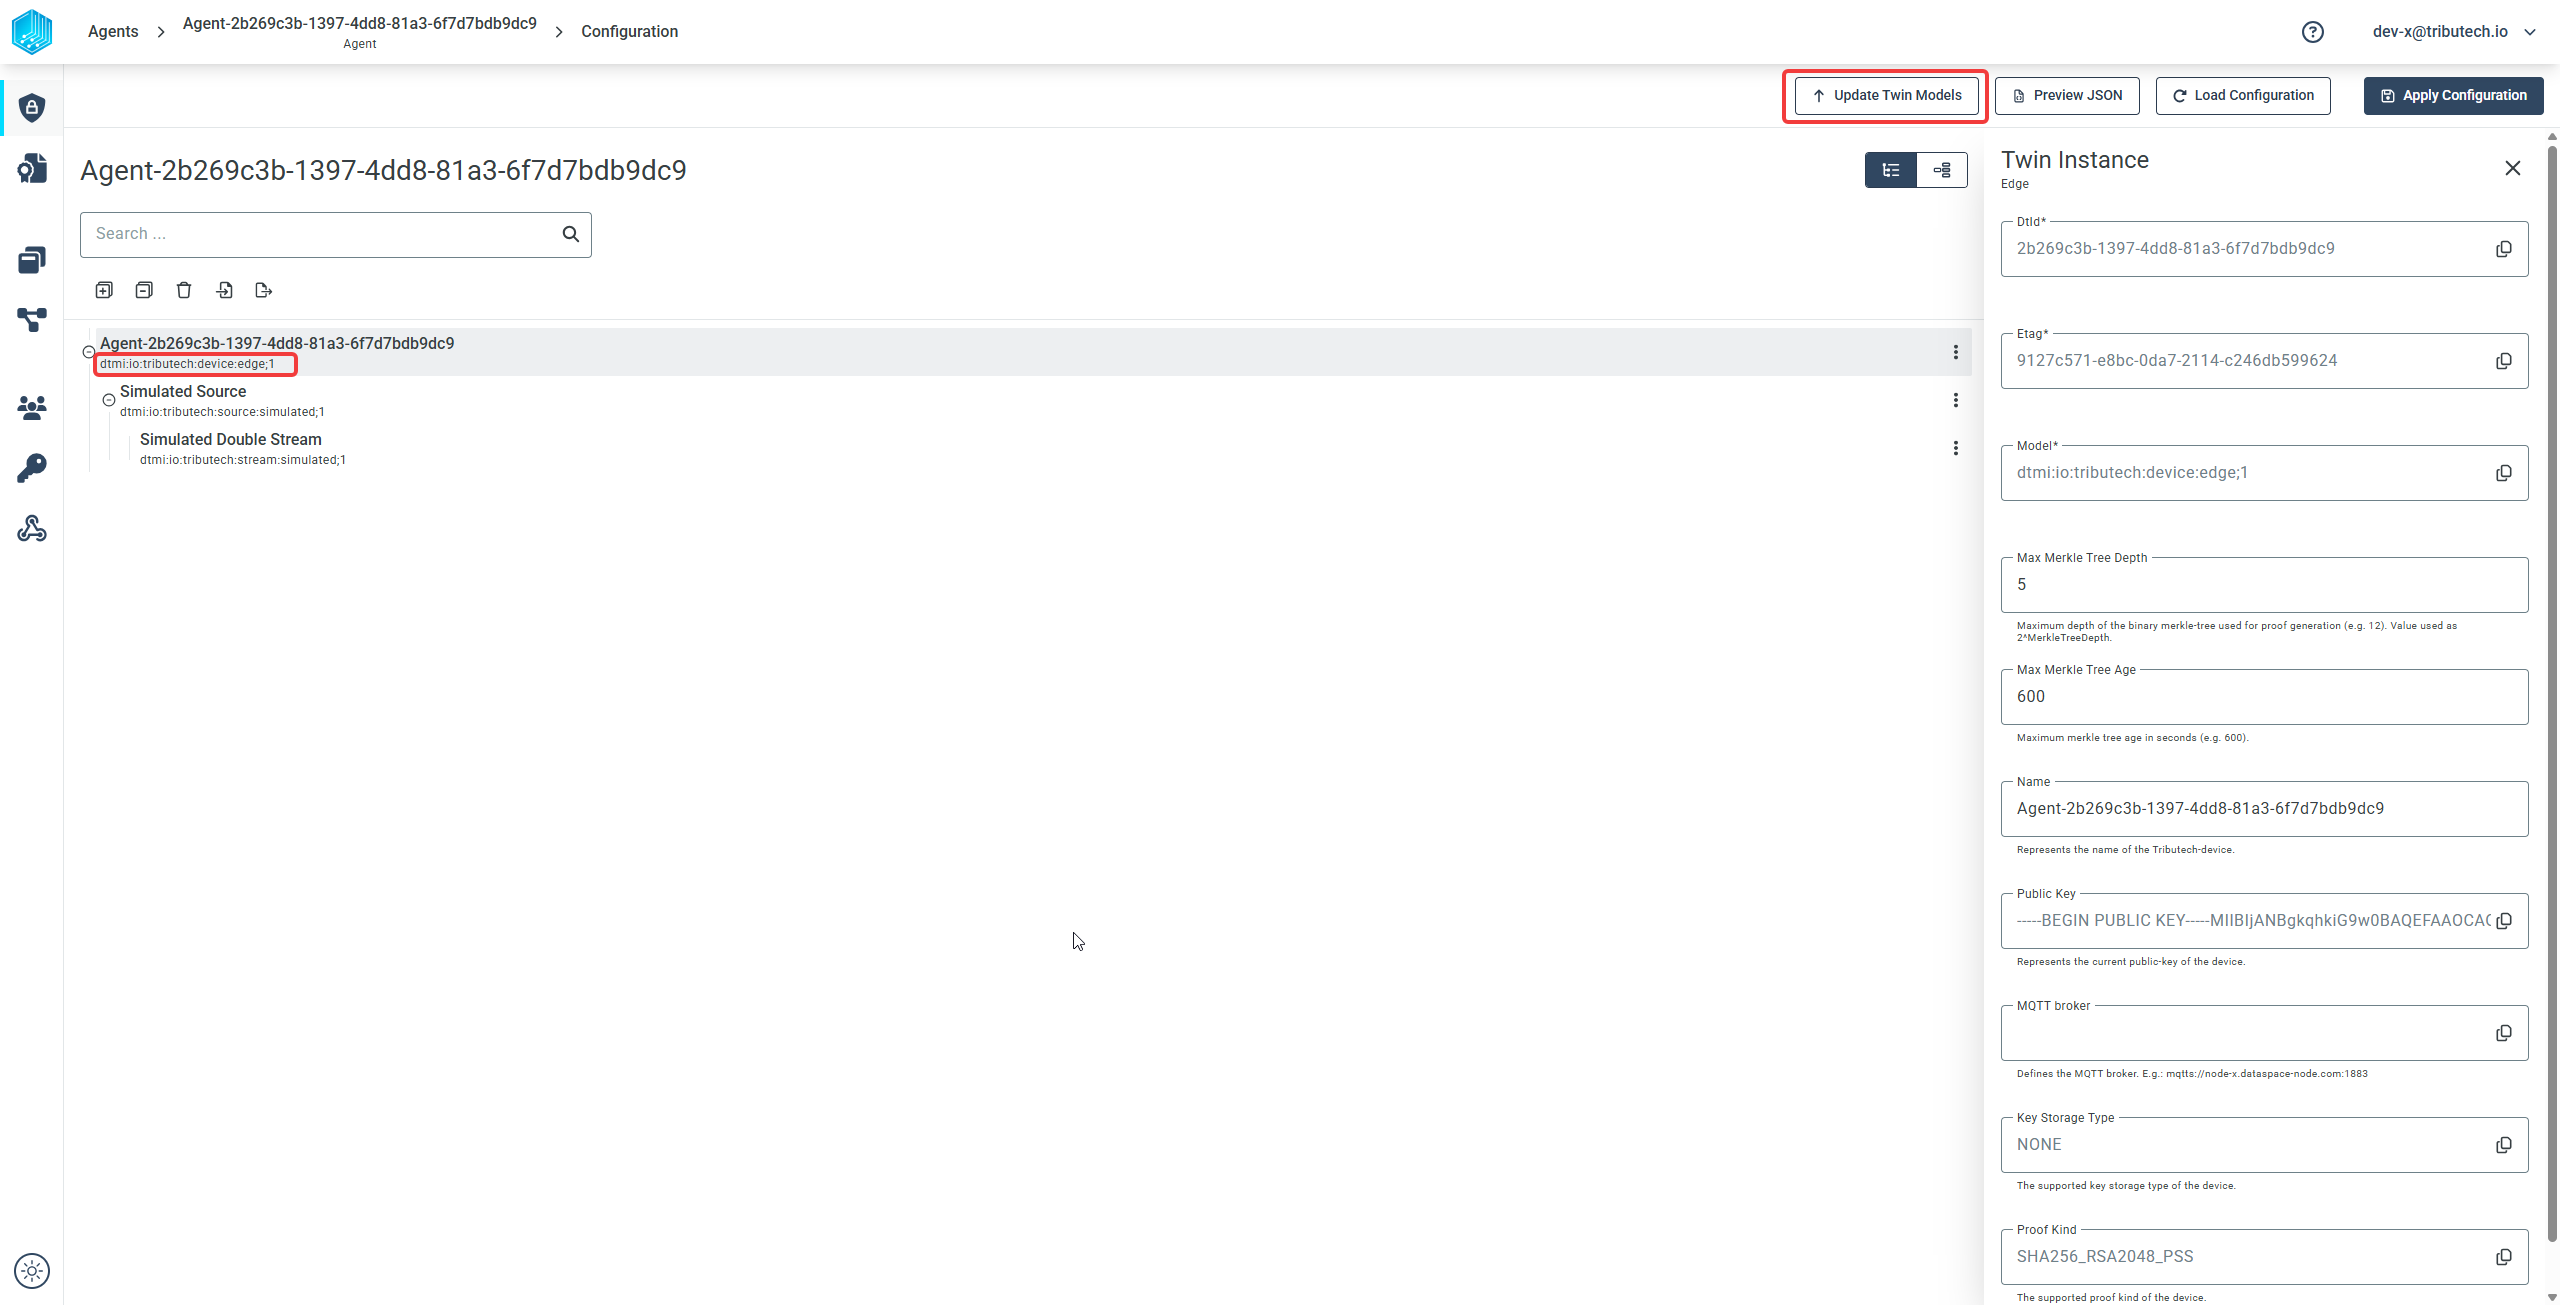
Each edge or embedded device is represented in the Tributech Node as a Digital Twin graph — the configuration shown in the Twin Workspace. The nodes of this graph are twin instances (the device, its sources and its streams), and every instance is based on a twin model identified by its dtmi (for example dtmi:io:tributech:device:edge;<version>). Like a software package, these twin models are versioned — the number after the ; — and newer versions can add or remove properties, telemetries and relationships. (For background on the model language itself, see DTDL Configuration.)
Some capabilities — such as Verifiable Commands and Health Checks — depend on properties and telemetries that only exist in newer twin model versions. The Update Twin Models feature provides a safe way to move an agent between these versions: it only offers versions that actually exist, keeps the device, source and stream versions compatible with each other, and shows the impact of a change before it is applied — a difference view of which parts are added or removed between the current and the selected version.
The feature is opened with the Update Twin Models button in the top-right of the configuration view. In this example the agent starts on version 1 for the device, source and stream.
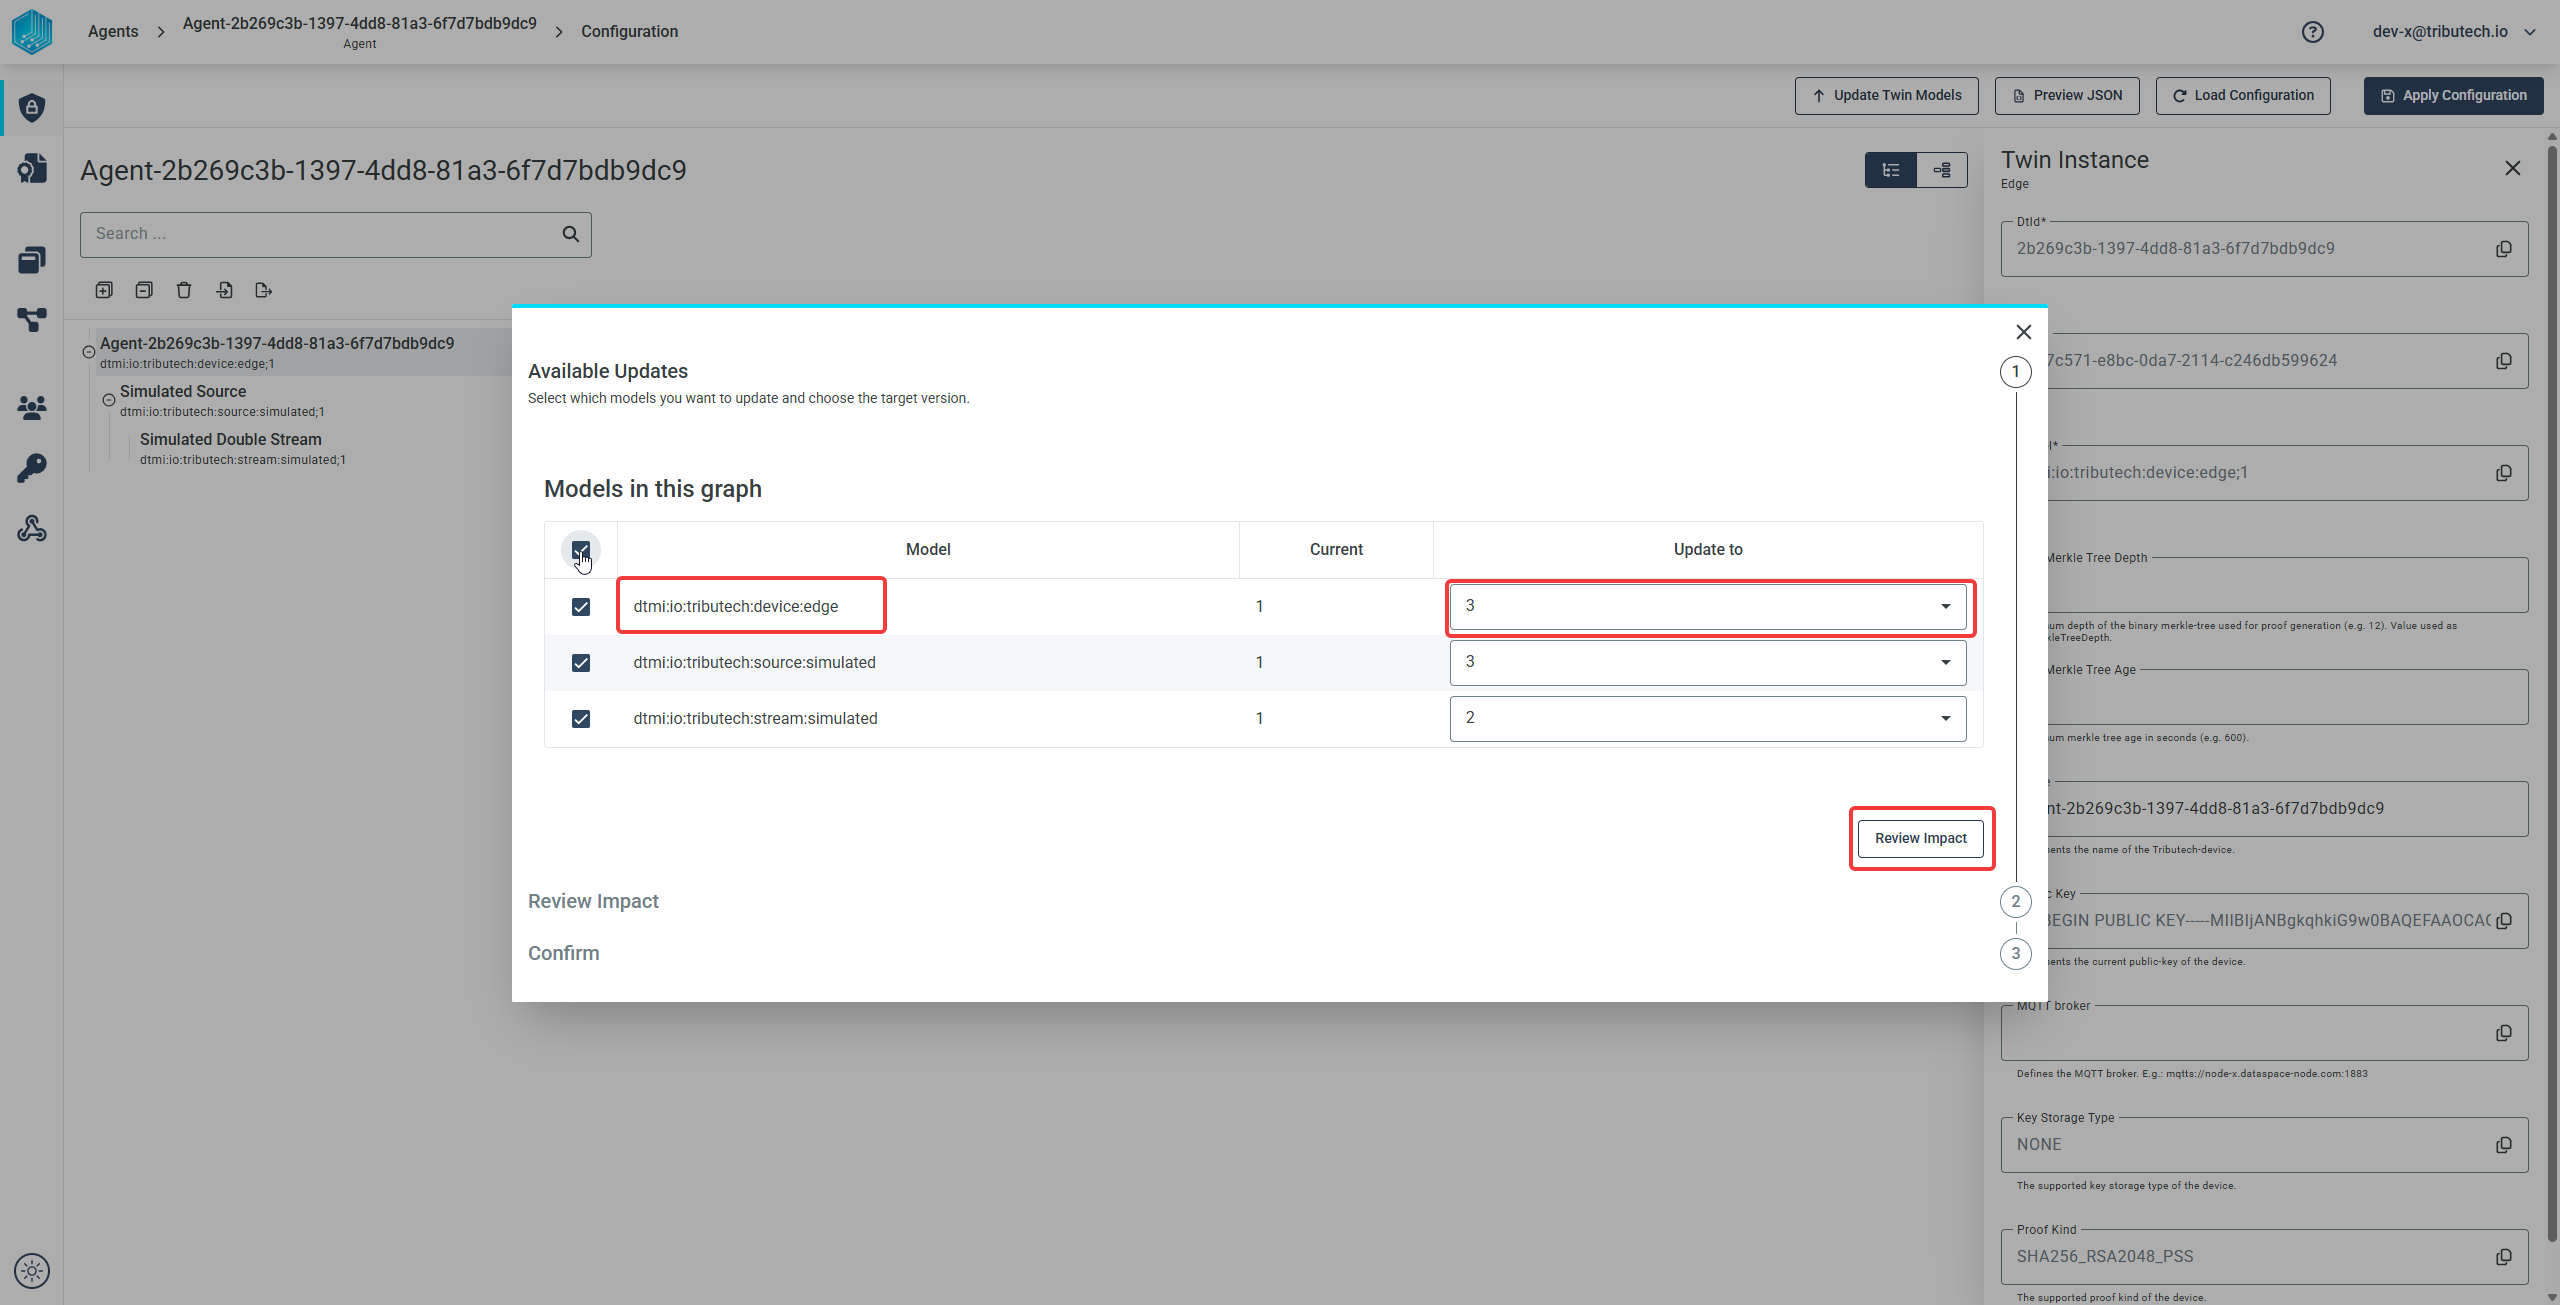
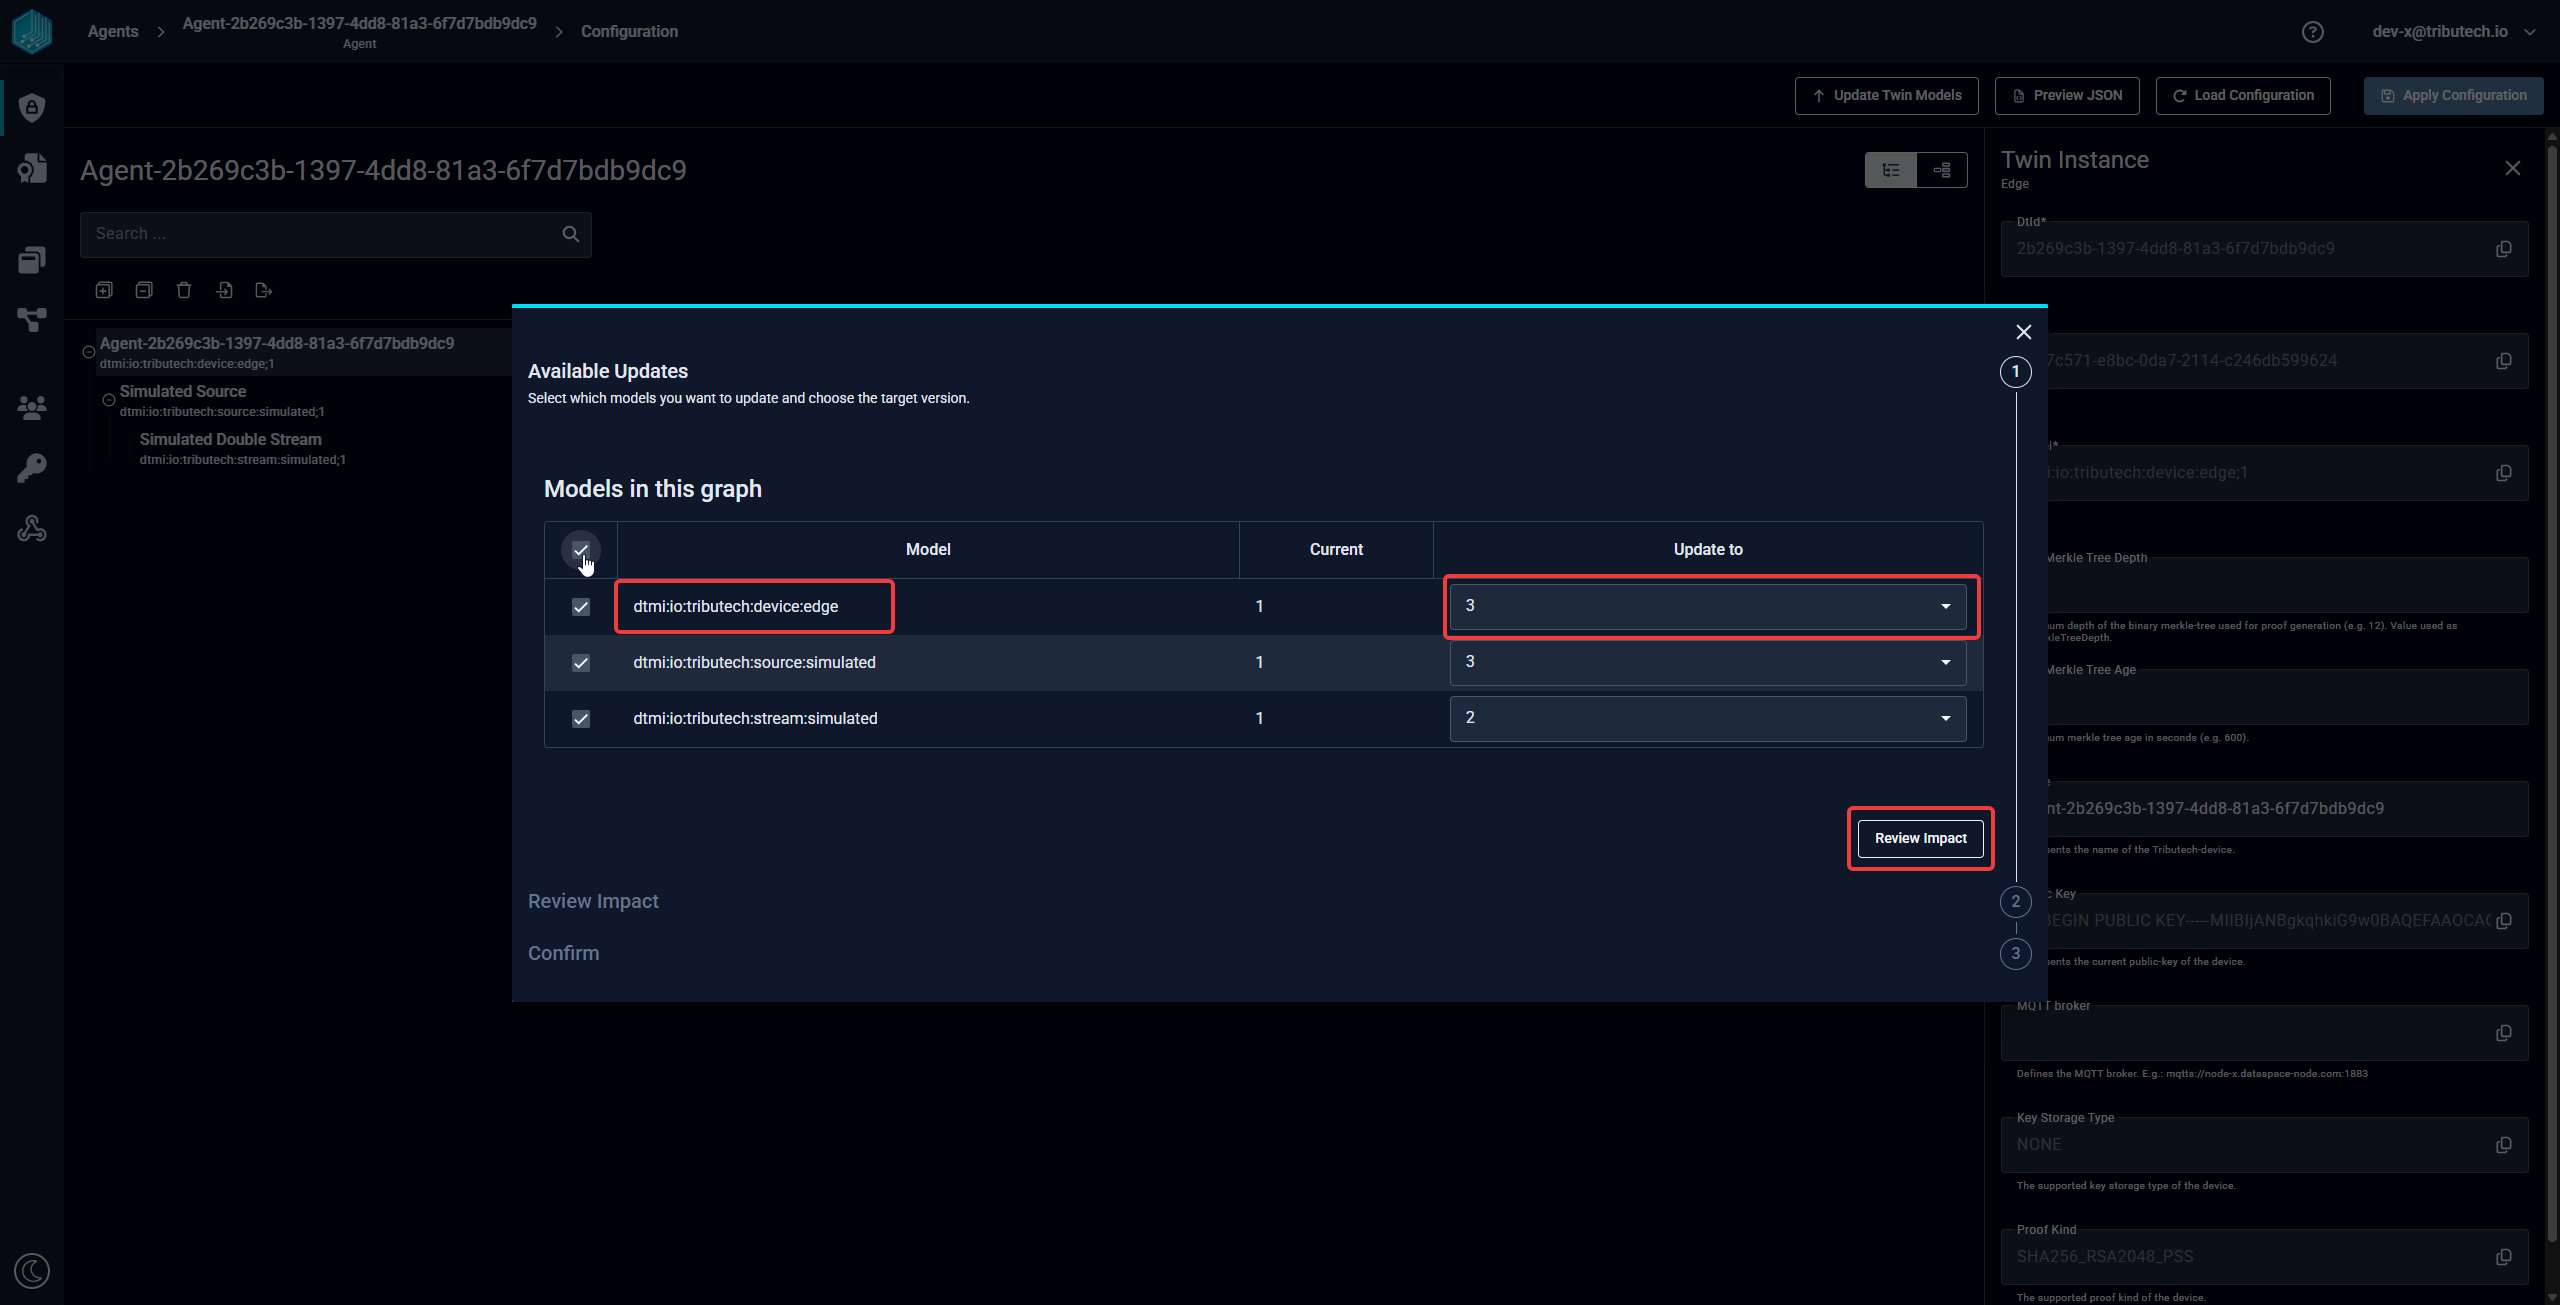
A window then lists every twin model in the current configuration that can be changed, together with its current version and a dropdown to select the target version. From here the feature guides you through reviewing the impact of the change and applying it.
Once the update is applied, the new versions are shown in the Twin Workspace with the changed fields highlighted. As with any other configuration change, the updated twin models are only sent to the Tributech Agent after they are applied to the device.